Grilled Cuban Sandwich Recipe
Prep Time: 10 minutes
Cook Time: 10 minutes
Difficulty: Easy
Servings: 1
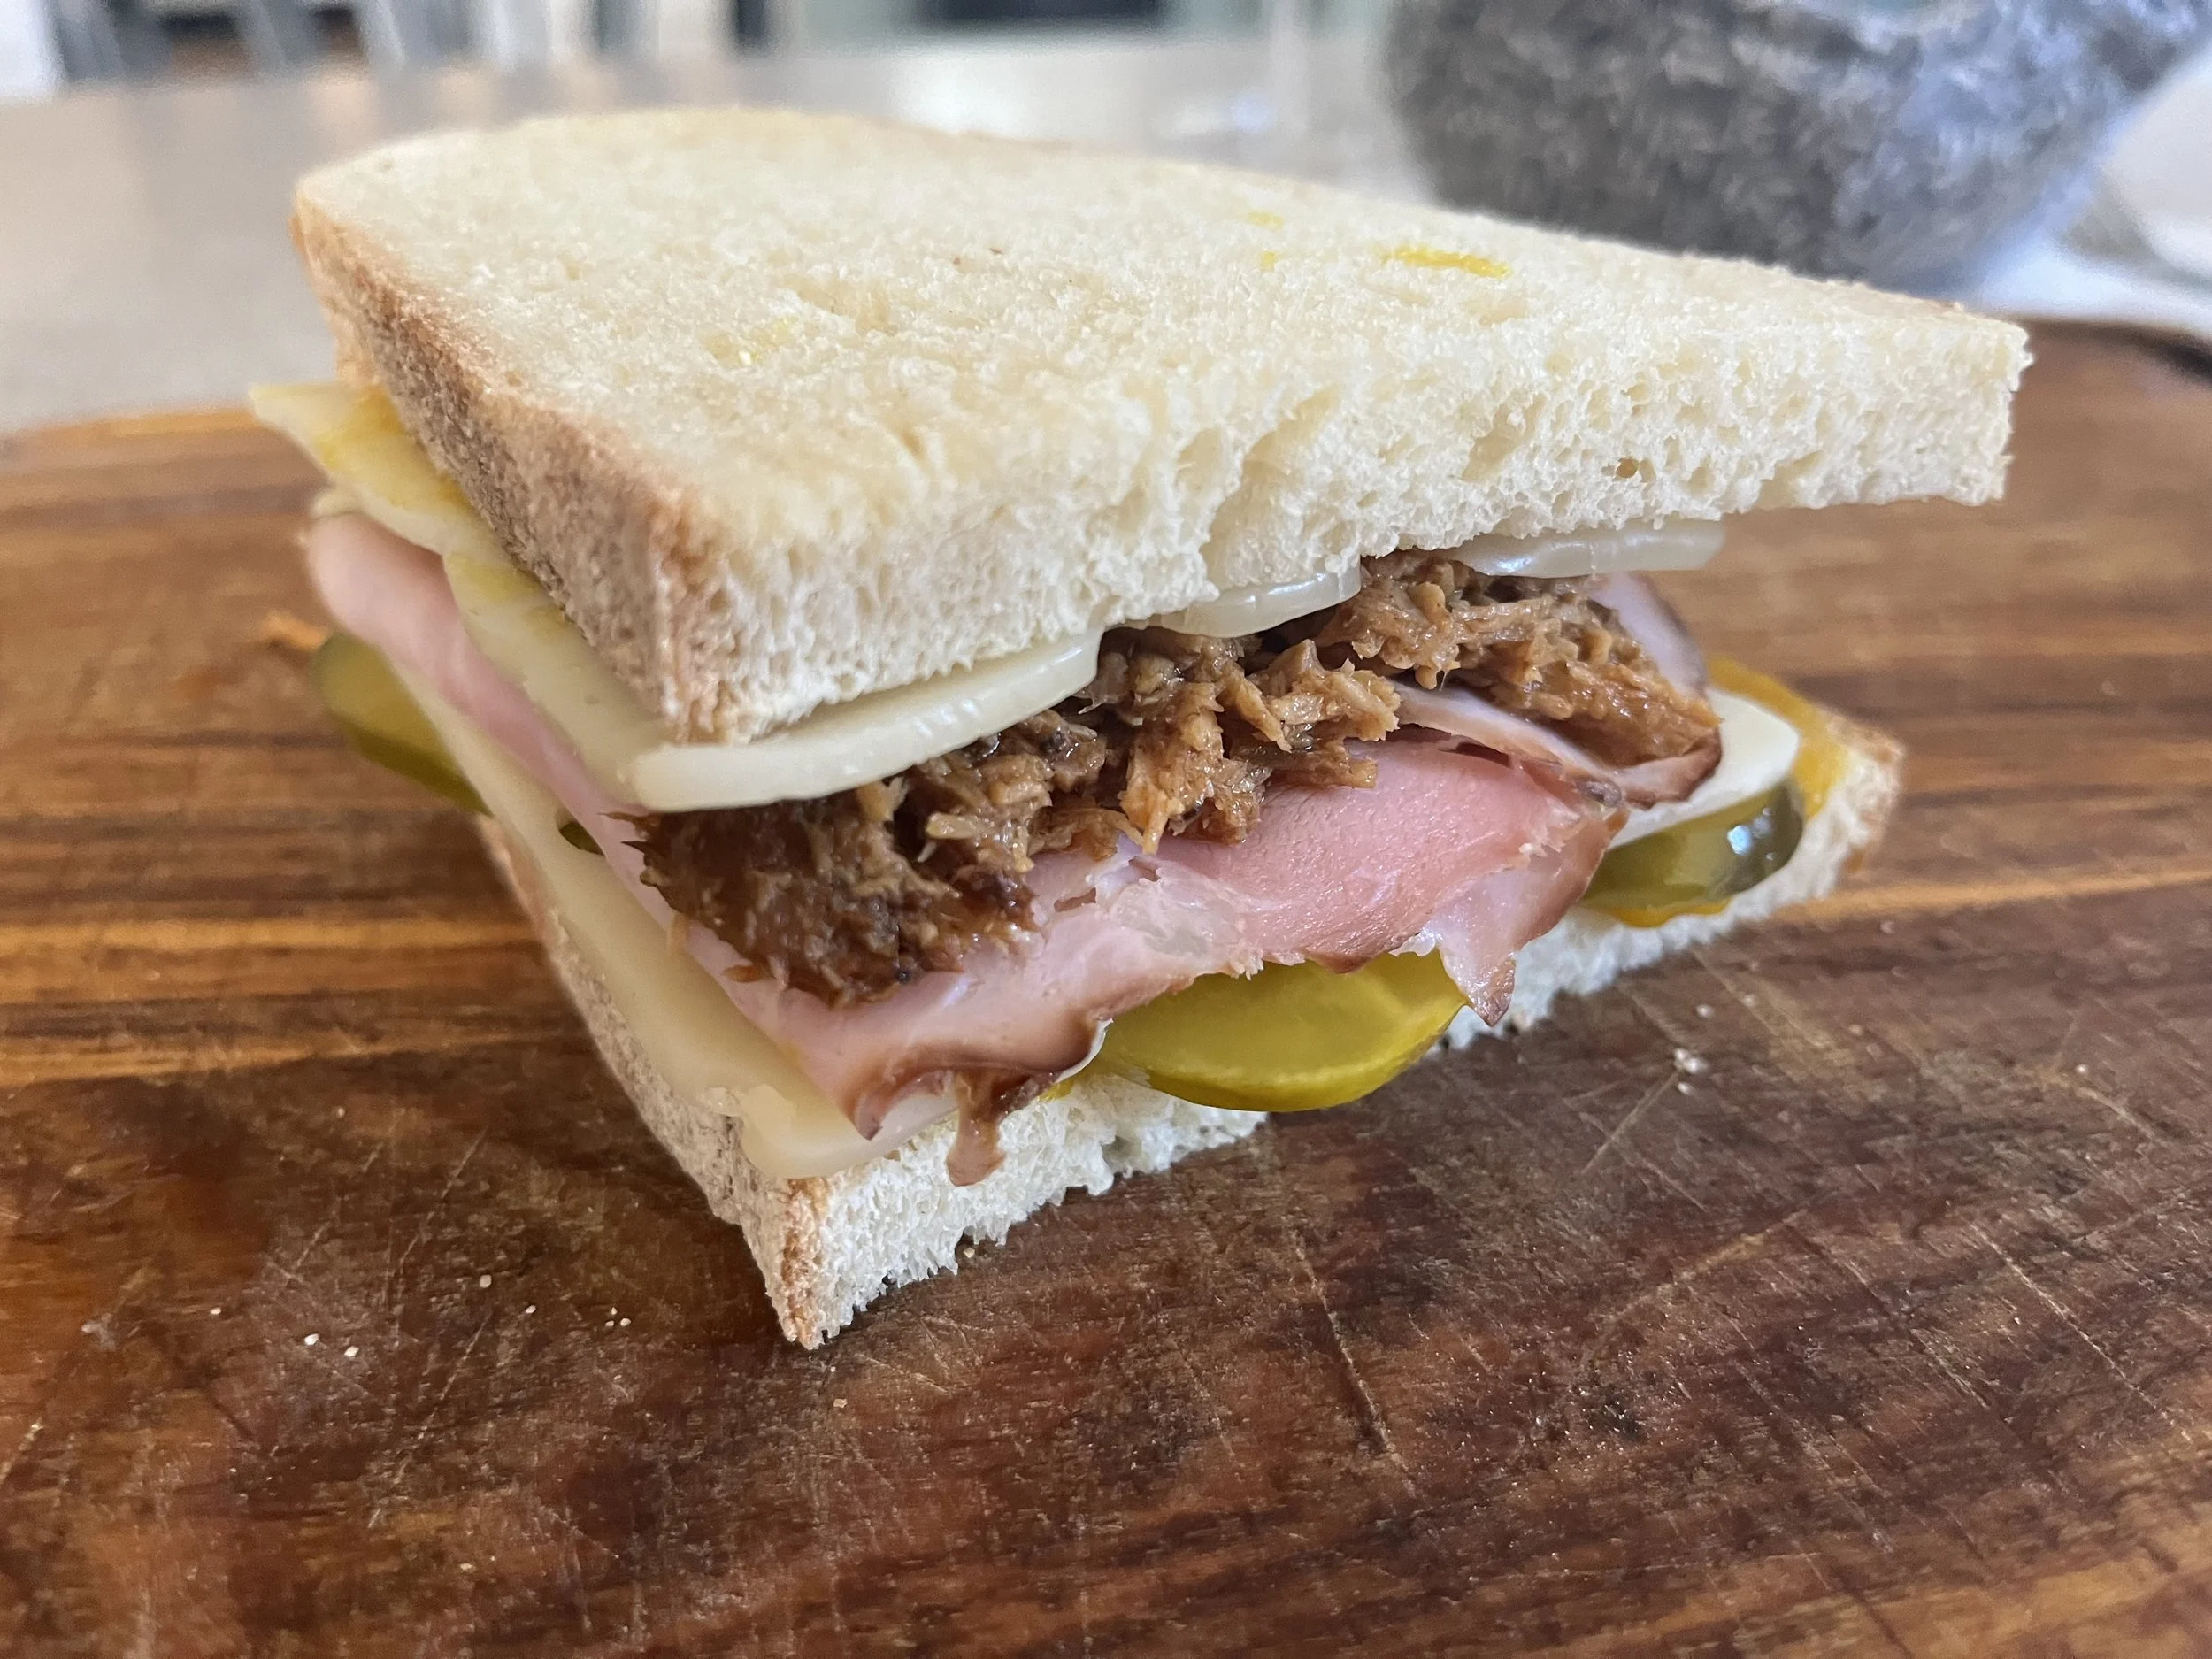
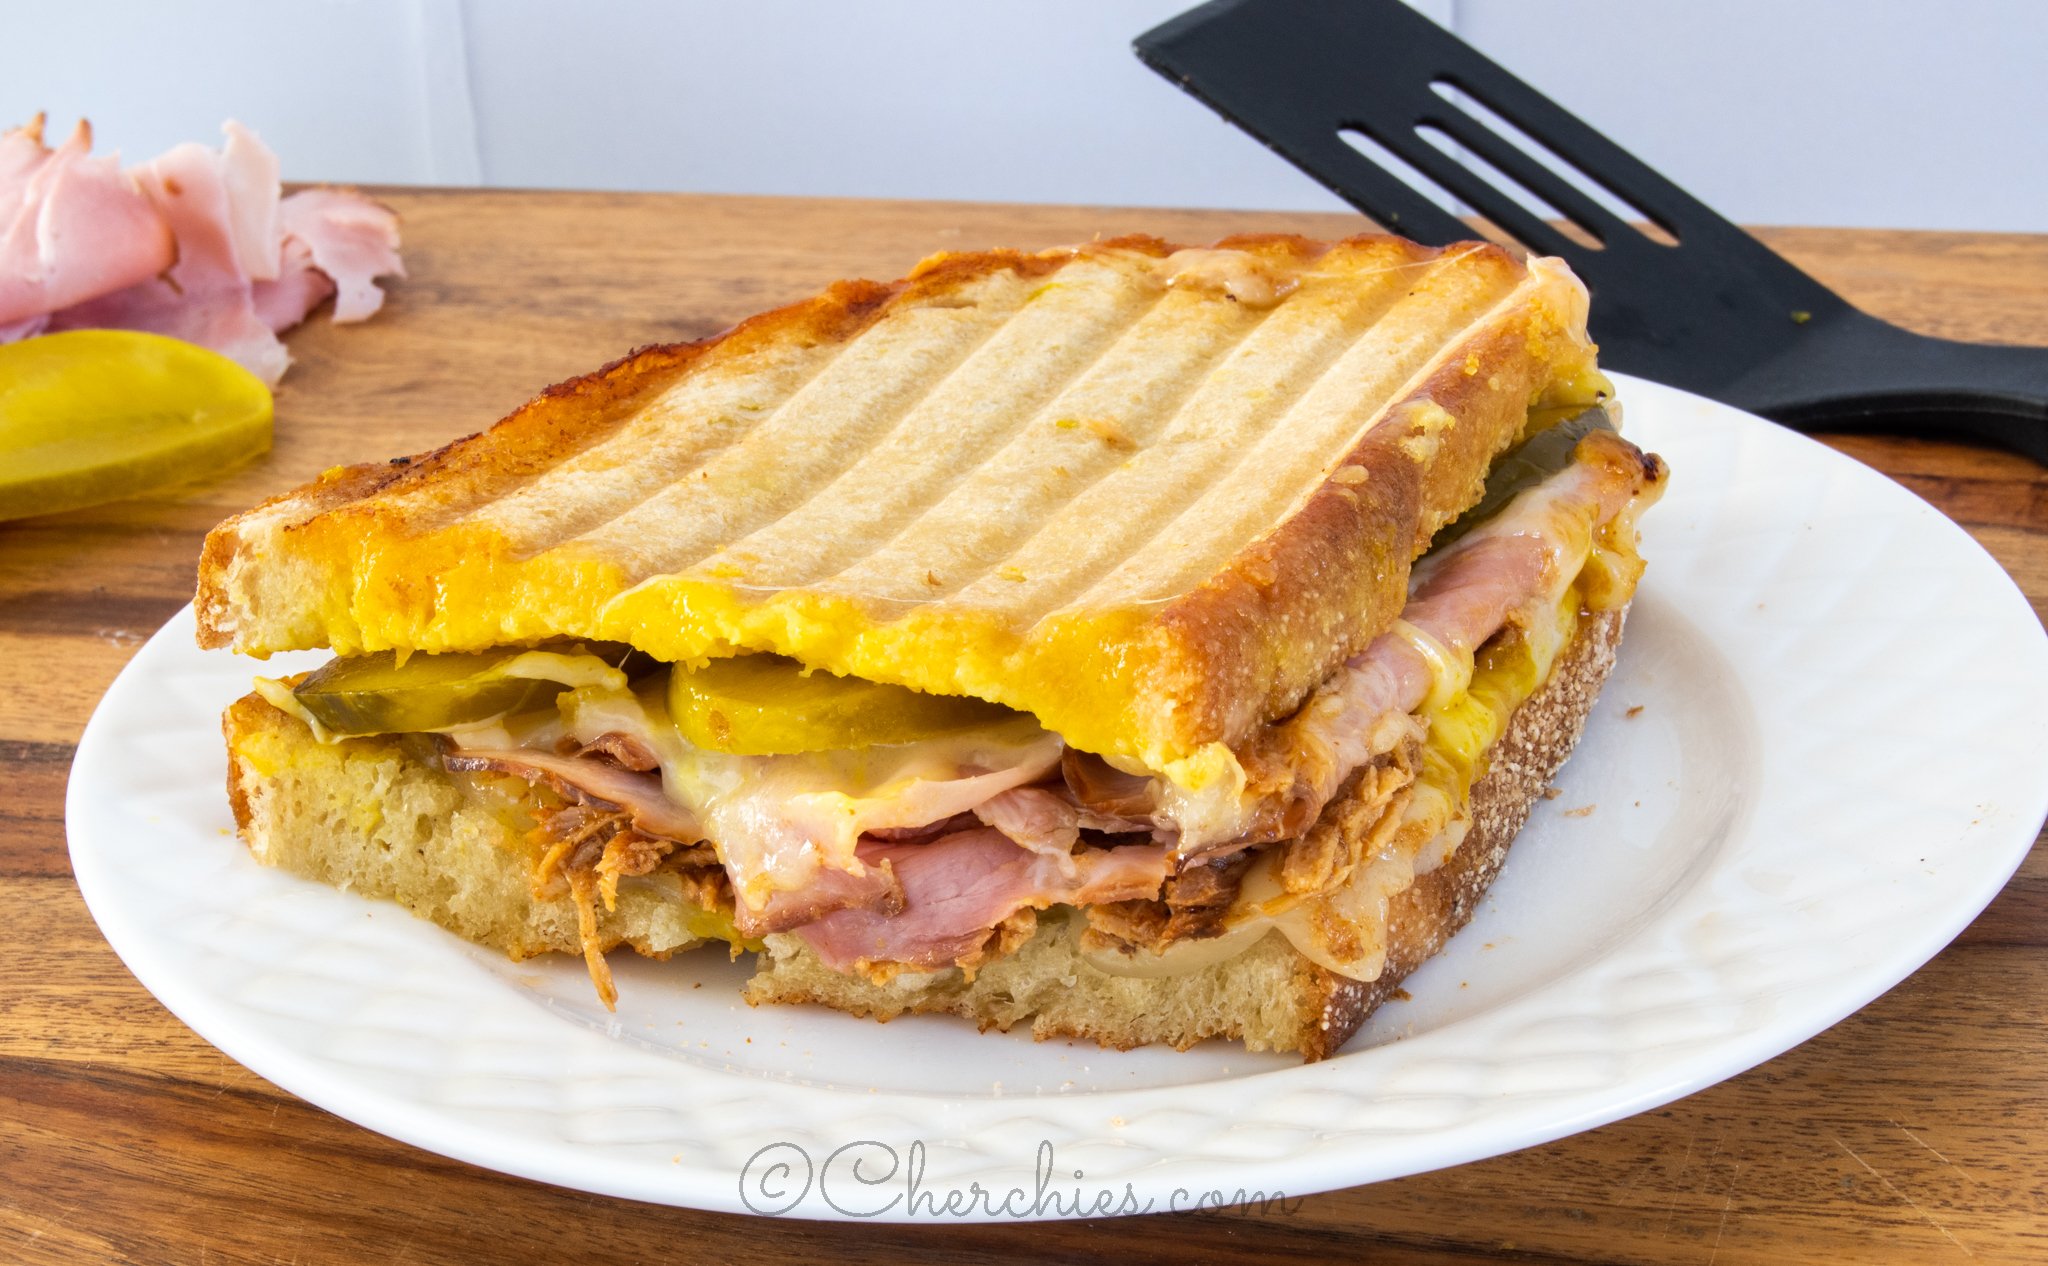
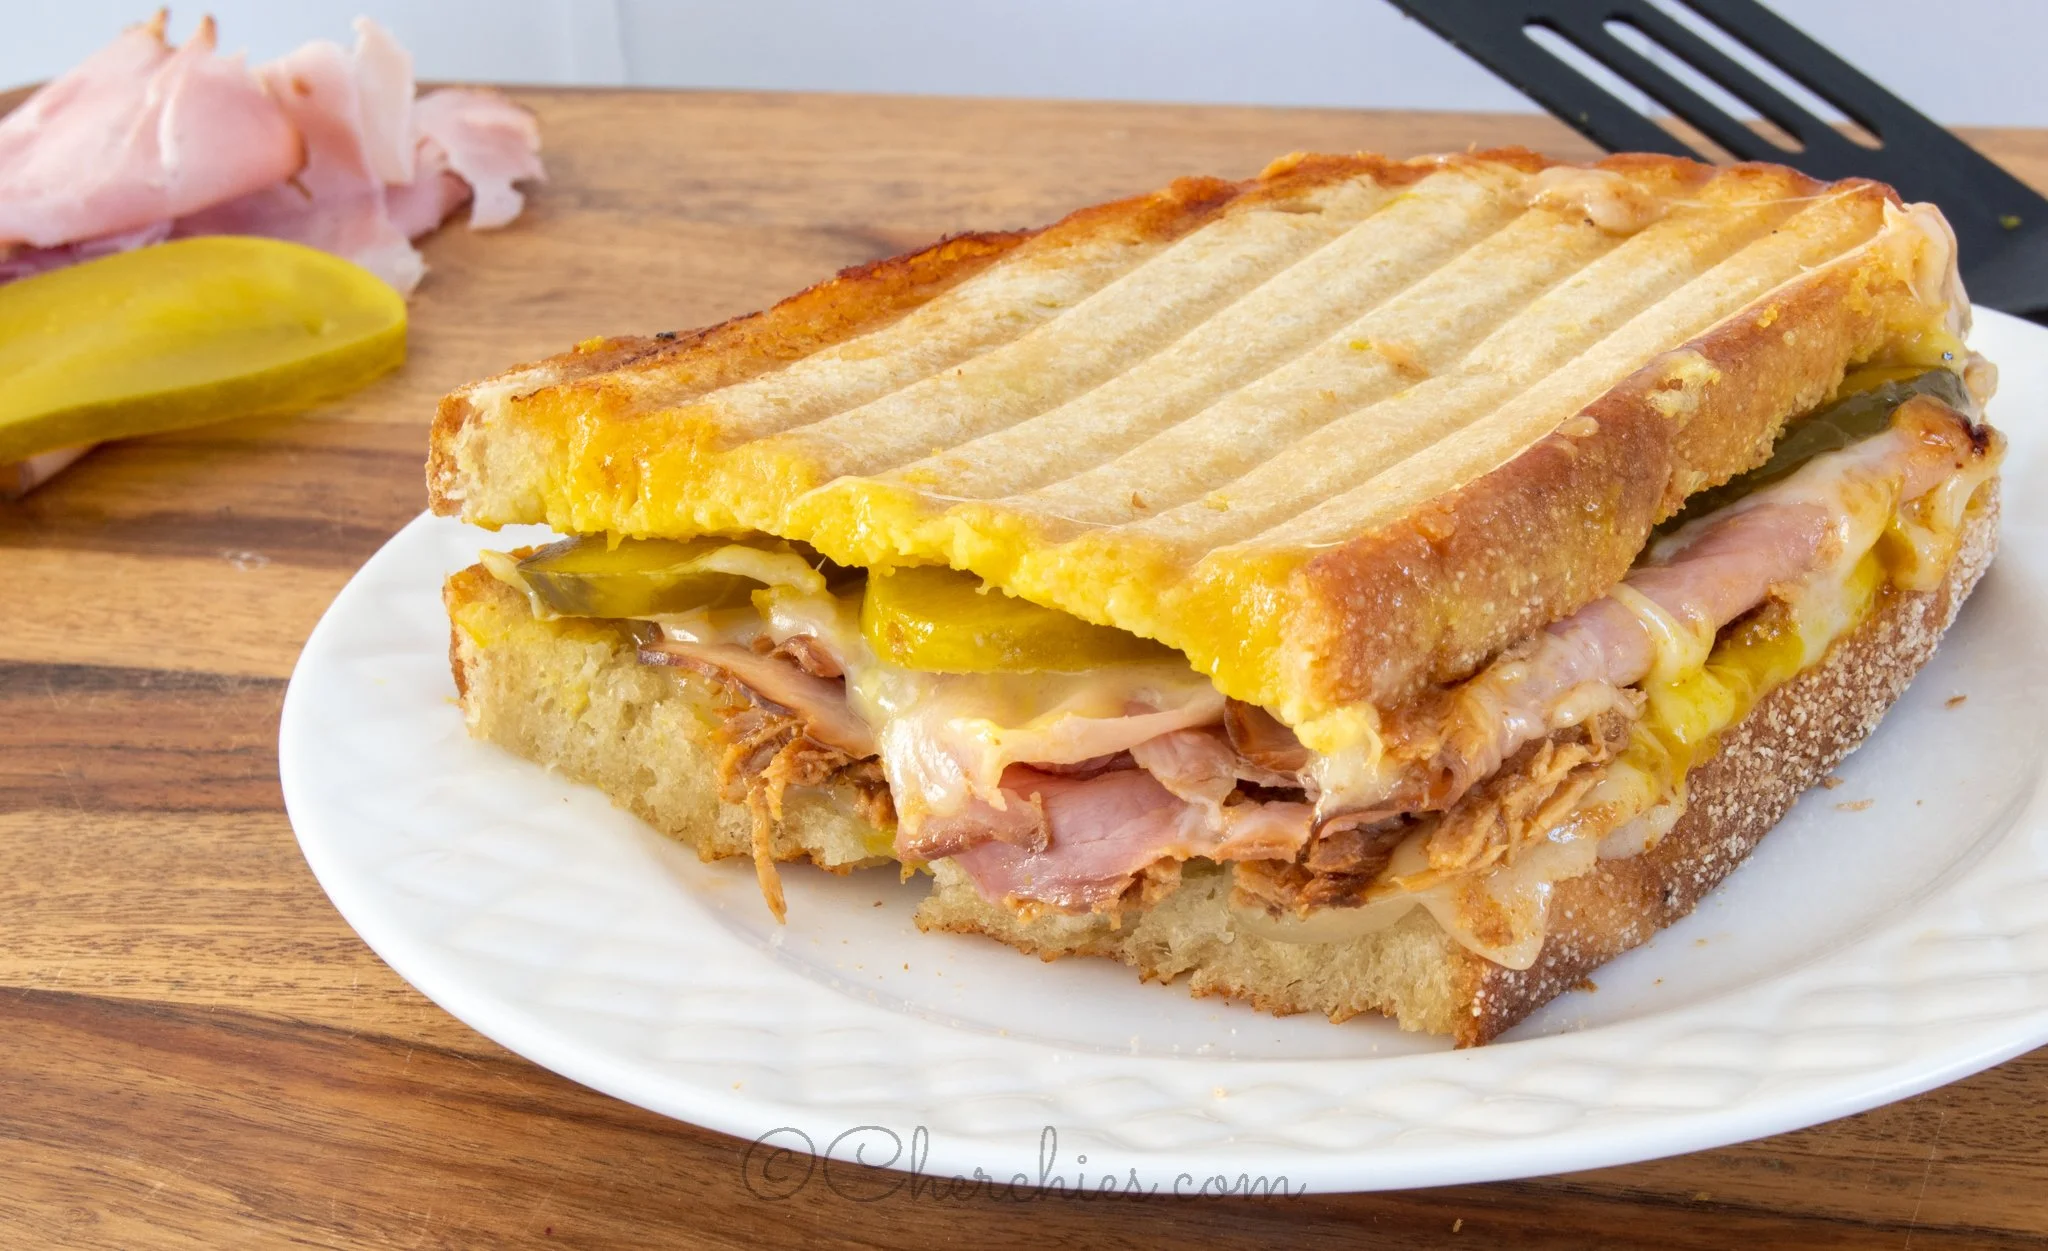
If you haven’t tried a Cuban Sandwich (Cubano) yet, you’re in for a treat. The combination of savory ham, tender pork, melty Swiss cheese, tangy pickles, and zesty mustard is pure magic in every bite—and it’s no wonder this sandwich has been a family favorite in our house for years.
While Cuban sandwiches have a few regional variations, the essentials stay the same: ham, roasted pork, Swiss cheese, pickles, and mustard, layered up and cooked until hot, crisp, and melty.
Our twist
We swapped traditional yellow mustard for Cherchies® Award-Winning Hot Banana Pepper Mustard or Cherchies® Champagne Mustard for an extra flavor kick. And instead of classic Cuban bread, we used sliced sourdough, then grilled the sandwiches in a panini press until golden and irresistible.
Traditionally, Cubanos are cooked on a flat skillet or griddle and pressed until crisp. If you don’t have a panini press, no worries—use a skillet and press the sandwich down with a heavy pan for that classic texture.
If you’re switching up the bread, a long, soft loaf—Italian, French, or even Puerto Rican bread—works beautifully, too.
Tip: No Cuban bread? No problem.
Traditional Cuban bread can be tricky to find. If you don’t have access to a Hispanic bakery, Puerto Rican bread from BJ’s Warehouse is a great substitute. Any long, soft white bread will do the job!
The result? A Cubano that’s lip-smackingly delicious from the first bite to the last.
Ready to make your own gourmet Cuban sandwich at home? Try it out and tell us your favorite twist in the comments below!
Thanks for stopping by 🙂 Come back again for more family-tested recipes, entertaining ideas, and cooking tips featuring our favorite Cherchies® gourmet products.
Follow us on social media: Facebook, Instagram, and Pinterest.
“ Cherchies® Champagne Mustard- This is truly one of the finest mustards we have ever used. We’ve enjoyed it for more than 20 years!” – Jane
“ Cherchies® Hot Banana Pepper Mustard- Crazy delicious mustard! Once you try it you will be hooked!”- Brigitte
Ingredients (This recipe is for a single serving)
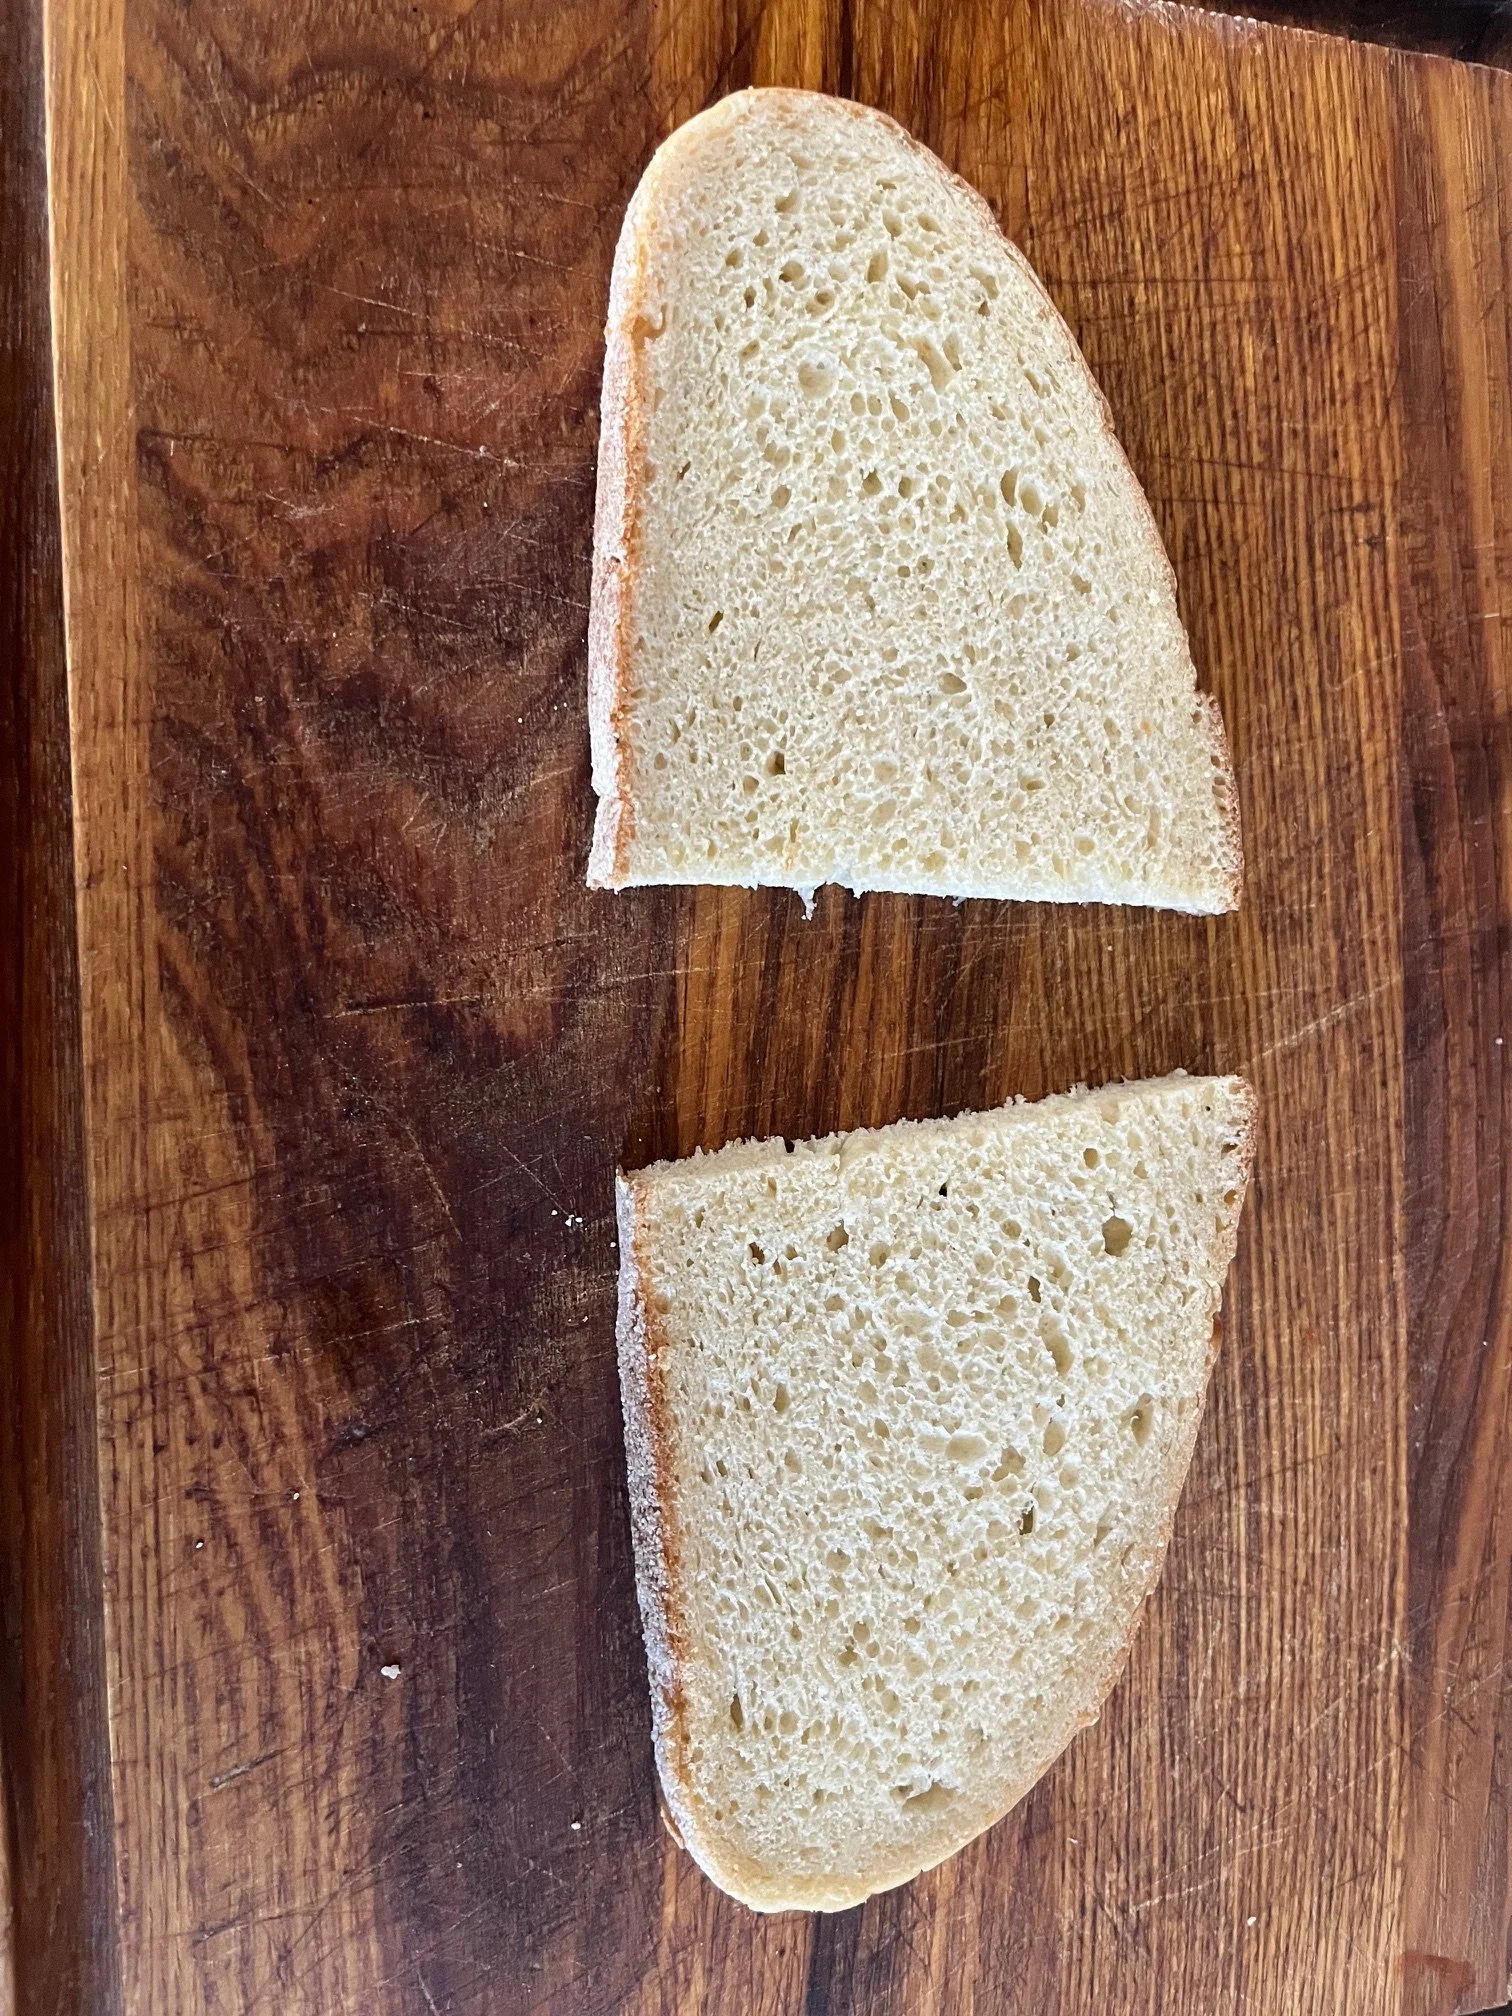
2 slices sourdough bread (one for an extra-large loaf)
2 heaping Tablespoons (Tbsp.) of Cherchies® Champagne Mustard (Cherchies® Hot Banana Pepper Mustard) for more of a kick (more or less depending on taste)
1 heaping Tablespoon (Tbsp.) of Dijon Mustard (more or less depending on taste)
2 slices of Swiss cheese
Slices of your favorite ham
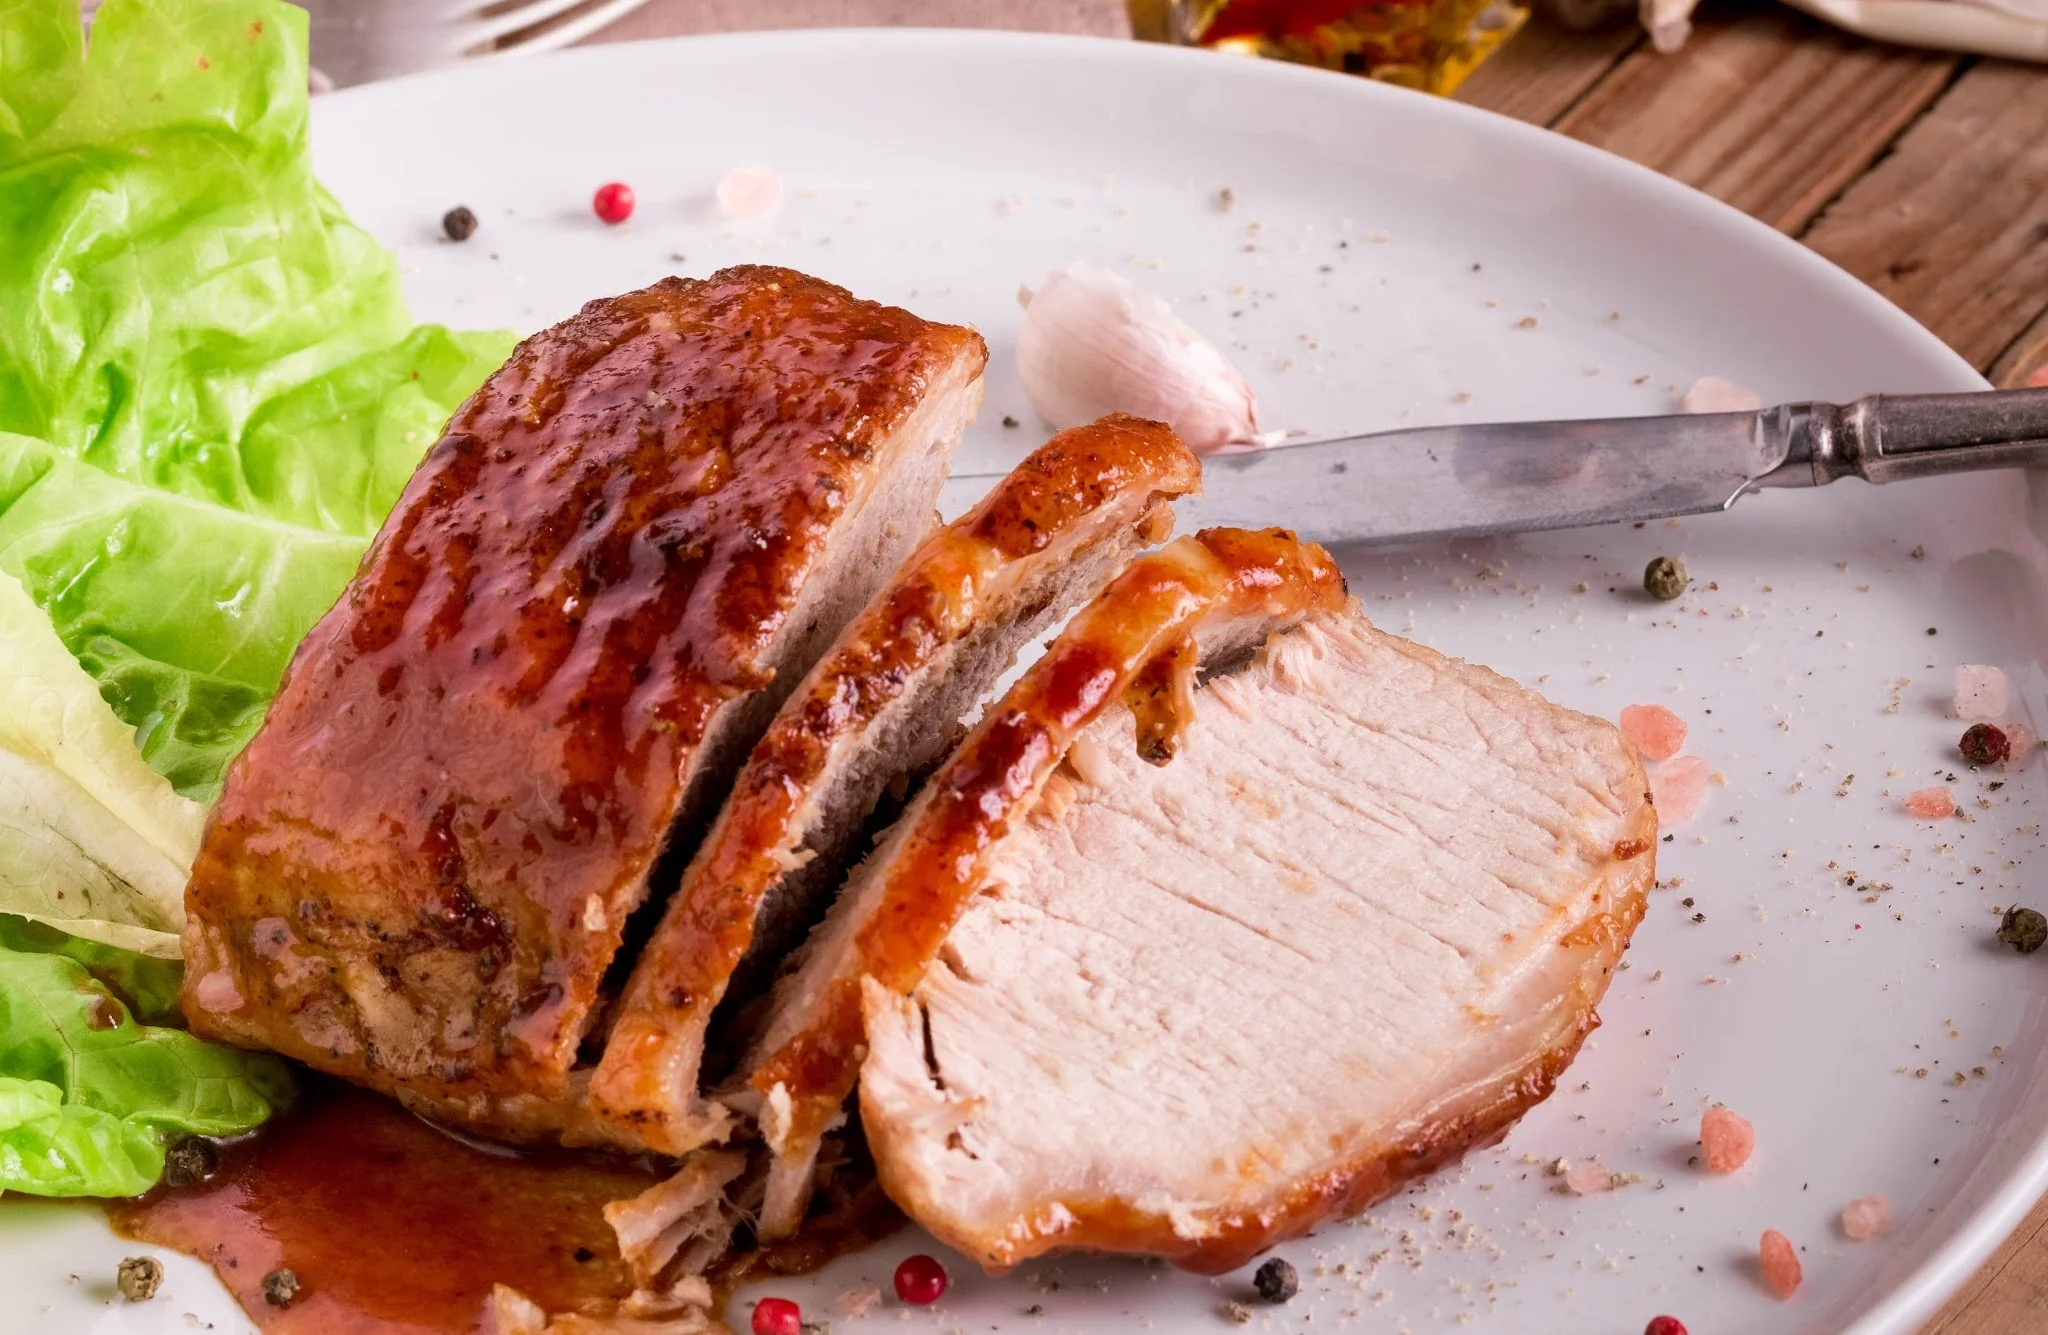
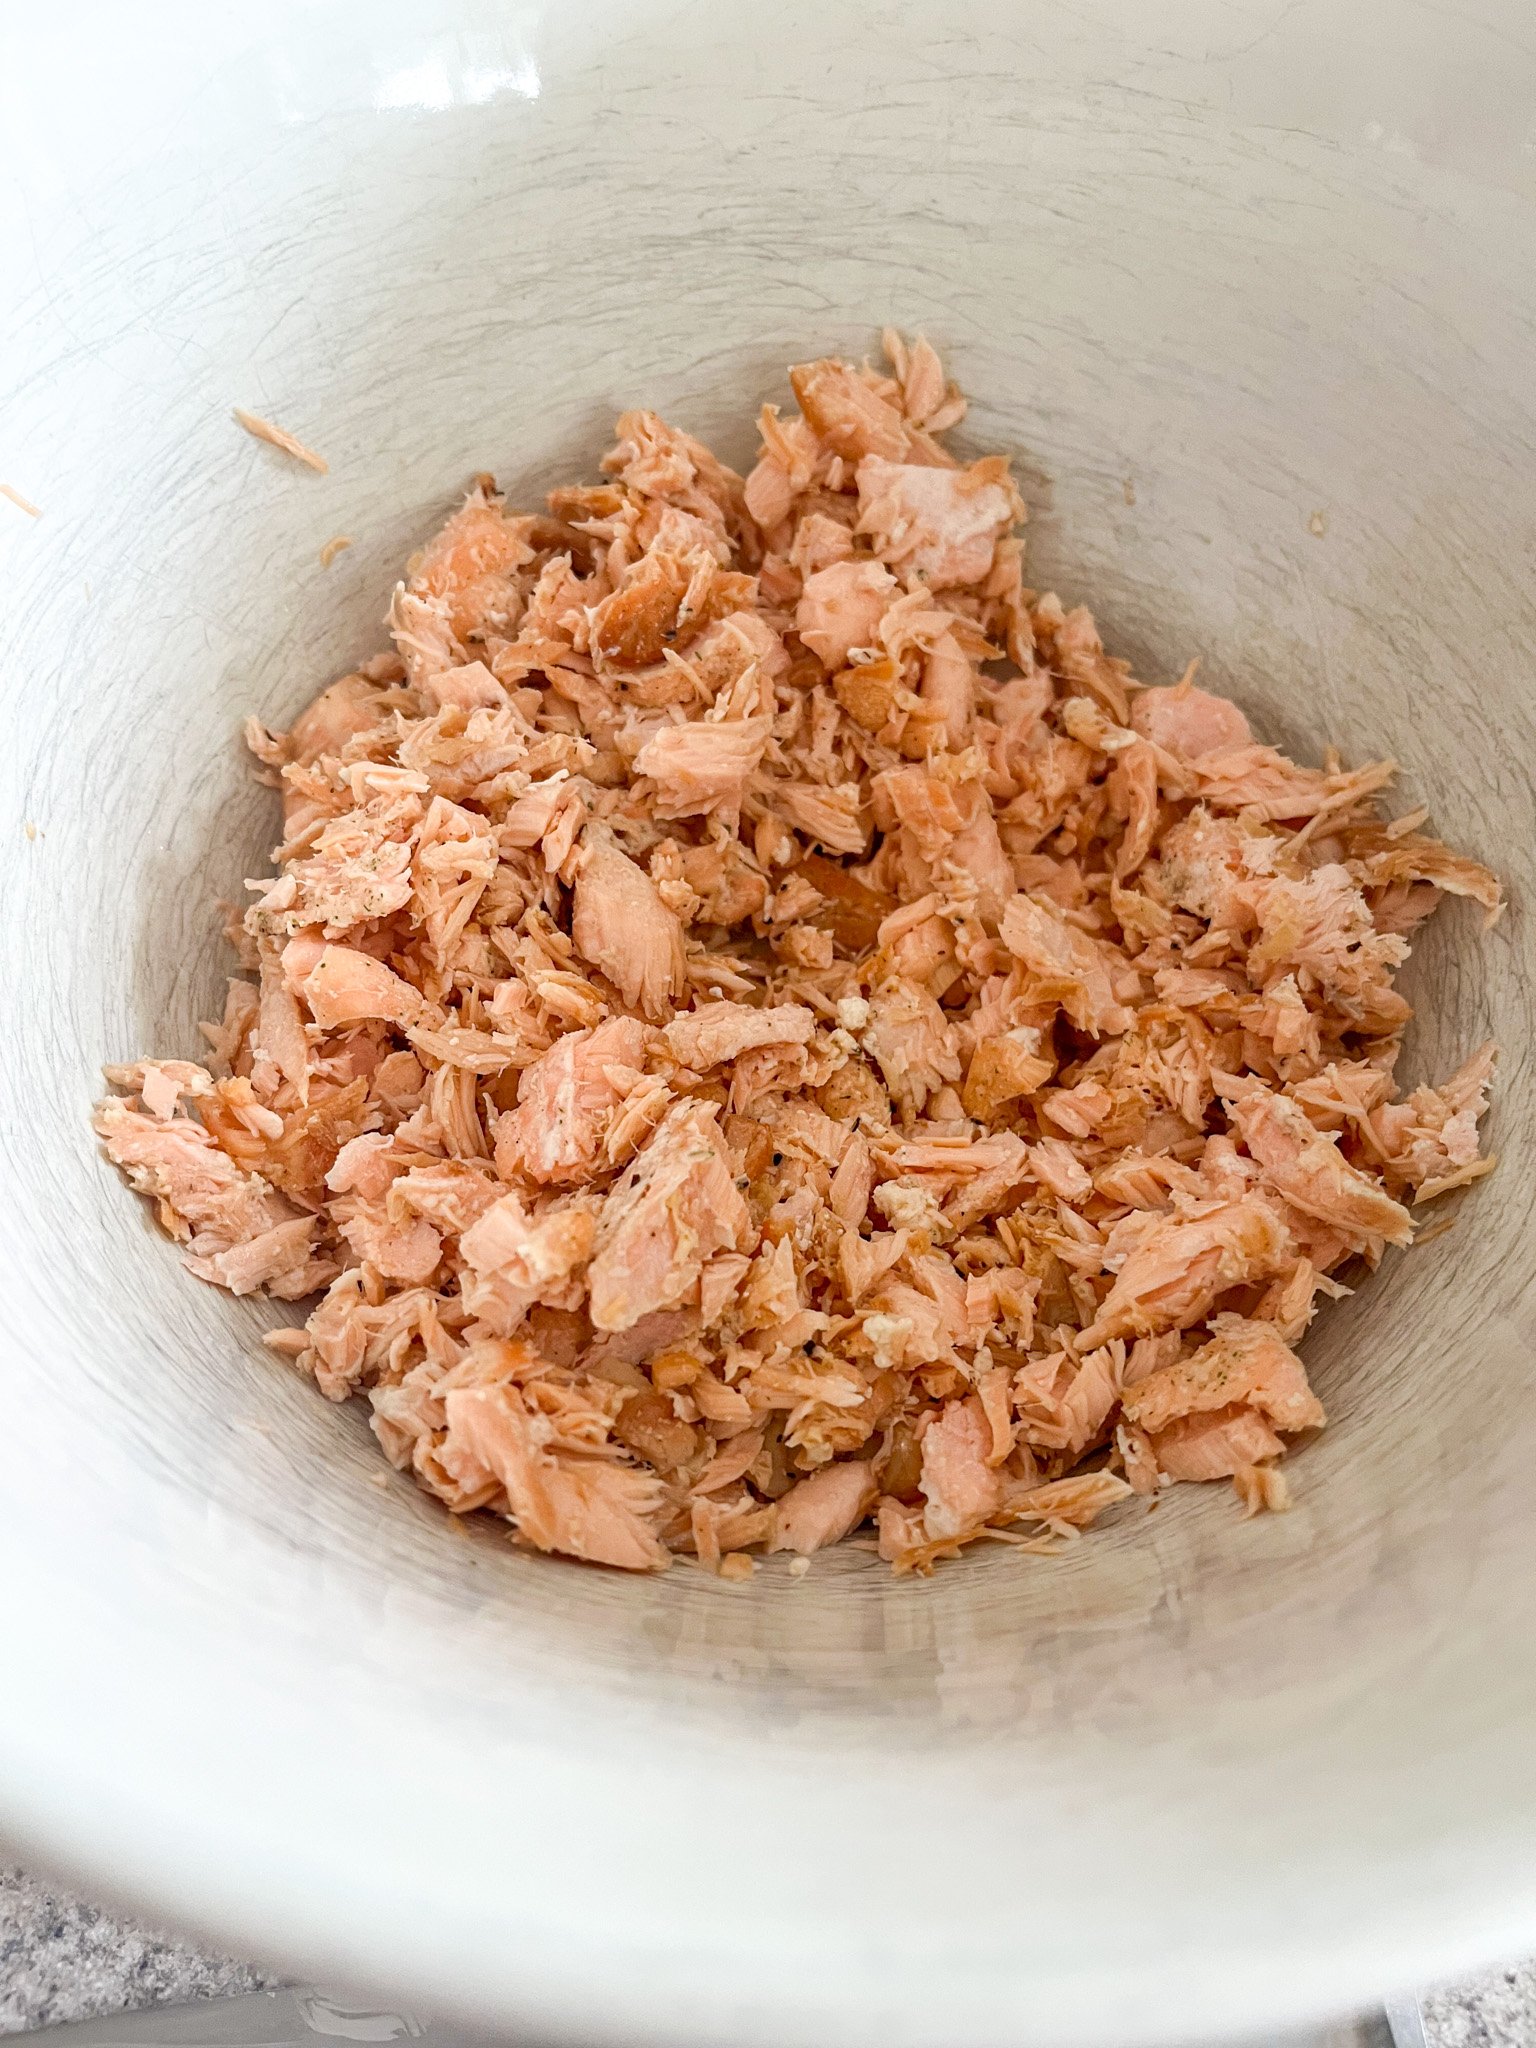
1/2 cup (or more, depending on hunger level) of our tasty pulled pork recipe
2-3 sliced dill pickles (we tested with store-bought sandwich slicers)
2 Tablespoons (Tbsp.) softened butter
Preparation
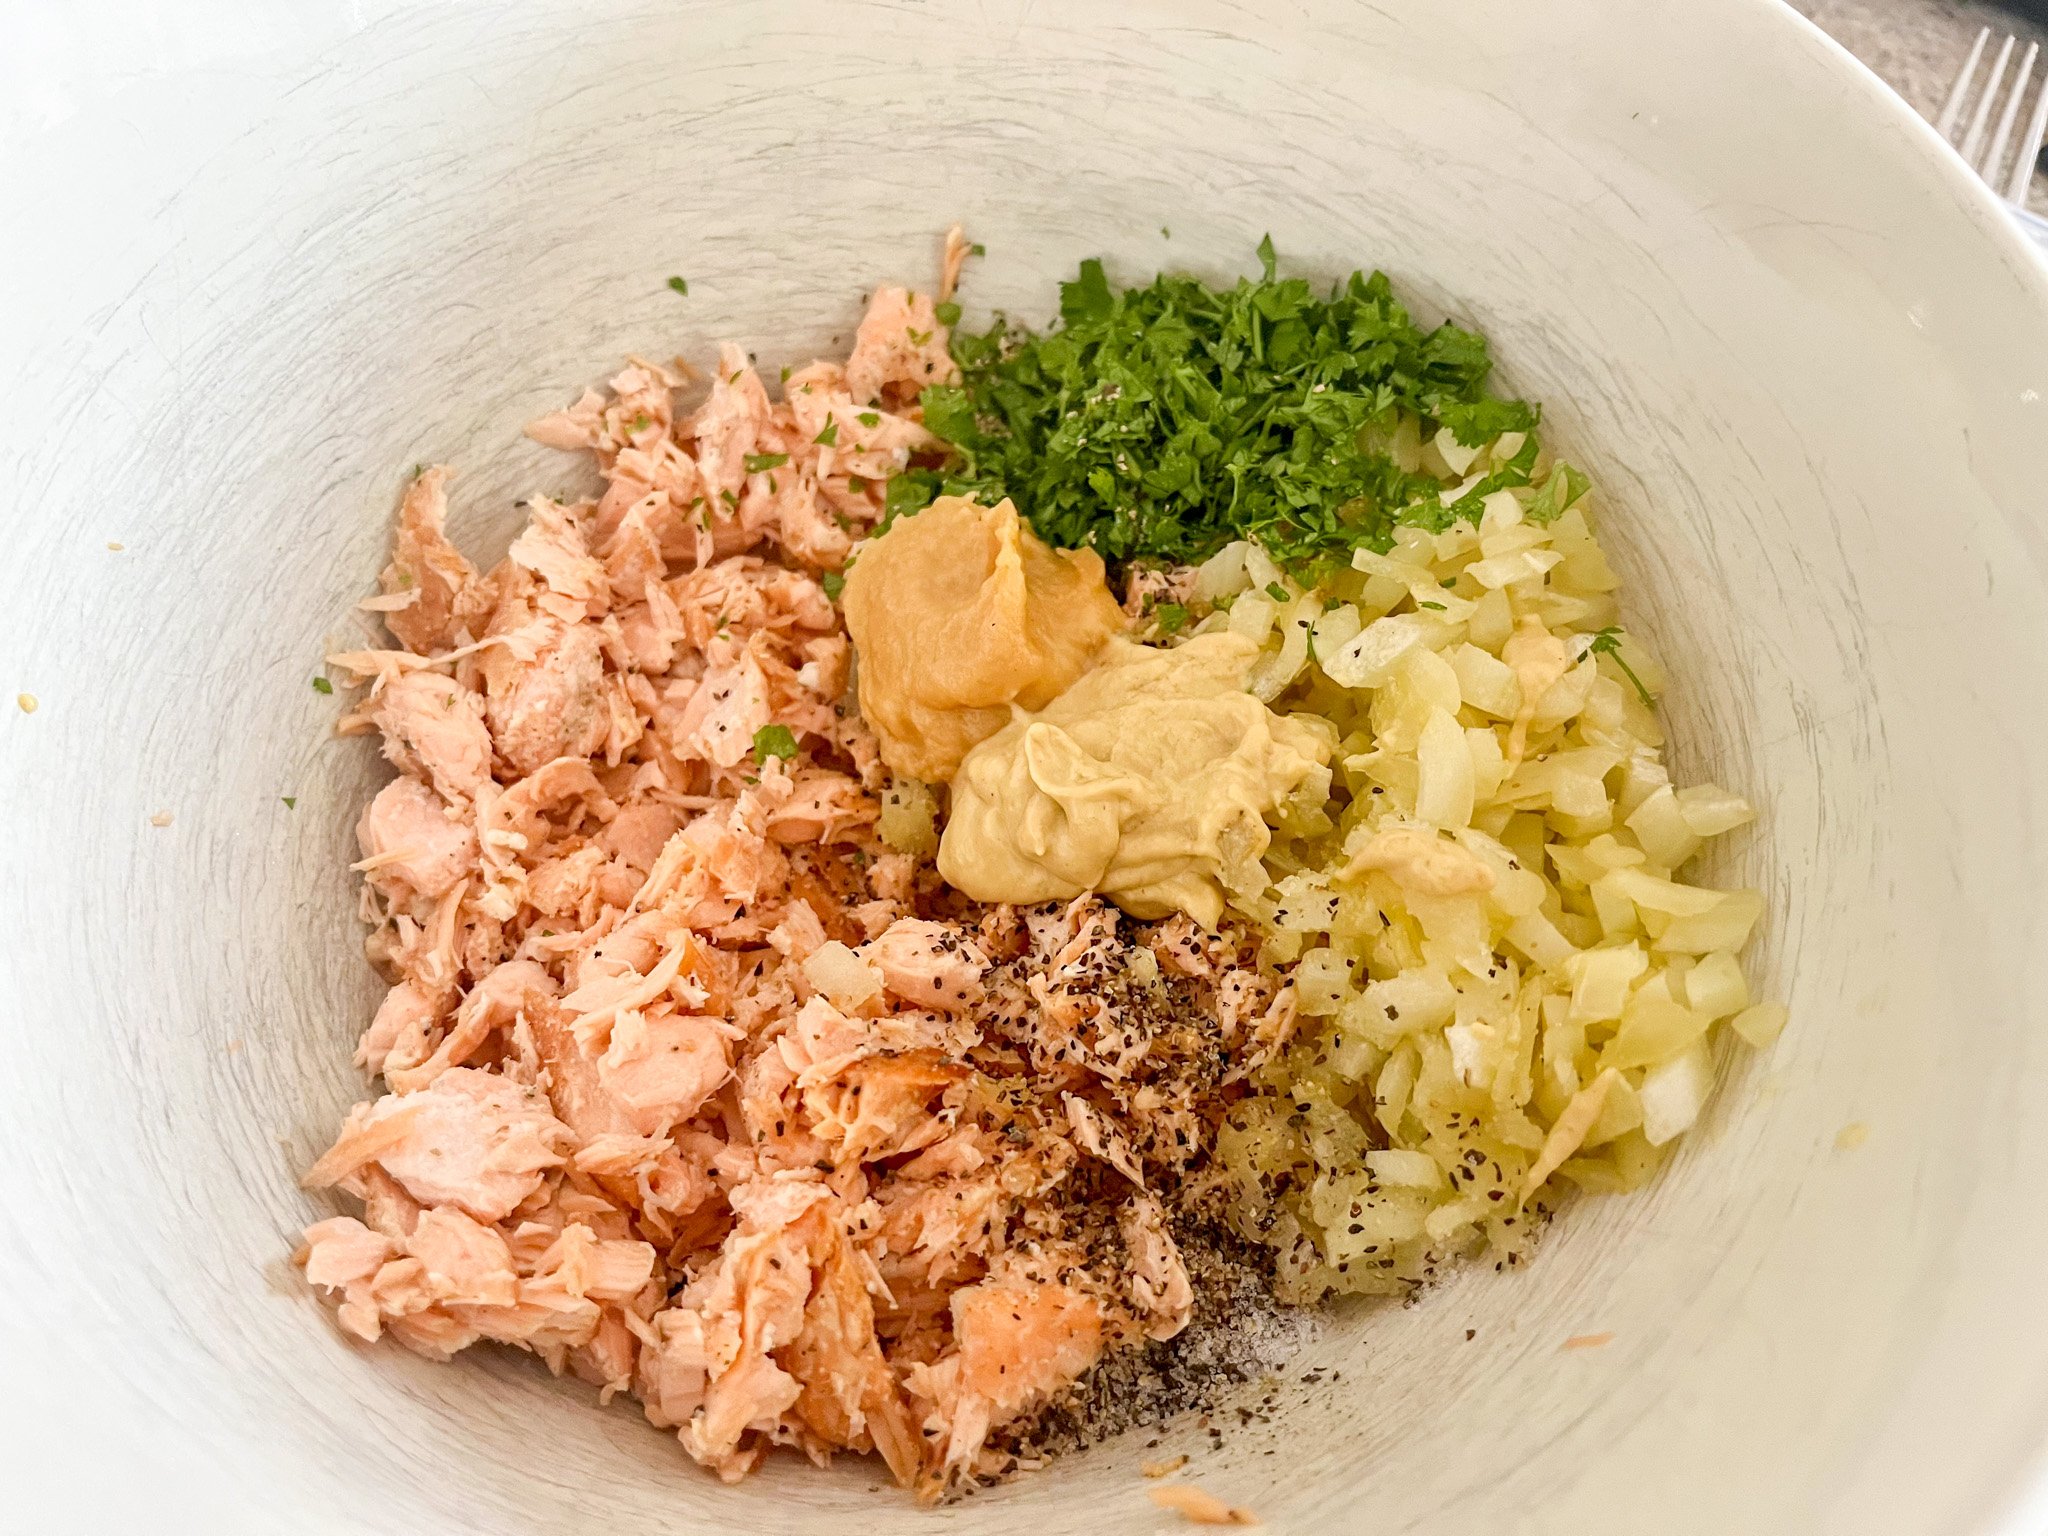
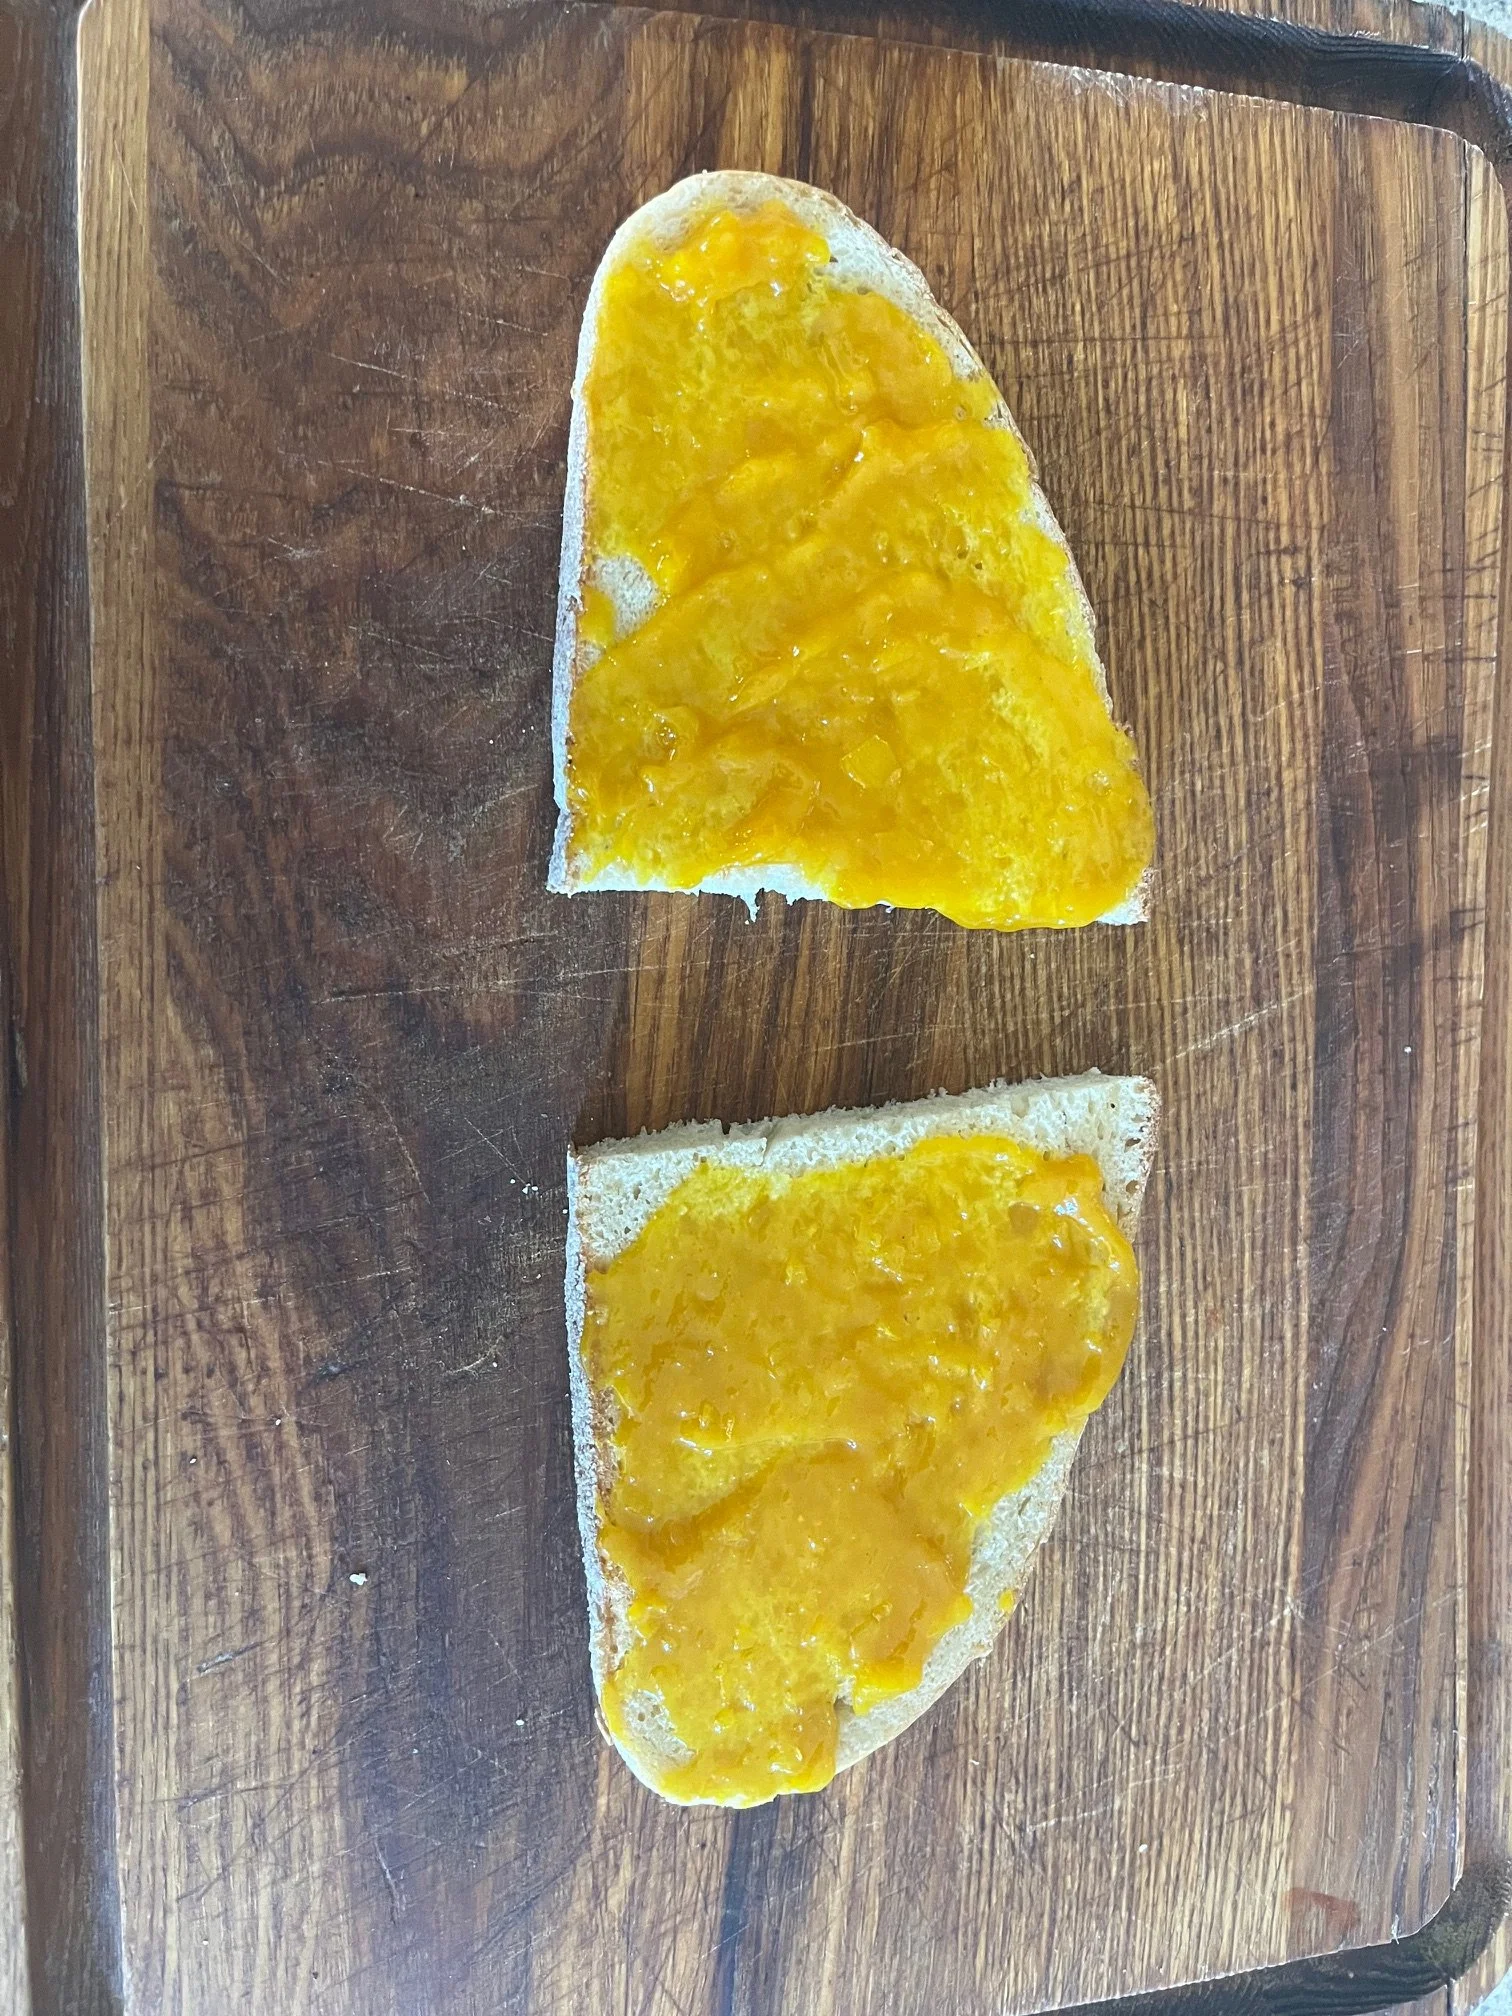
Combine the mustards and spread the mixture on both slices of bread.
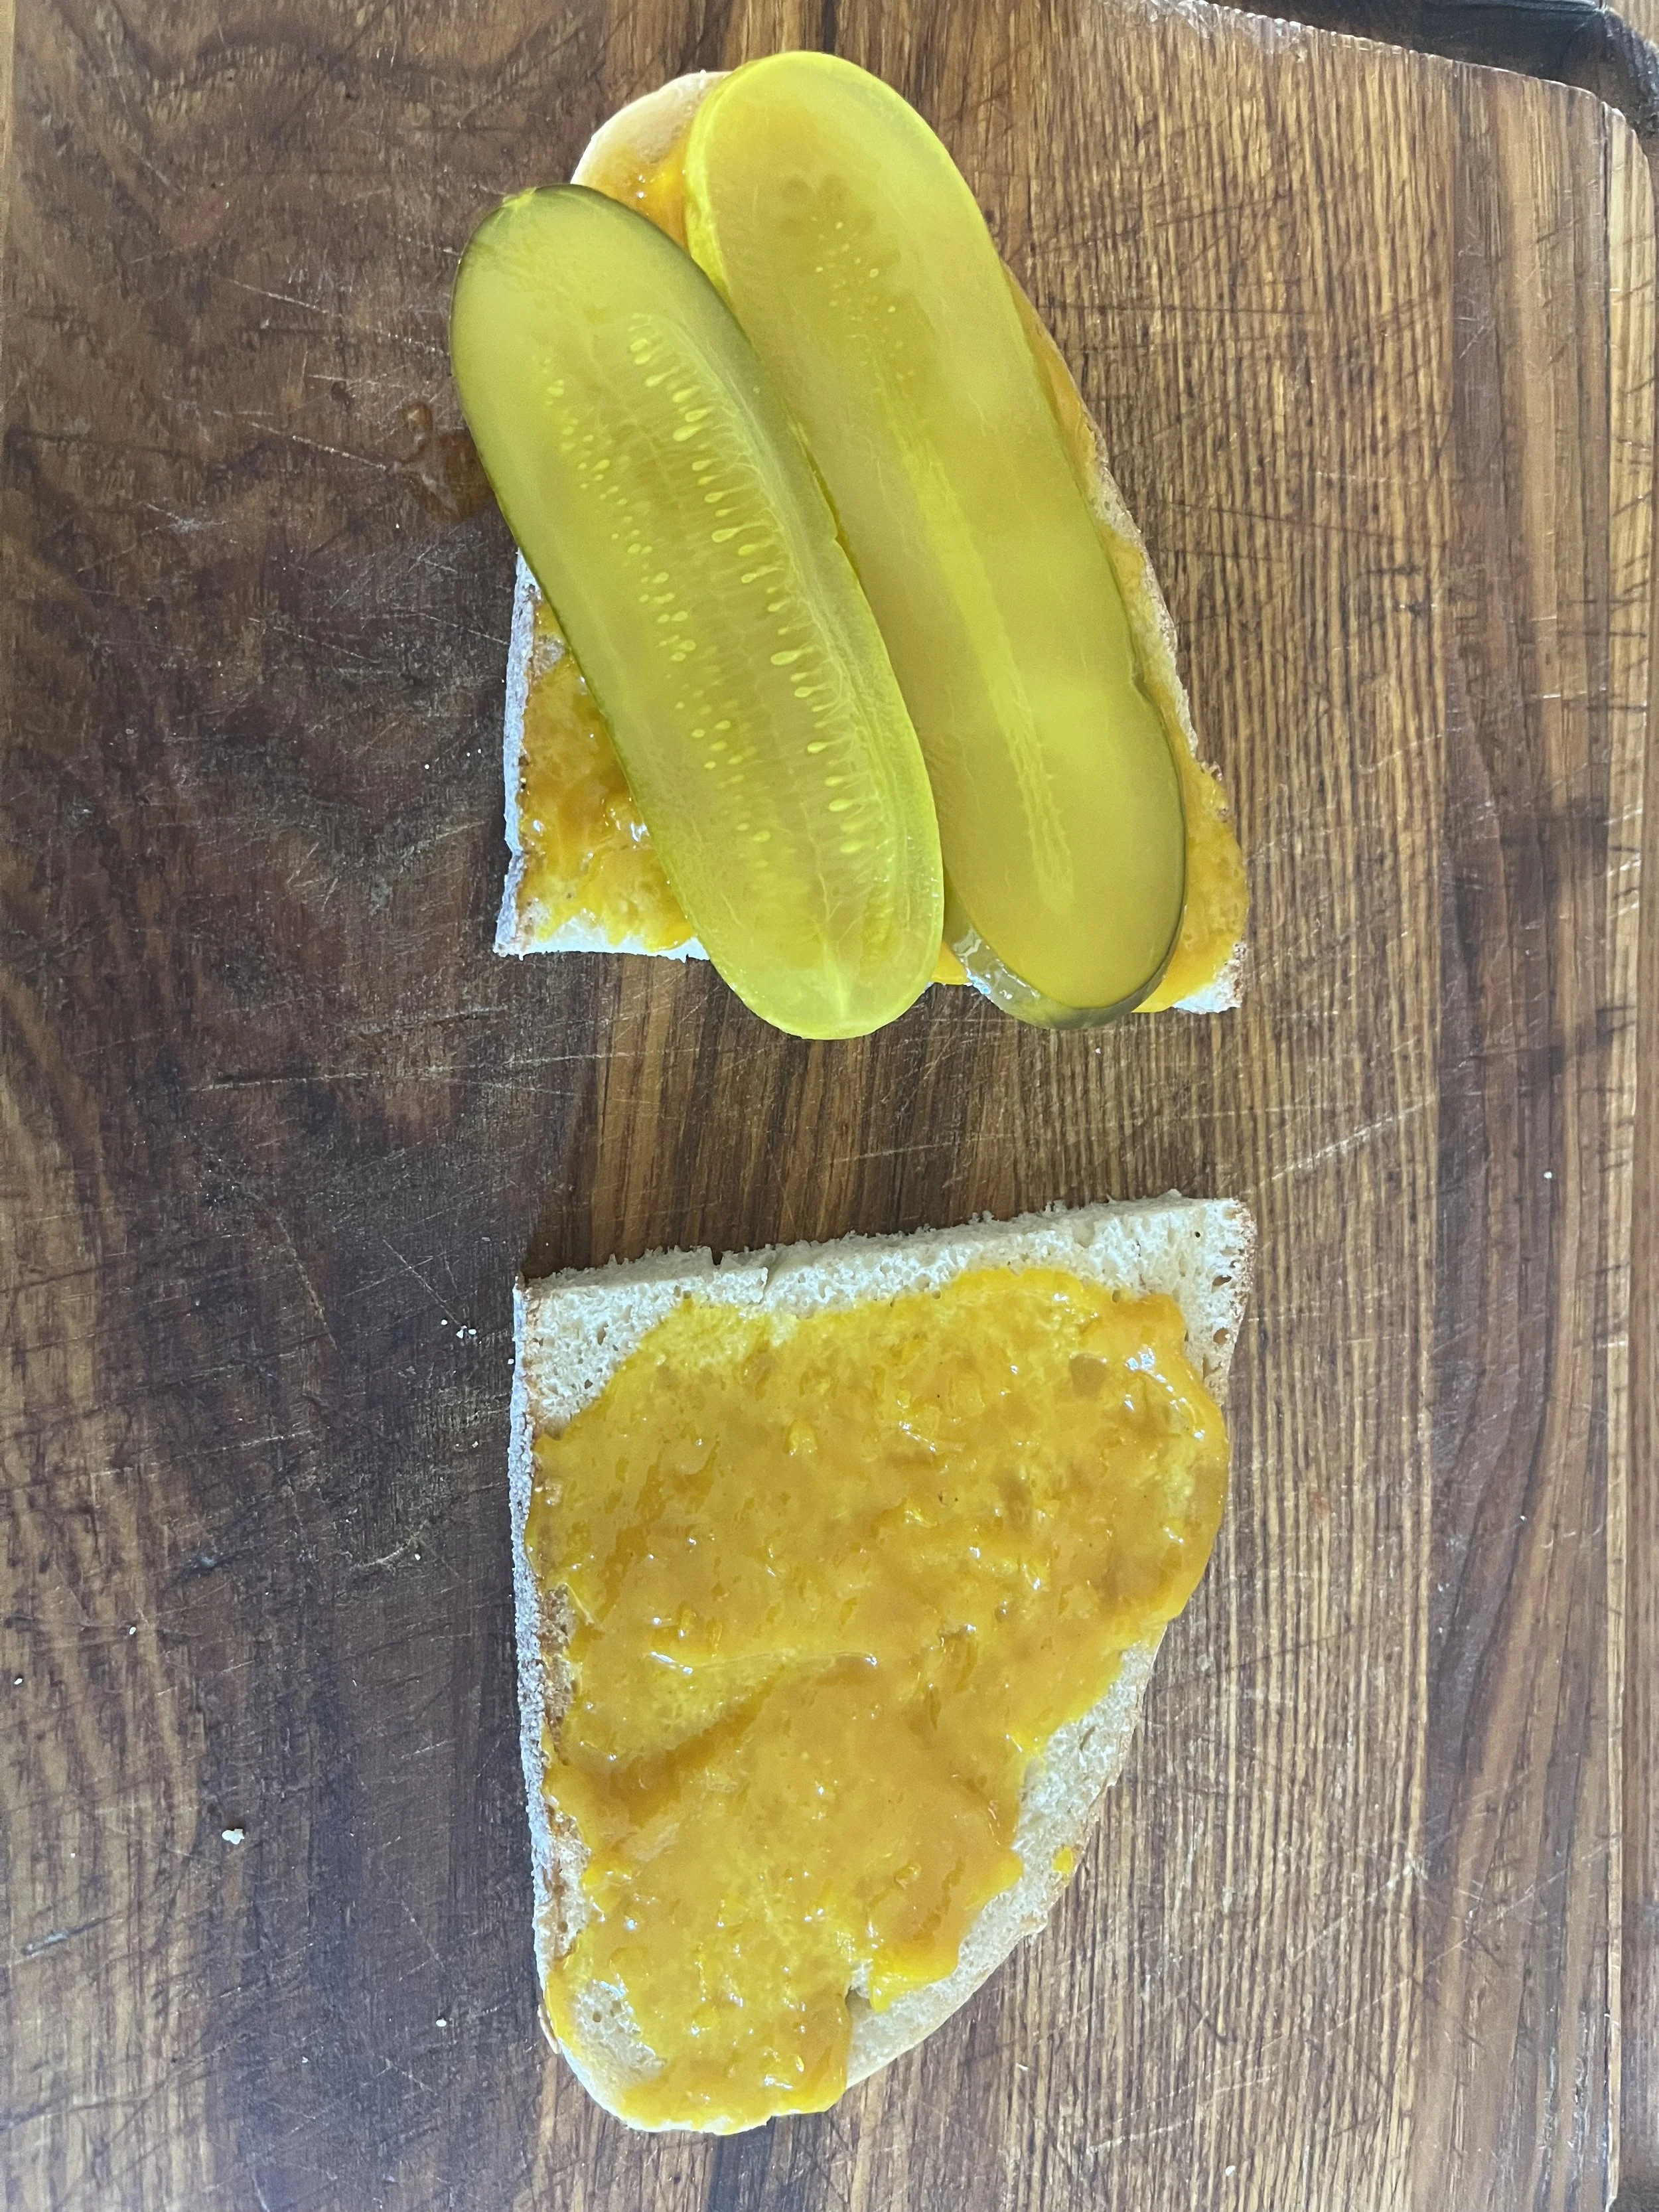
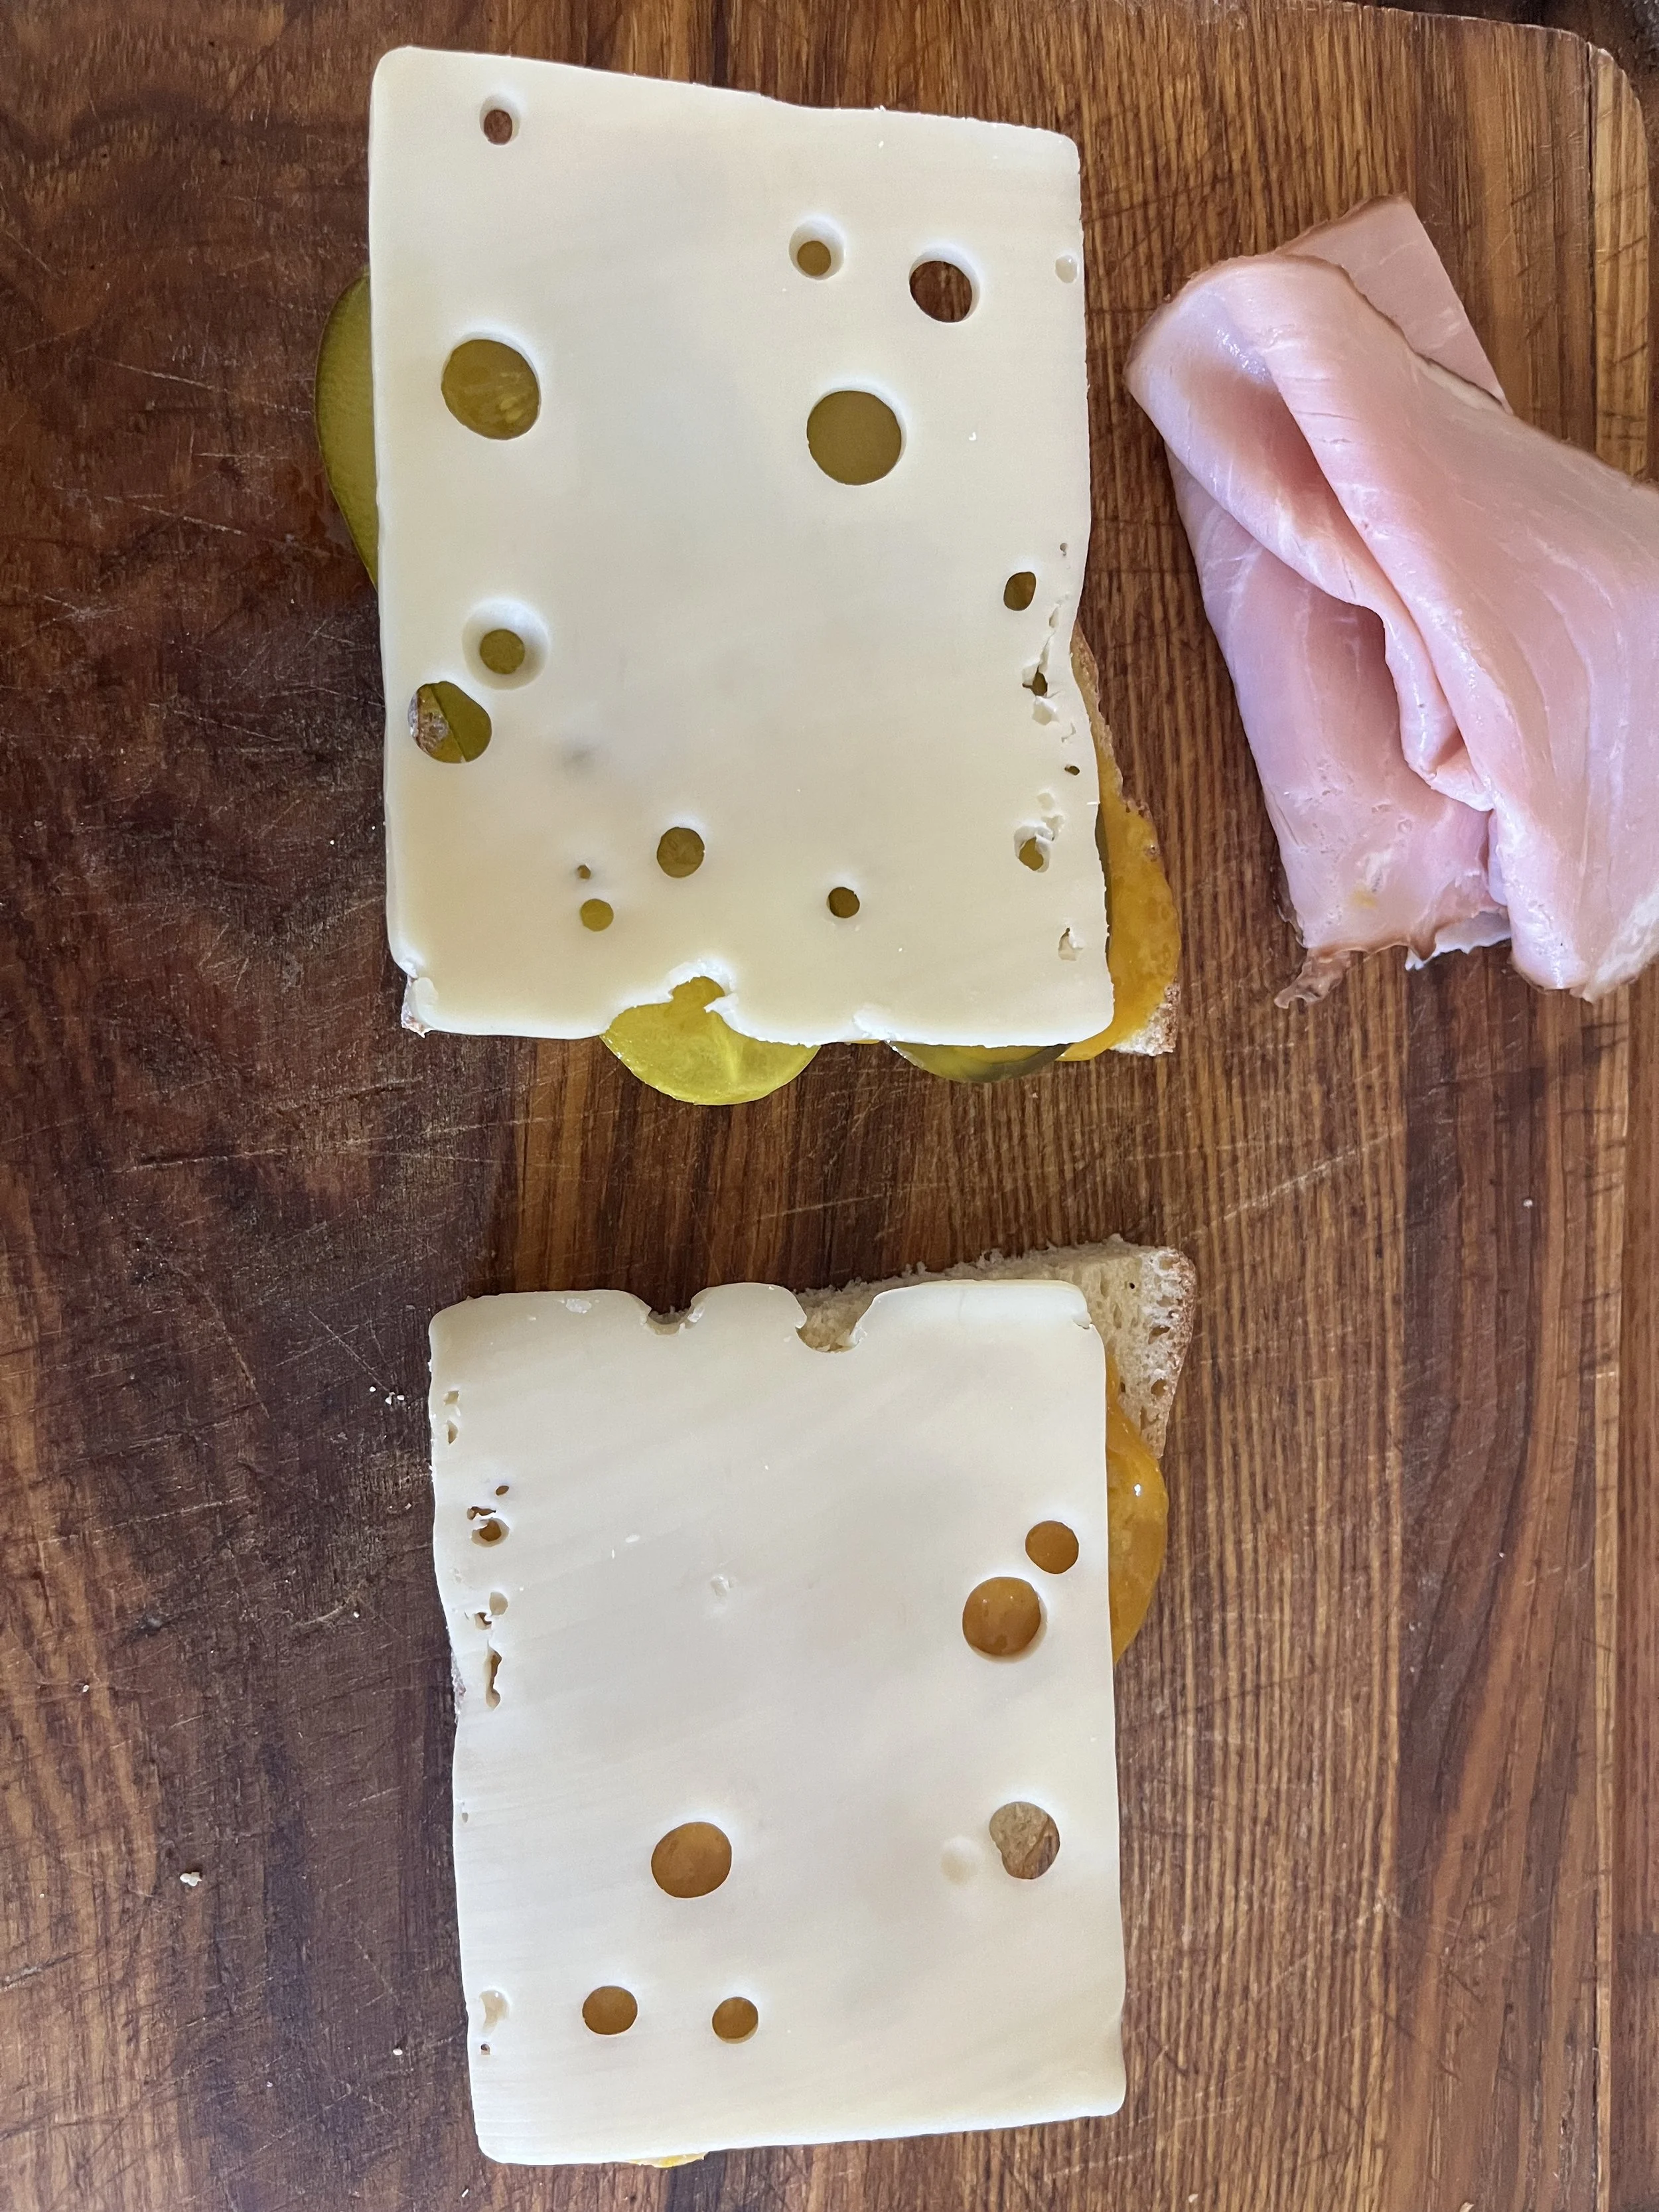
On one slice, layer the pickles over the mustard.
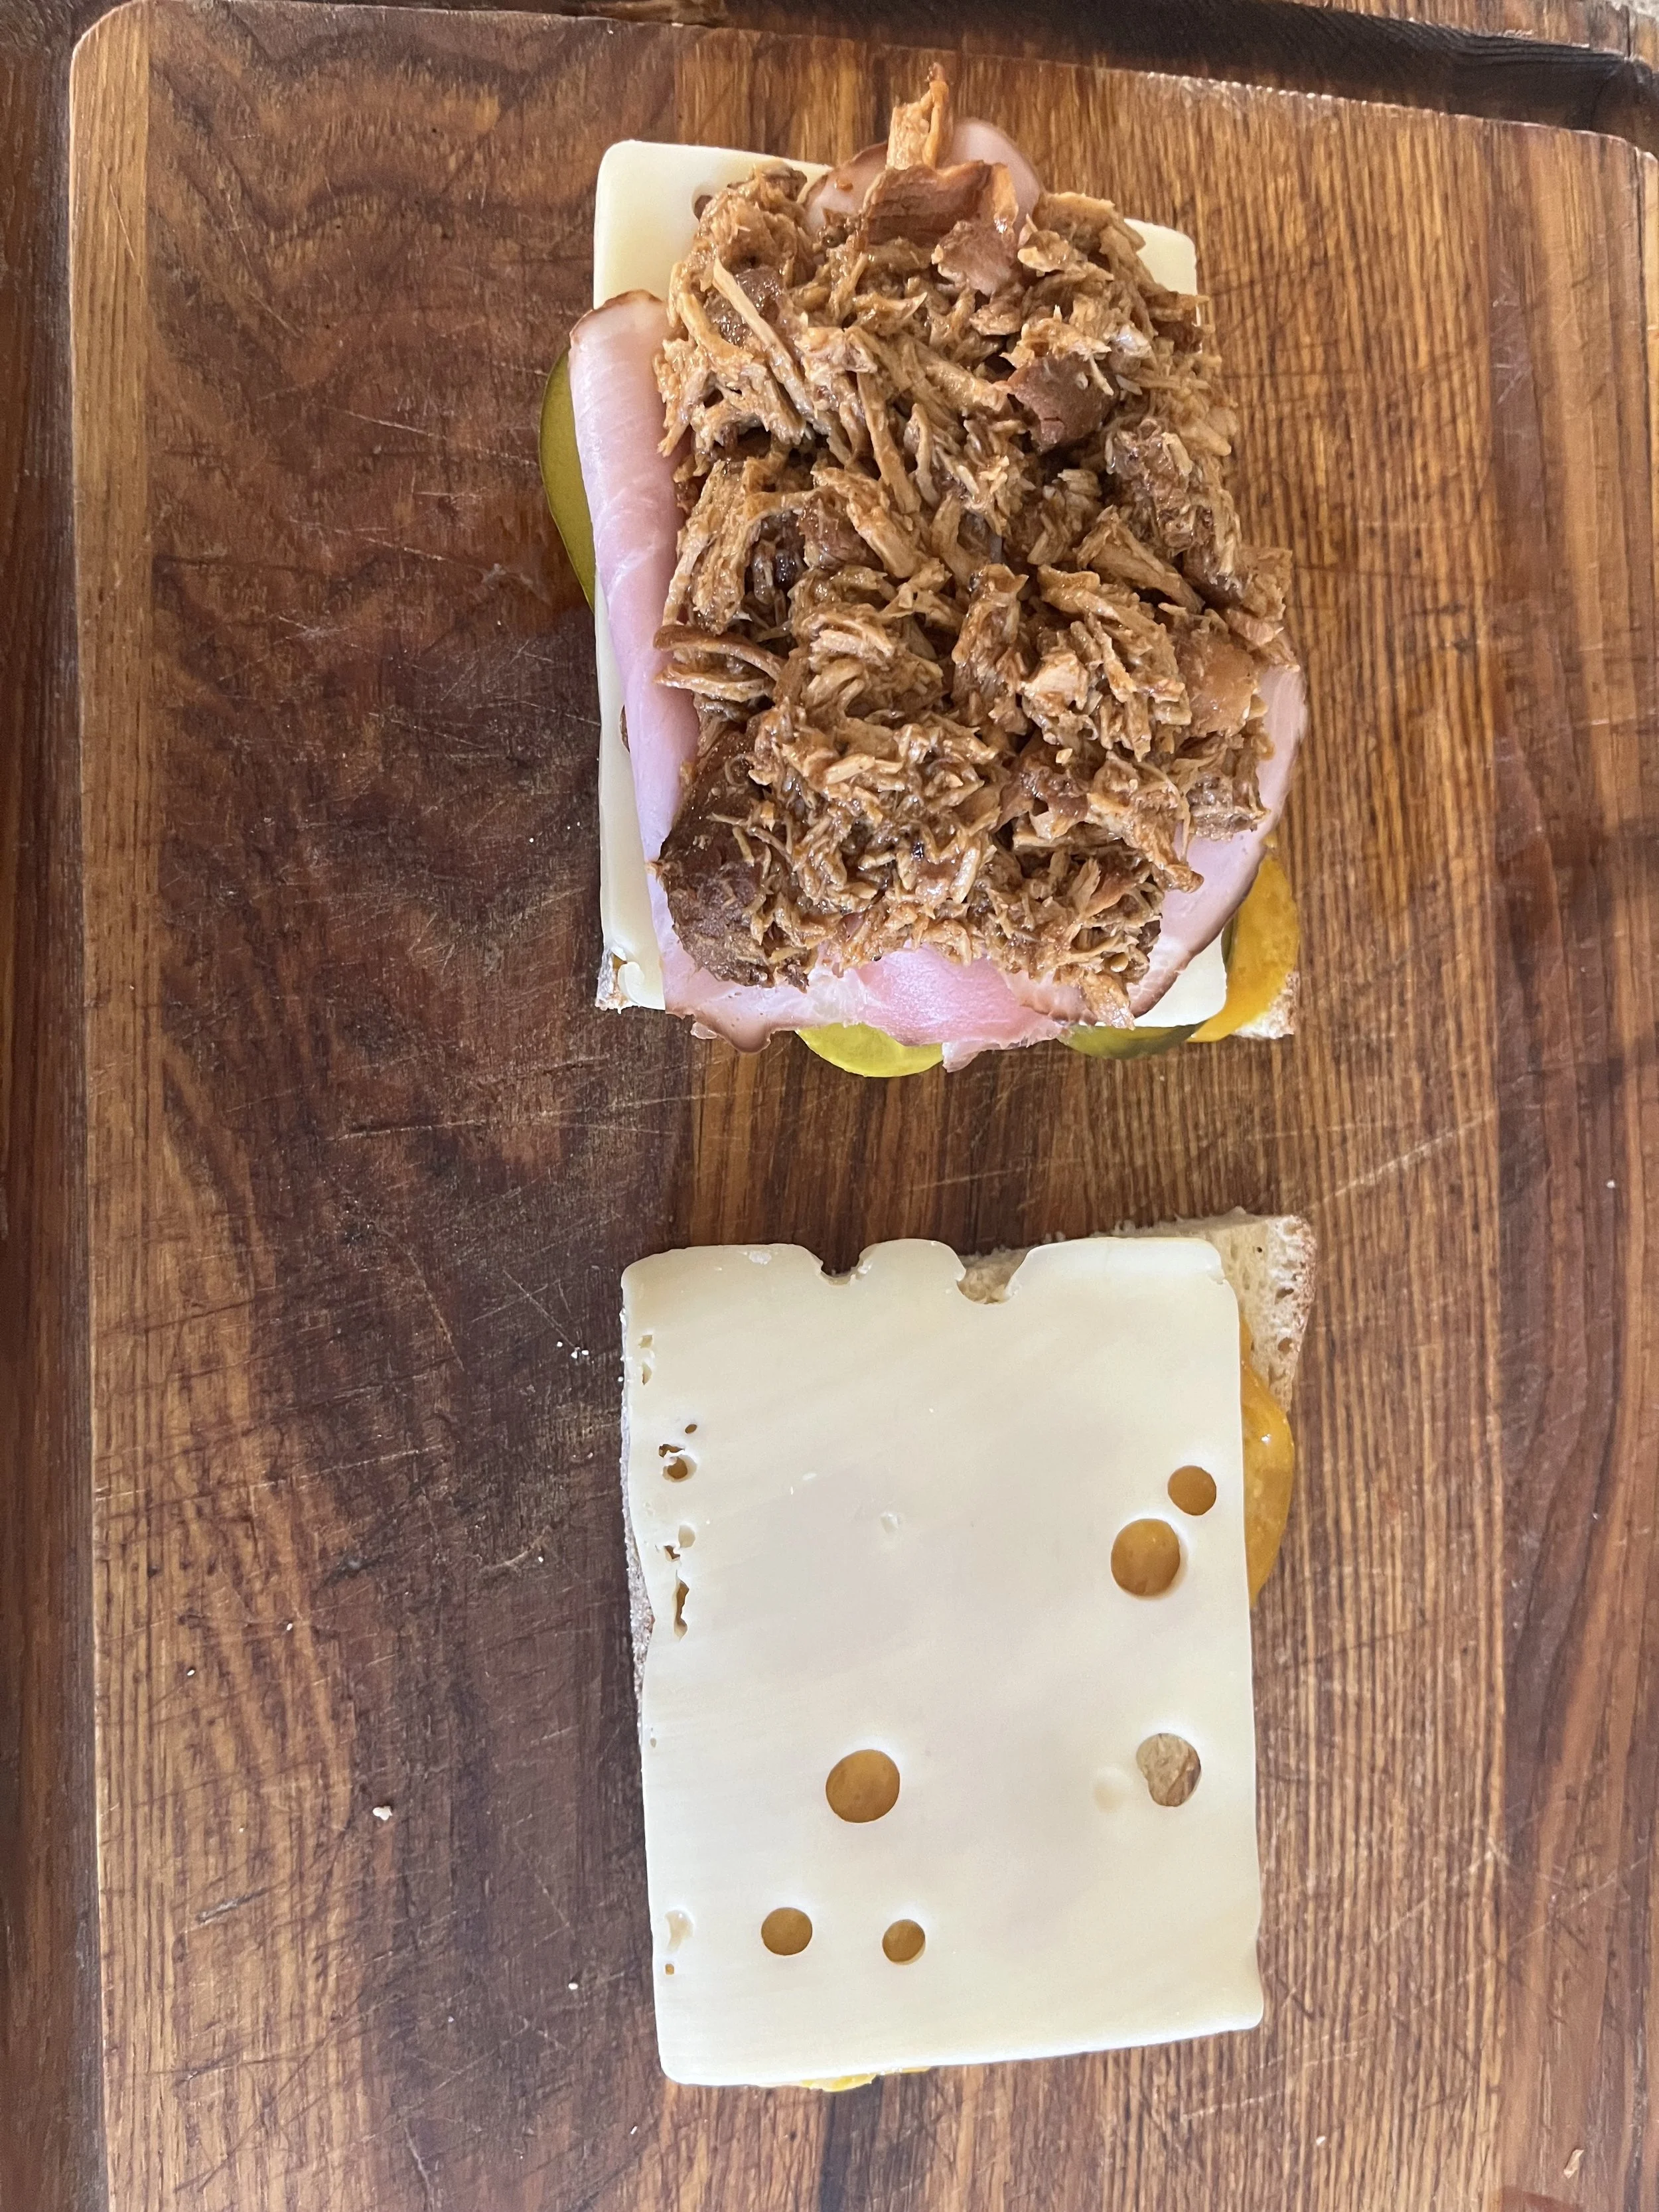
Add Swiss cheese to both slices. On the slice with the pickles, pile on the pulled pork and ham (add as much as you like—this sandwich is very flexible). Top with the second slice of bread to close the sandwich.
Butter the outside of the sandwich on both sides. Heat a panini press or a skillet over medium heat. Grill/press the sandwich until the bread is golden and crisp and the cheese is melted.
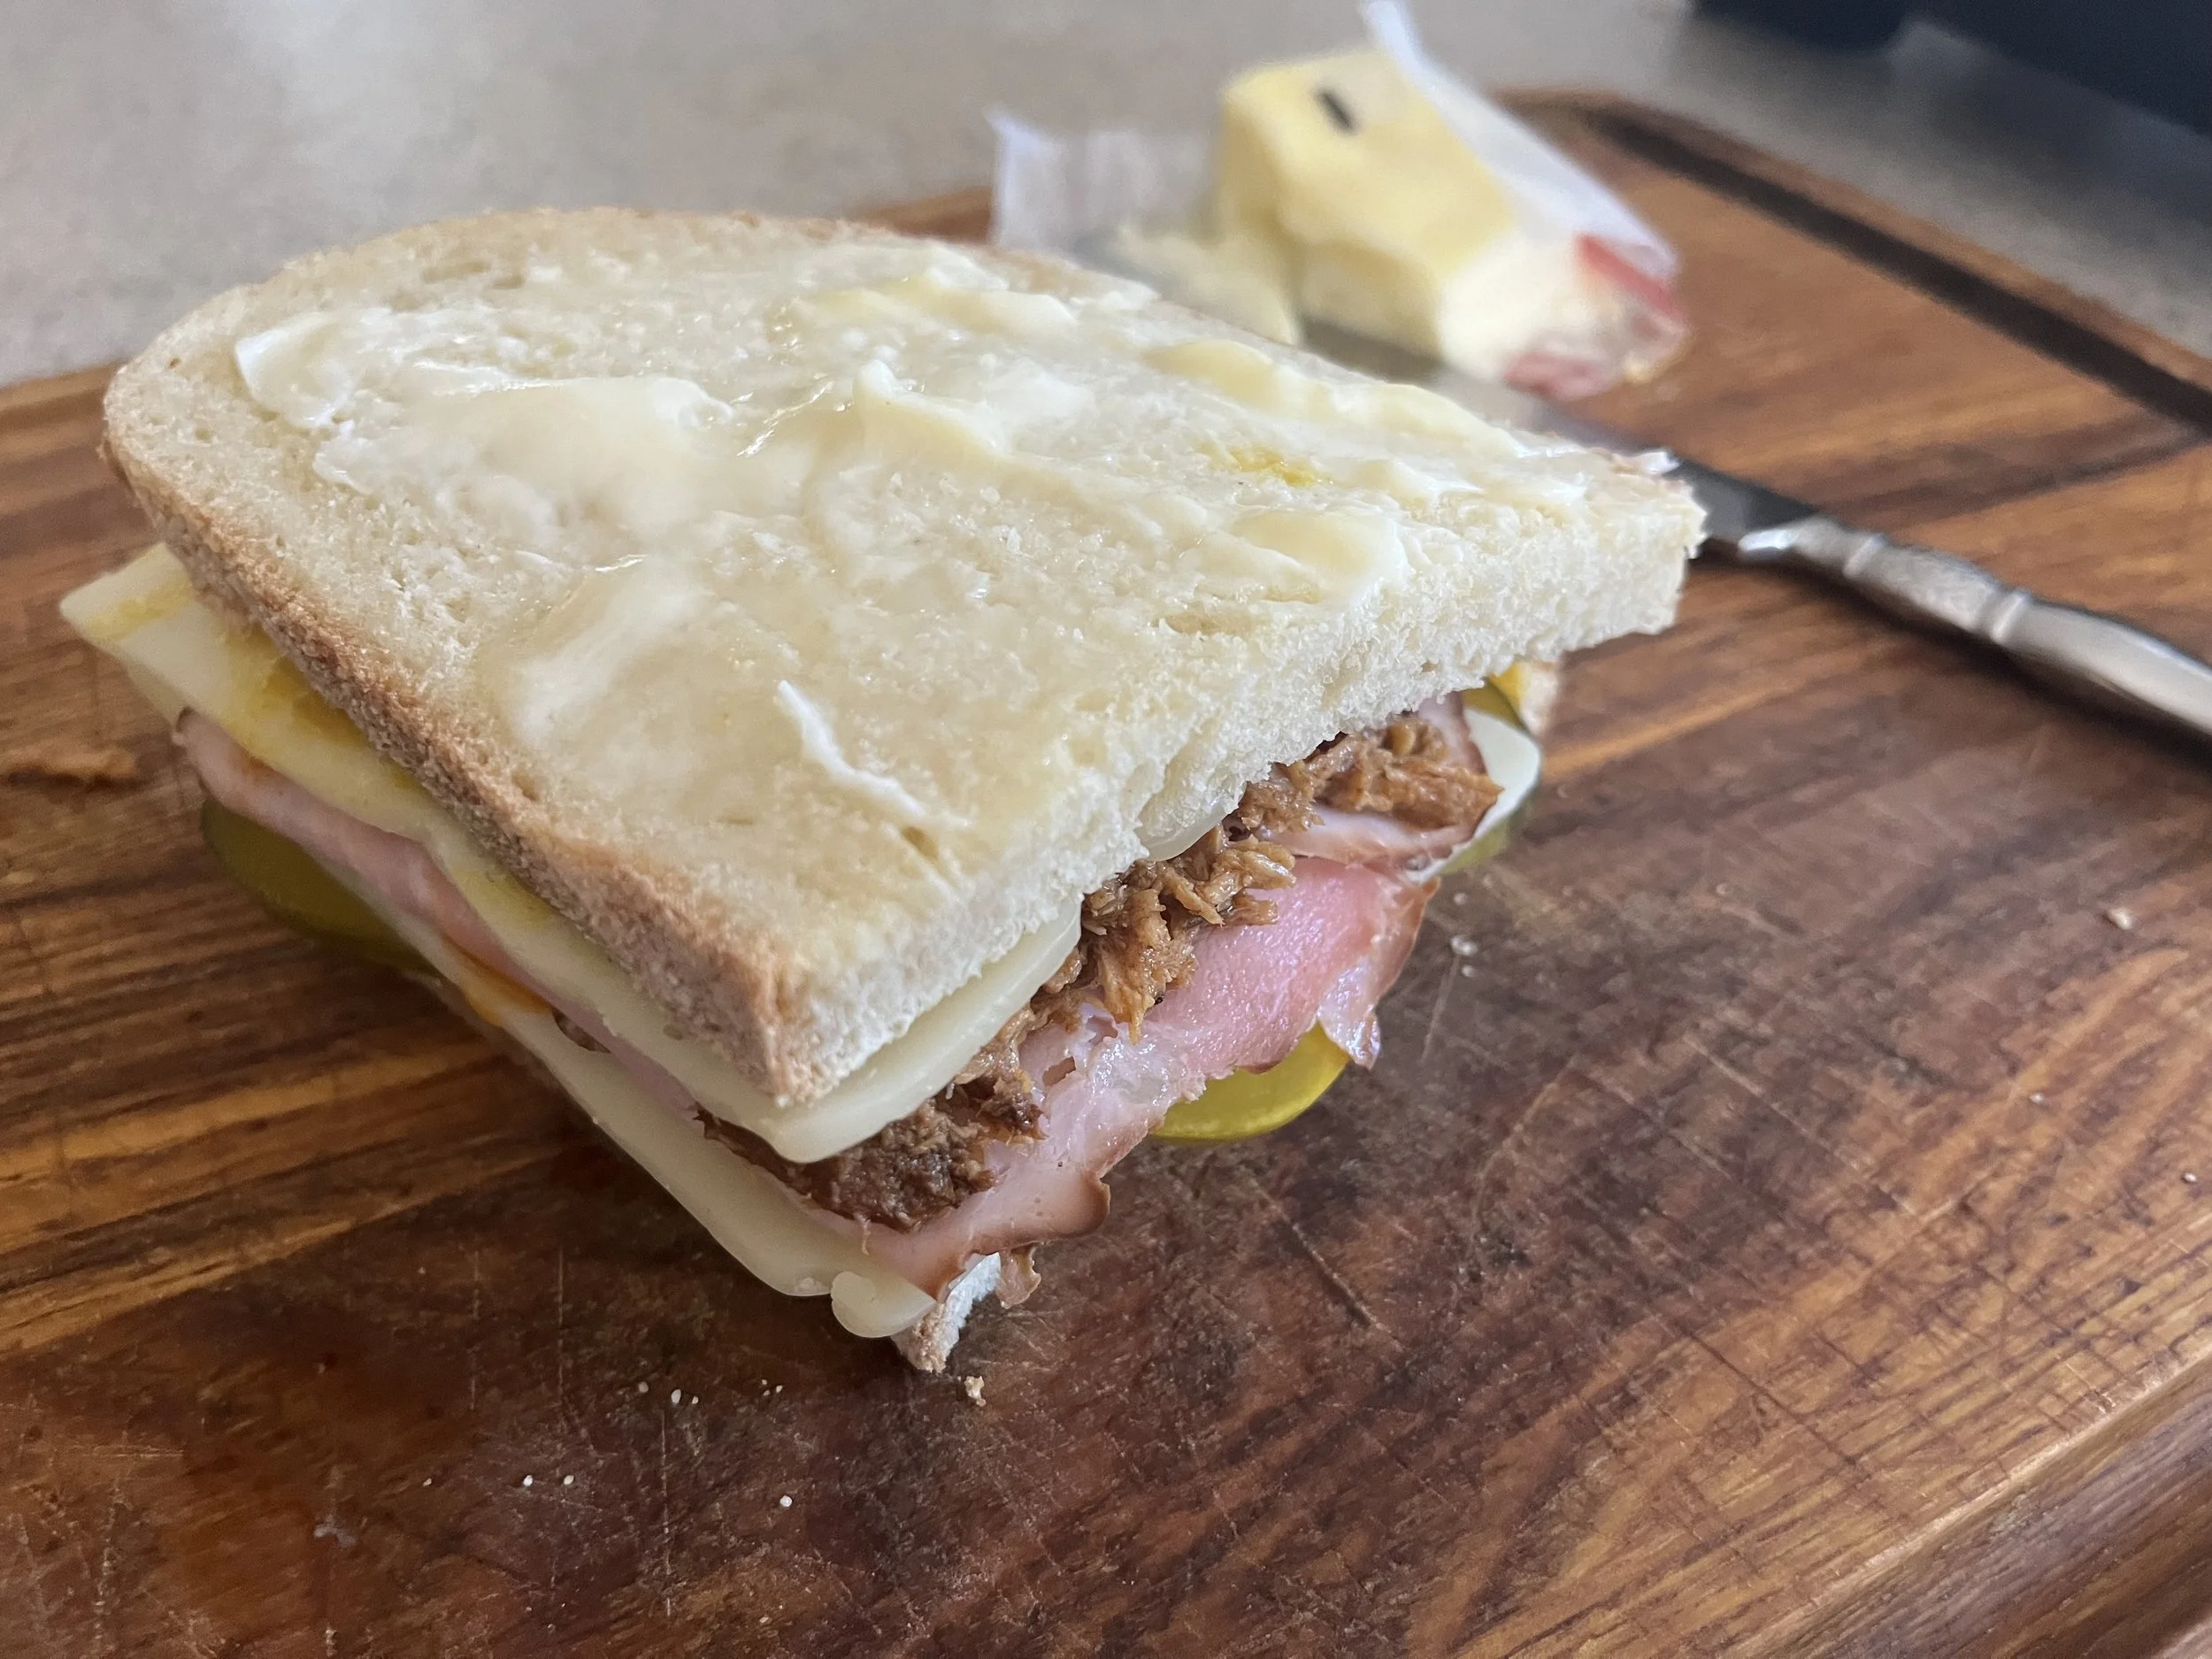
Enjoy!
‘