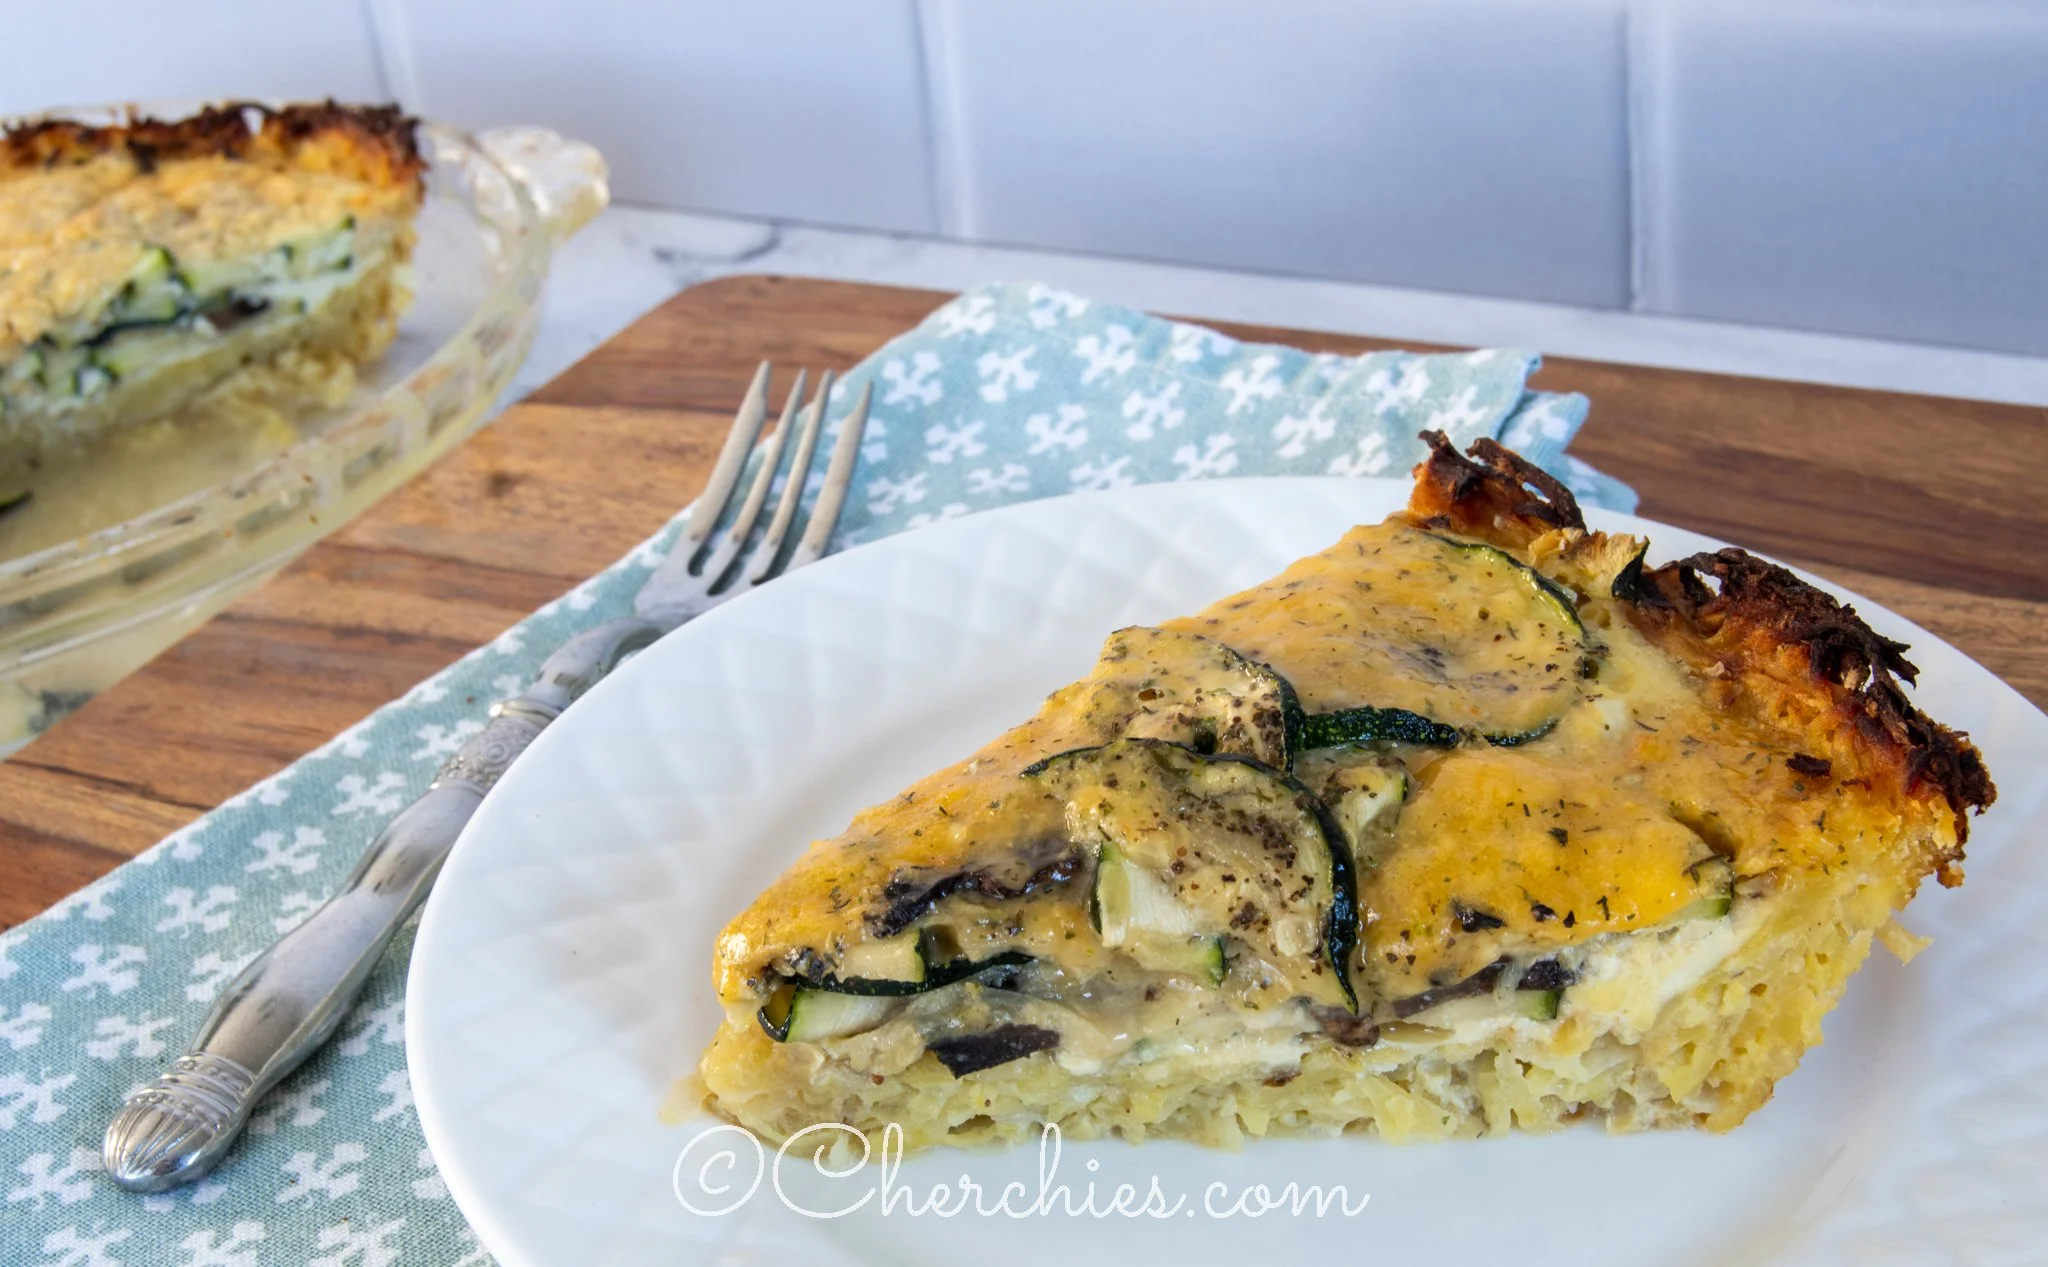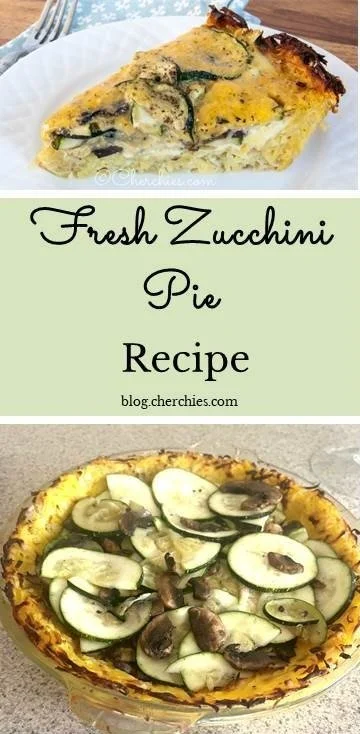
Fresh Zucchini Pie Recipe
Prep Time: 15 minutes
Cook Time: 65 minutes
Difficulty: Easy
Serves 8
Is zucchini growing out of your ears this Summer? Our garden has abundantly provided us with a plethora of zucchini this summer. As mentioned in my recent post, aside from stir-fries, sauteeing, fritters, zucchini bread (more on that in another post), or even giving to neighbors, I needed another recipe to share with you to use up our bounty. Introducing our Fresh Zucchini Pie Recipe!
This garden-fresh recipe features, you guessed it, ZUCCHINI, mushrooms, eggs, cheese, Cherchies® Lem ‘N Dill and Cherchies® Garlic Seasonings, and an unusual hash brown pie crust. We have tried other recipes without using Cherchies® Seasonings, and the result is not the same.
This easy recipe would be perfect for brunch, “Meatless Monday,” dinner, or any time you have a hankering for fresh veggies, cheese, and potatoes. Serve this zucchini pie with our Cranberry Spinach Salad for a complete meal.
Thank you for stopping by! Comment below if you have tried this tasty recipe. Come back again for more family-tested recipes, entertaining ideas, and cooking tips using all our favorite Cherchies® gourmet products. Family and picky husband approved;)
Follow us on social media: Facebook, Instagram, and Pinterest.
Enjoy!
Ingredients
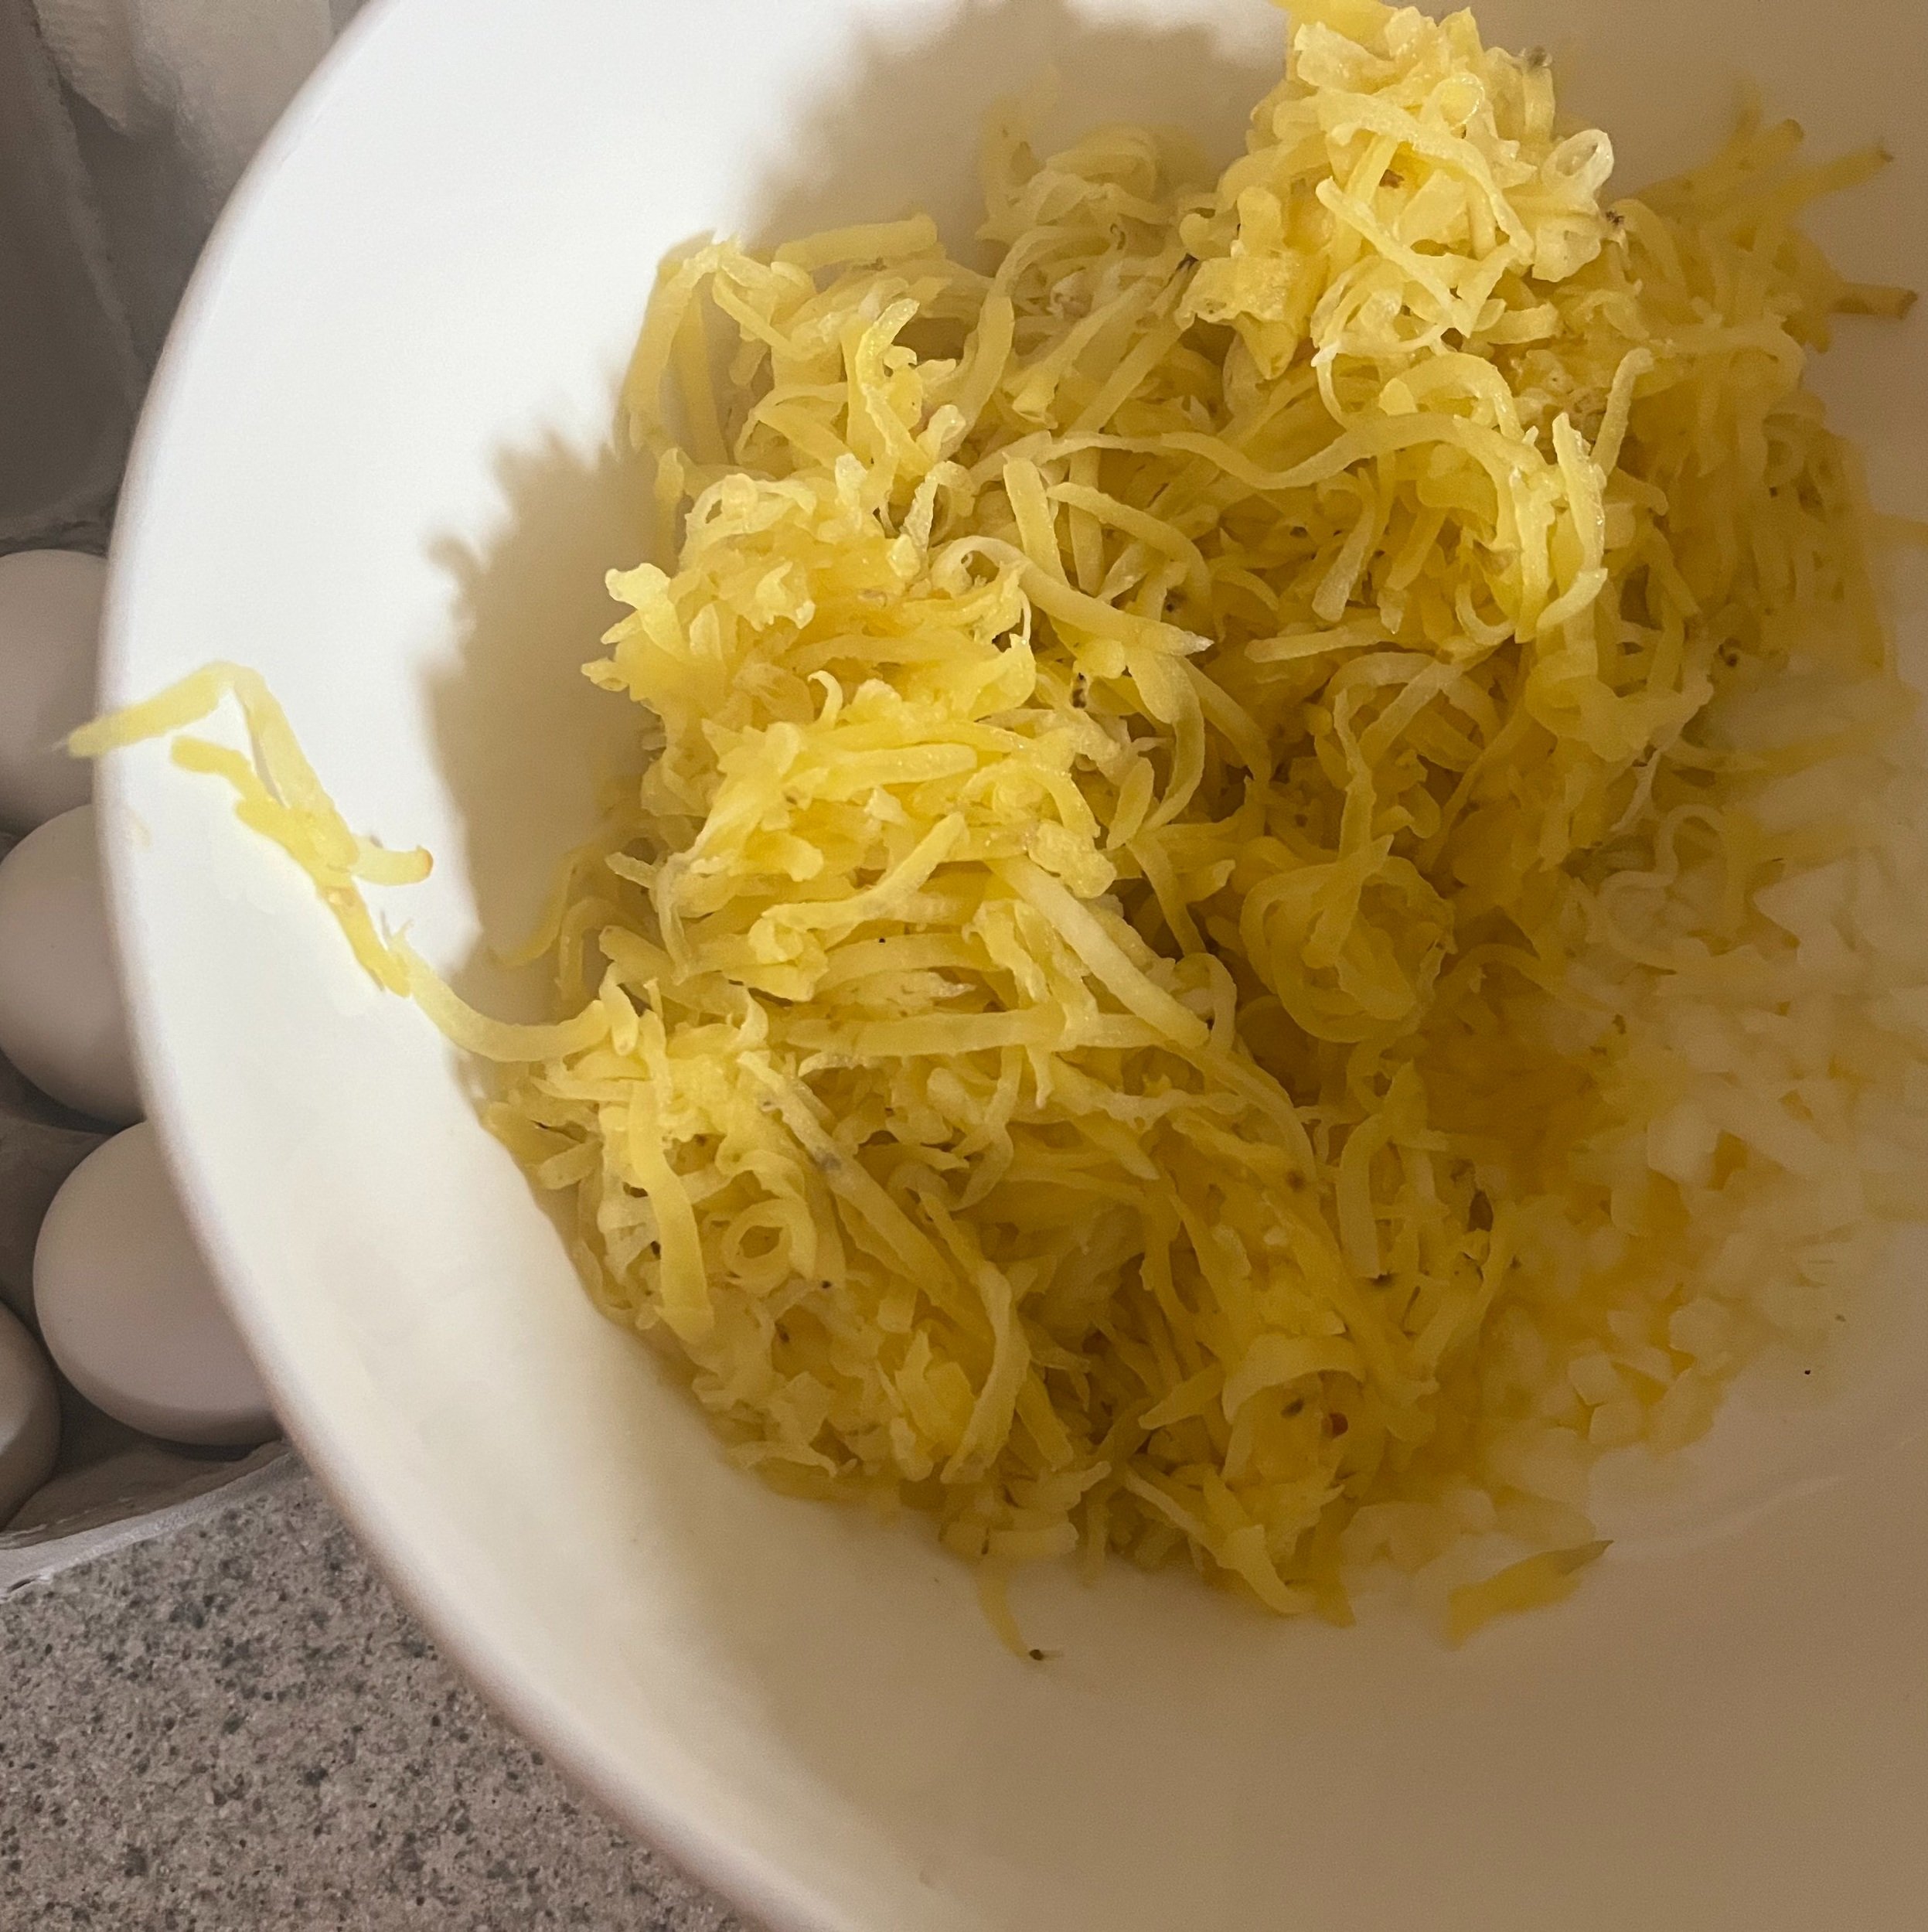
3 cups frozen loose-pack hash brown potatoes, thawed (*You can also make your own hash browns. See Note below).
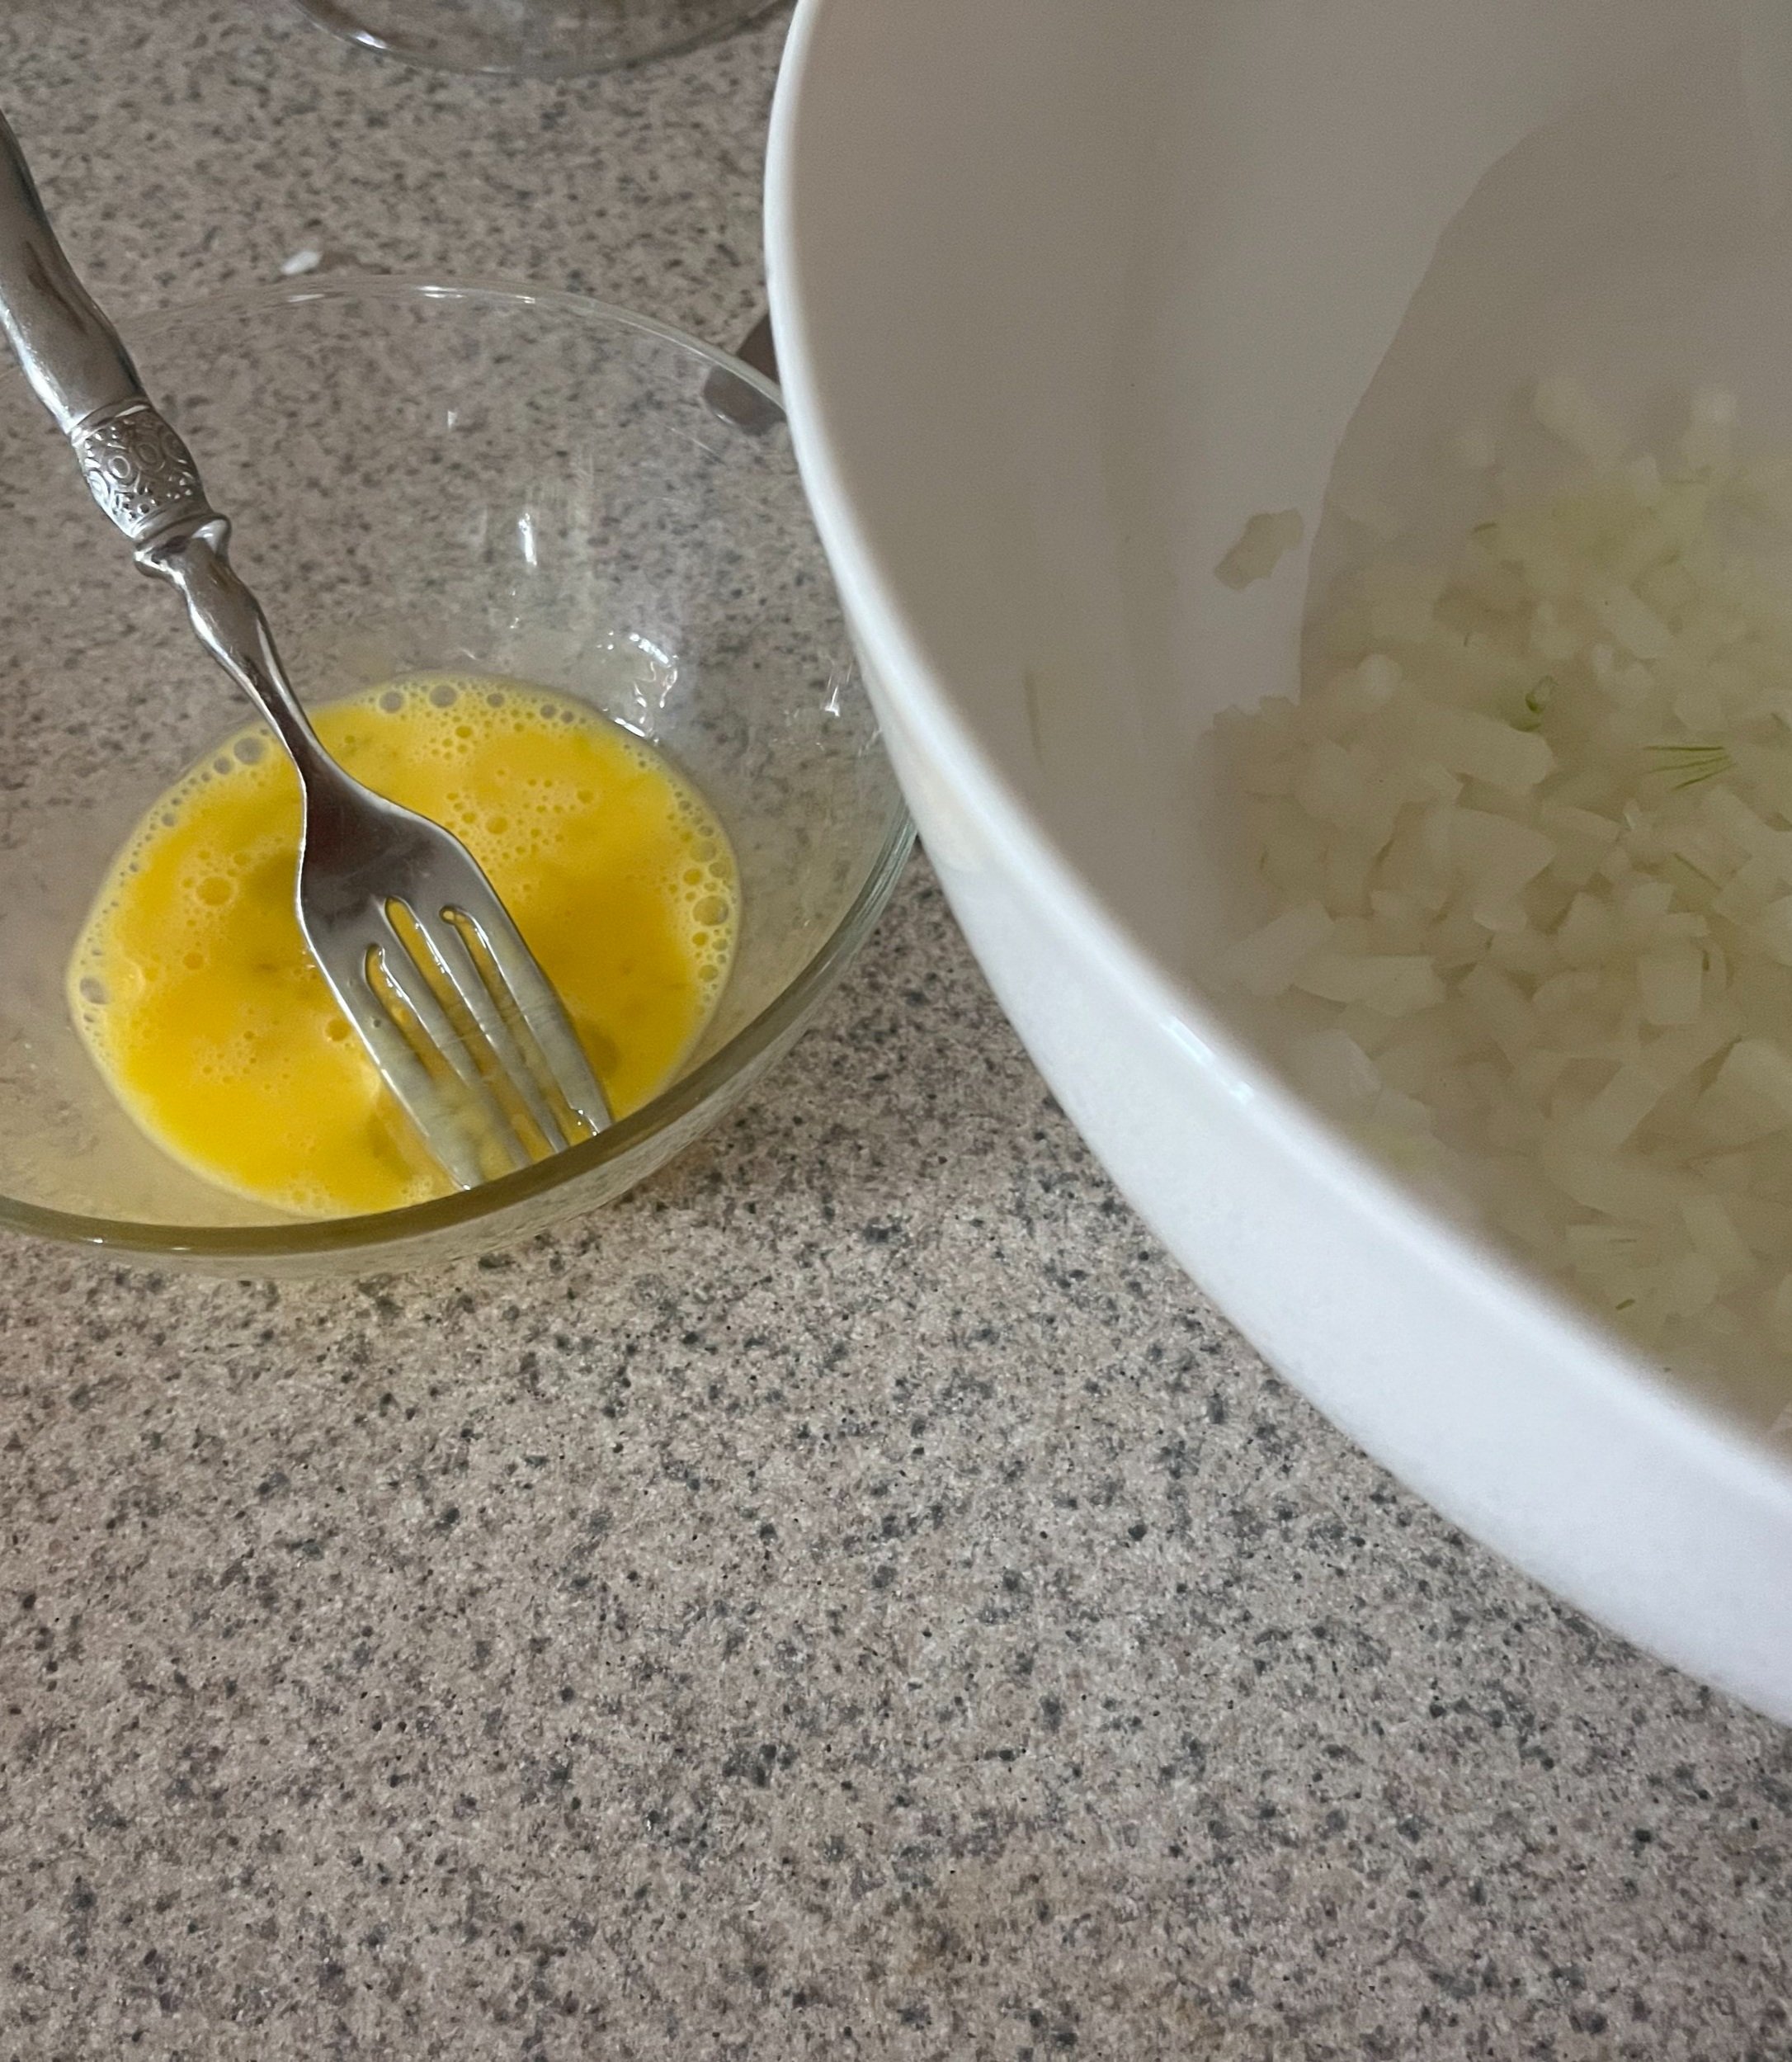
1 beaten egg
1/4 cup finely chopped onion
1/4 cup grated Parmesan cheese
1 Tablespoon (Tbsp.) Cherchies® Lem’n Dill Seasoning
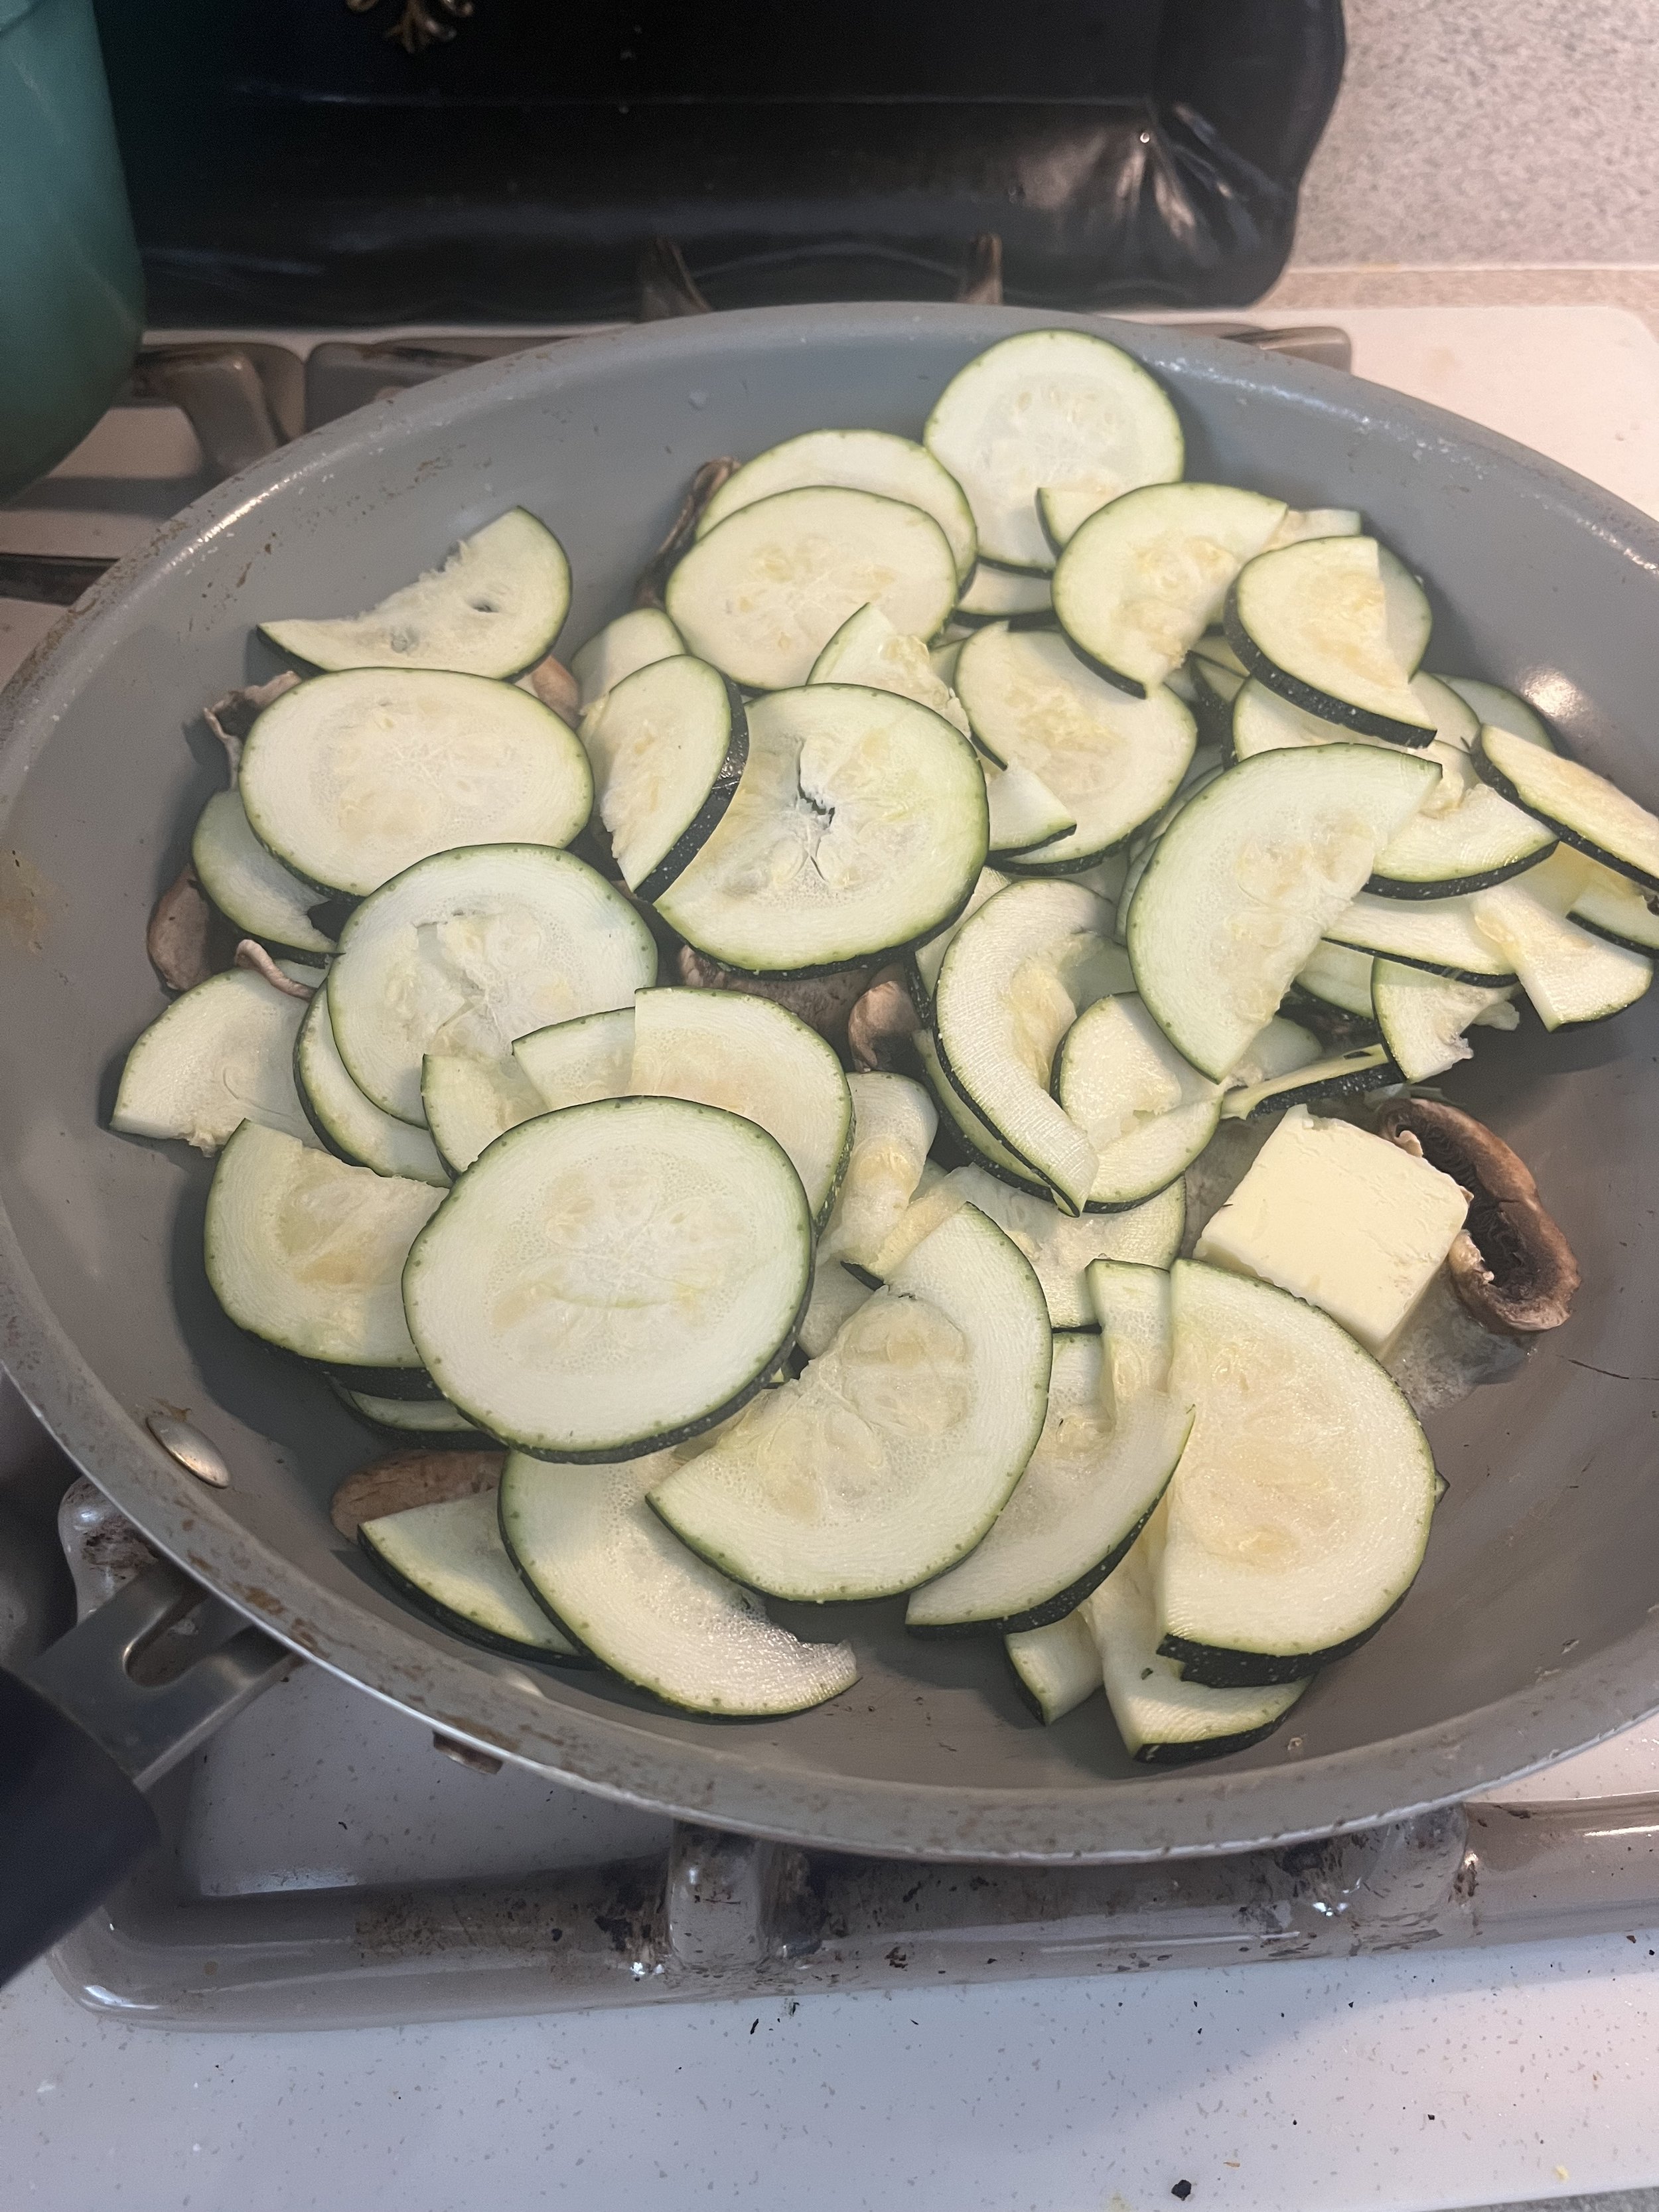
2 cups thinly sliced zucchini
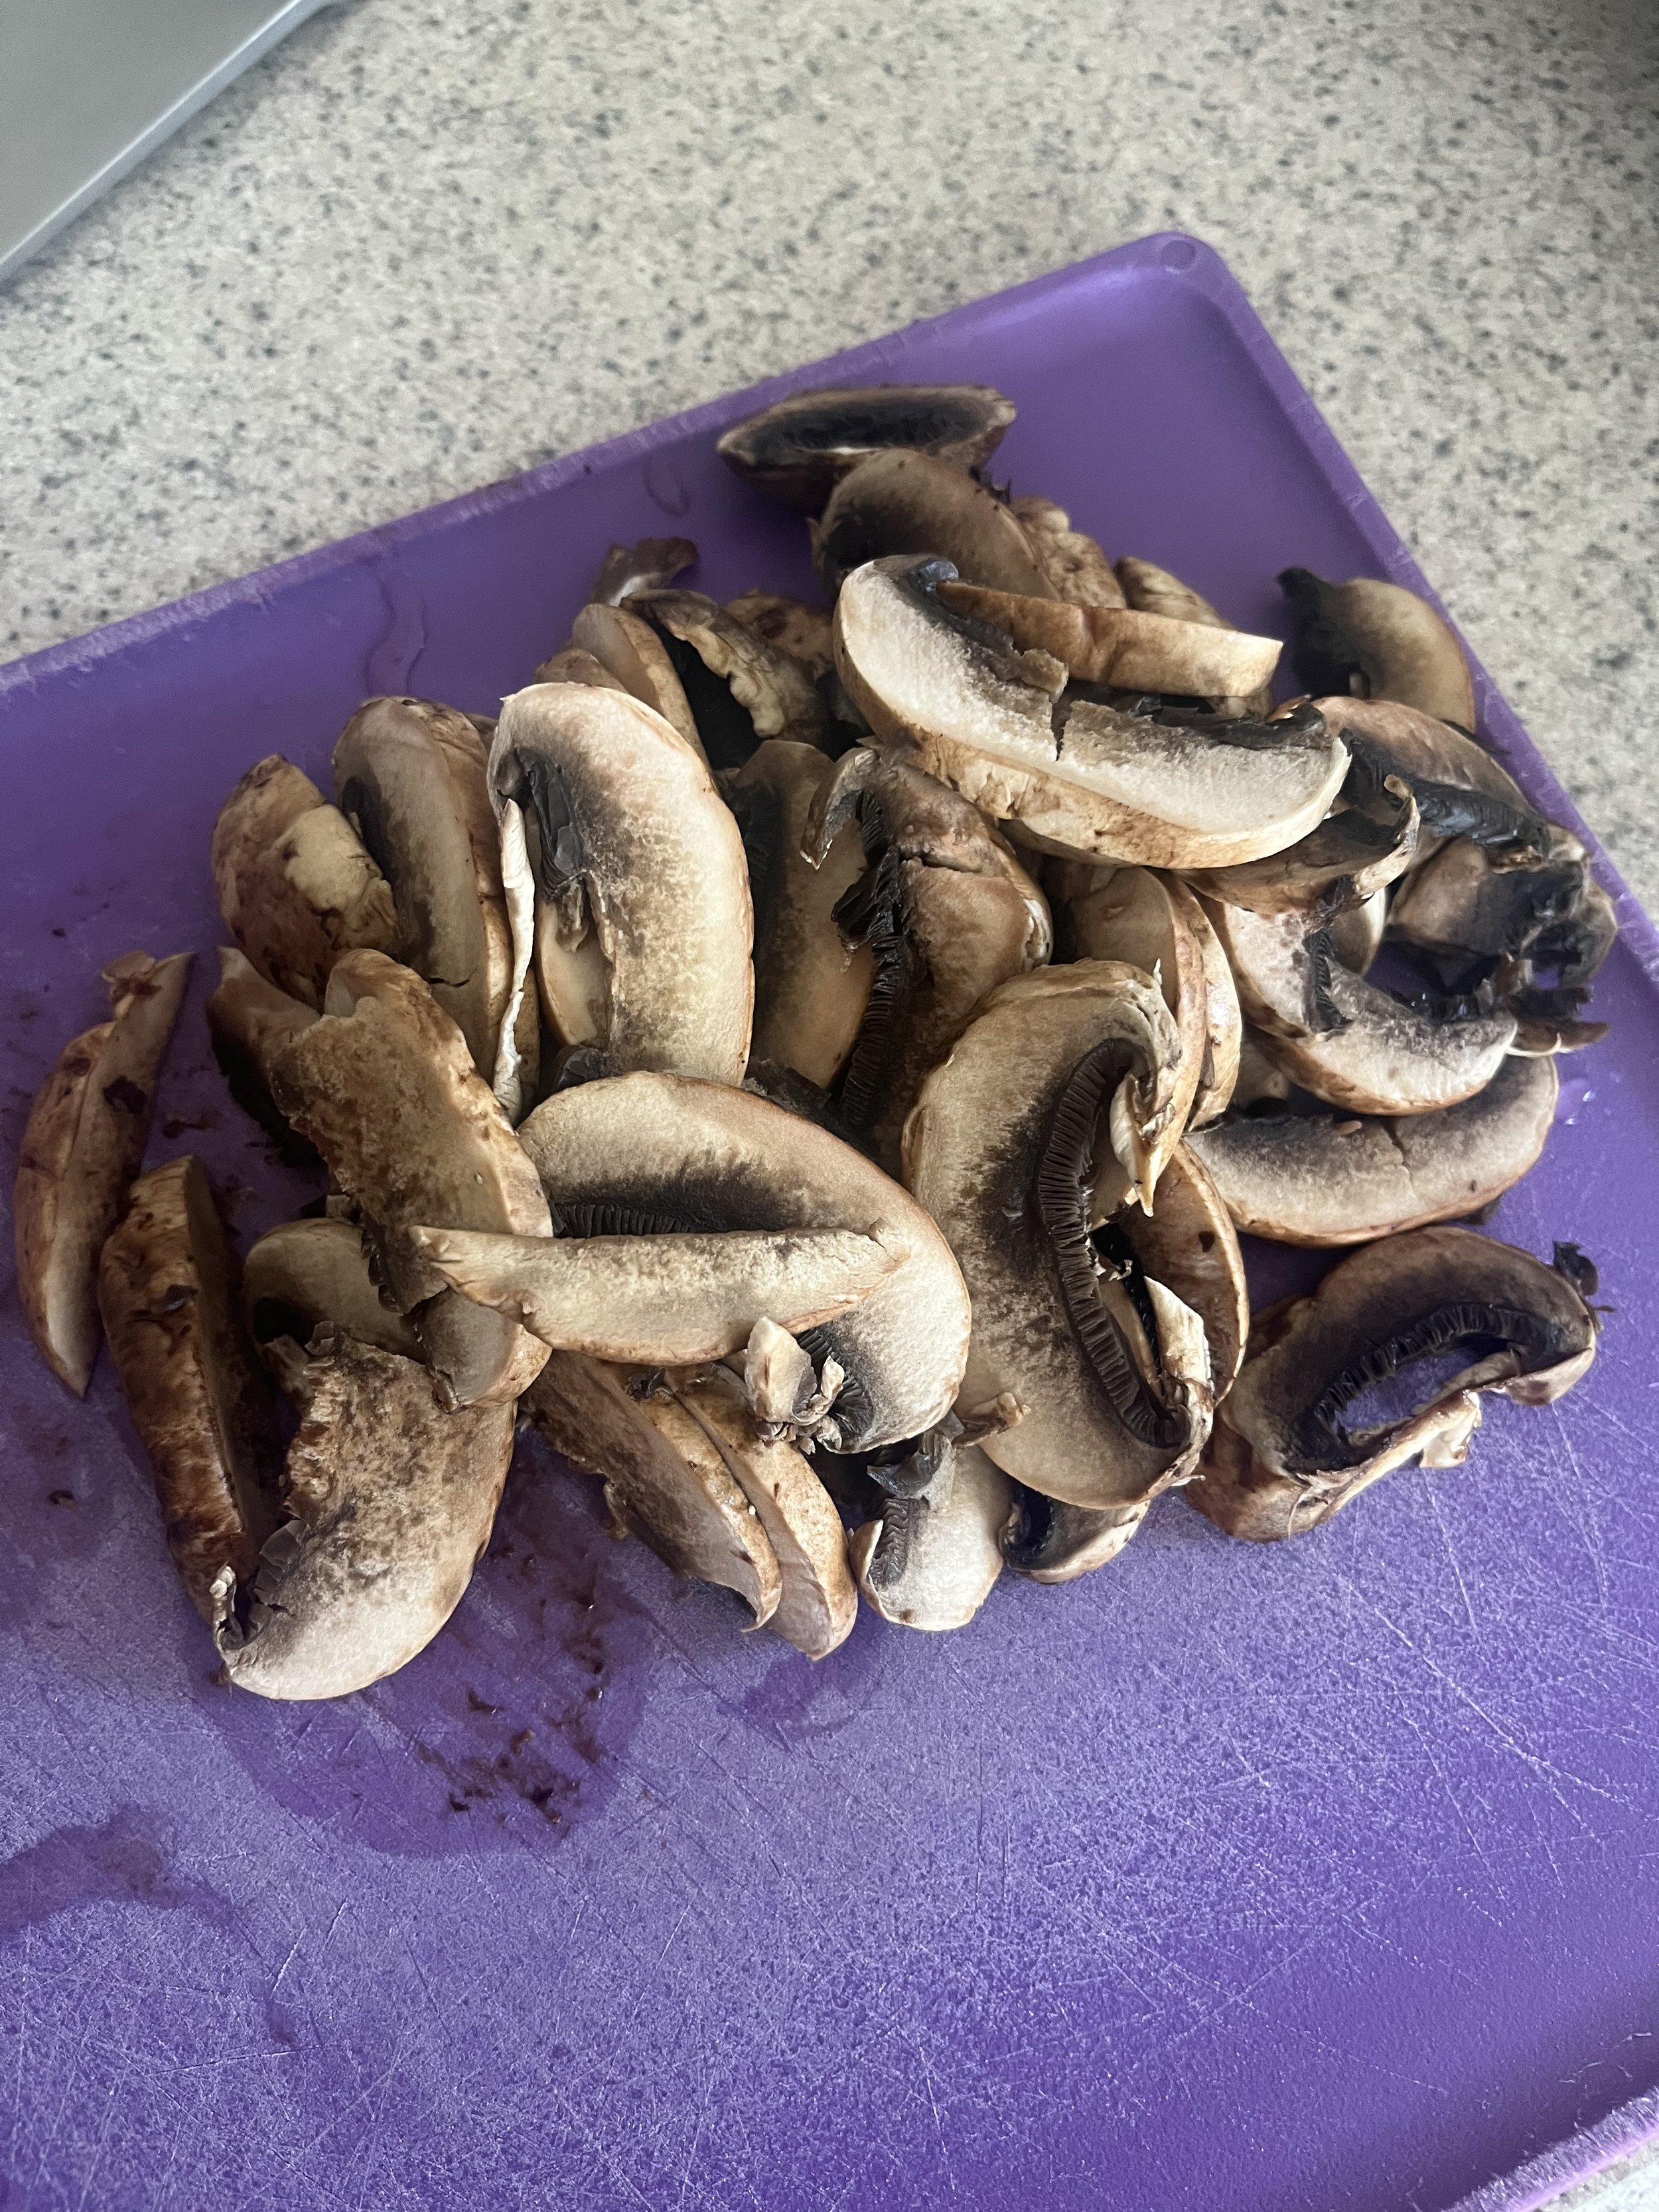
1/2 cup thinly sliced mushrooms
1 TBSP. margarine or butter
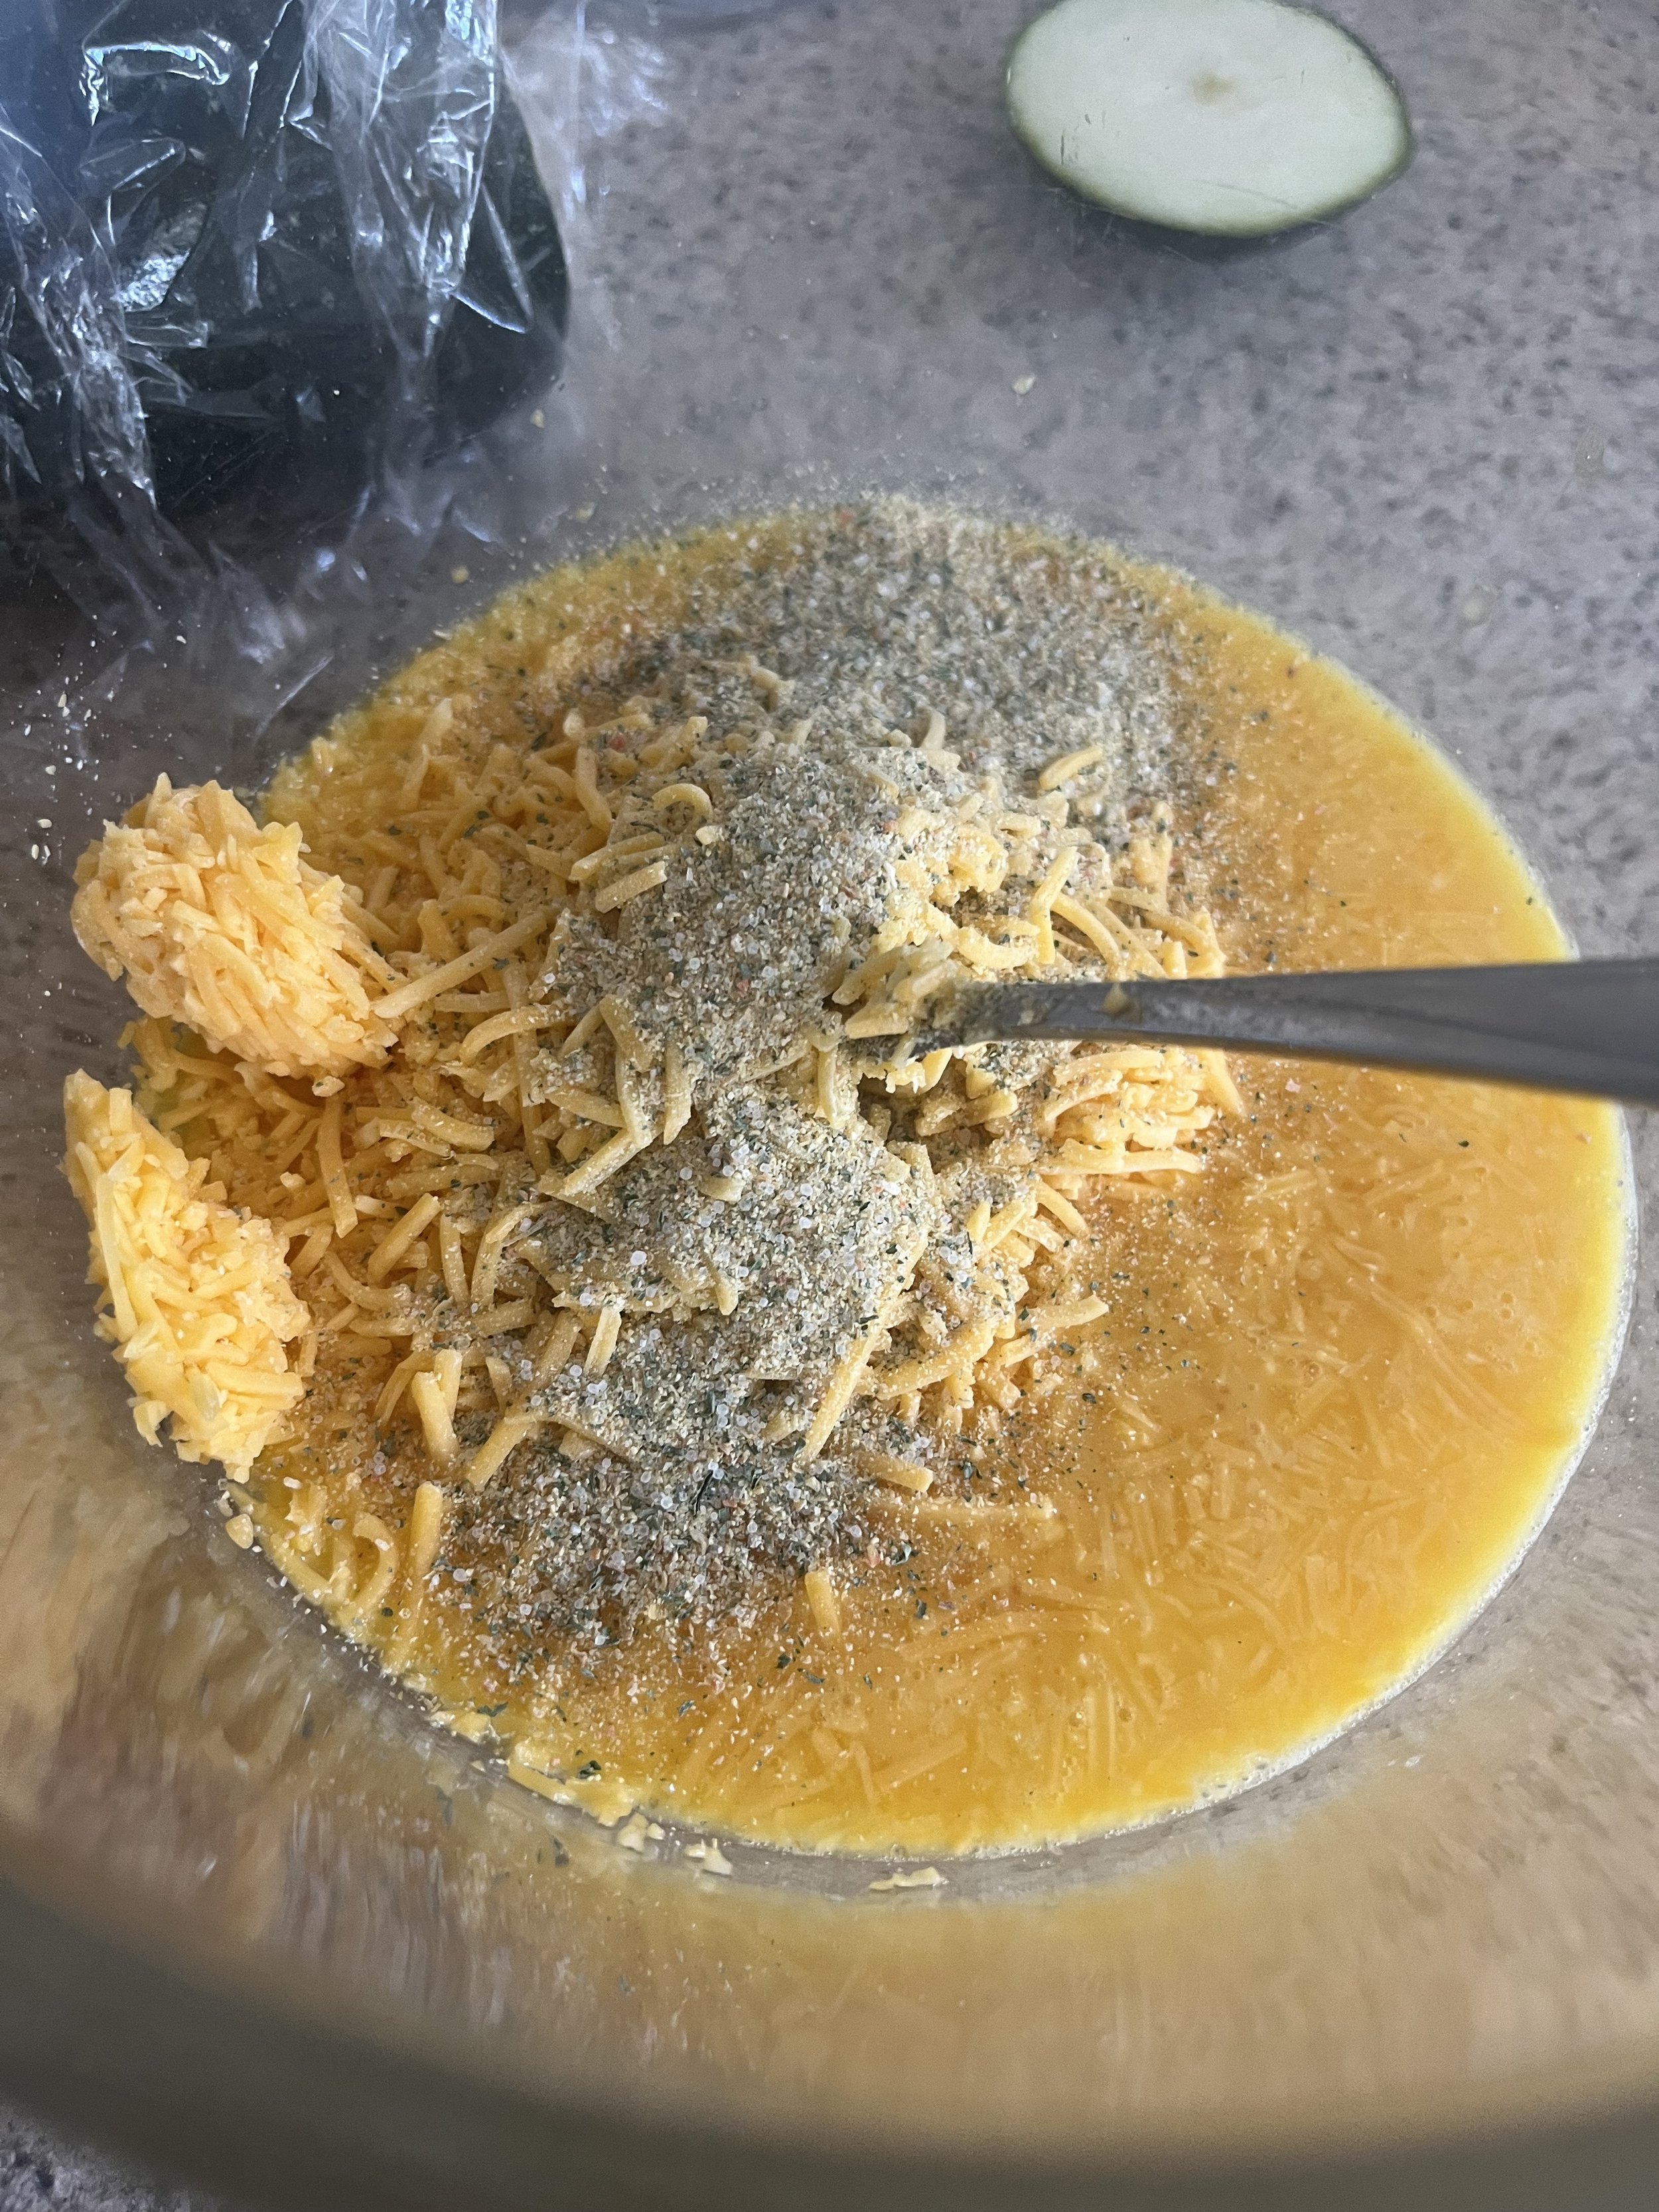
3 beaten eggs
3/4 cup shredded Swiss or cheddar cheese
1⁄2 cup milk
1/2 teaspoon (tsp.) Cherchies® Garlic Seasoning
2 teaspoons (tsp.) snipped fresh oregano
1/4 teaspoon (tsp.) salt
1/4 teaspoon (tsp.) pepper
cooking spray
*Note: This time, we made our own hash browns with gold potatoes that we had on hand and our food processor’s shredding attachment for this picture. Before we assembled this pie, we soaked the potatoes in cold water to avoid turning brown and then drained them on a clean dish towel.
Preparation
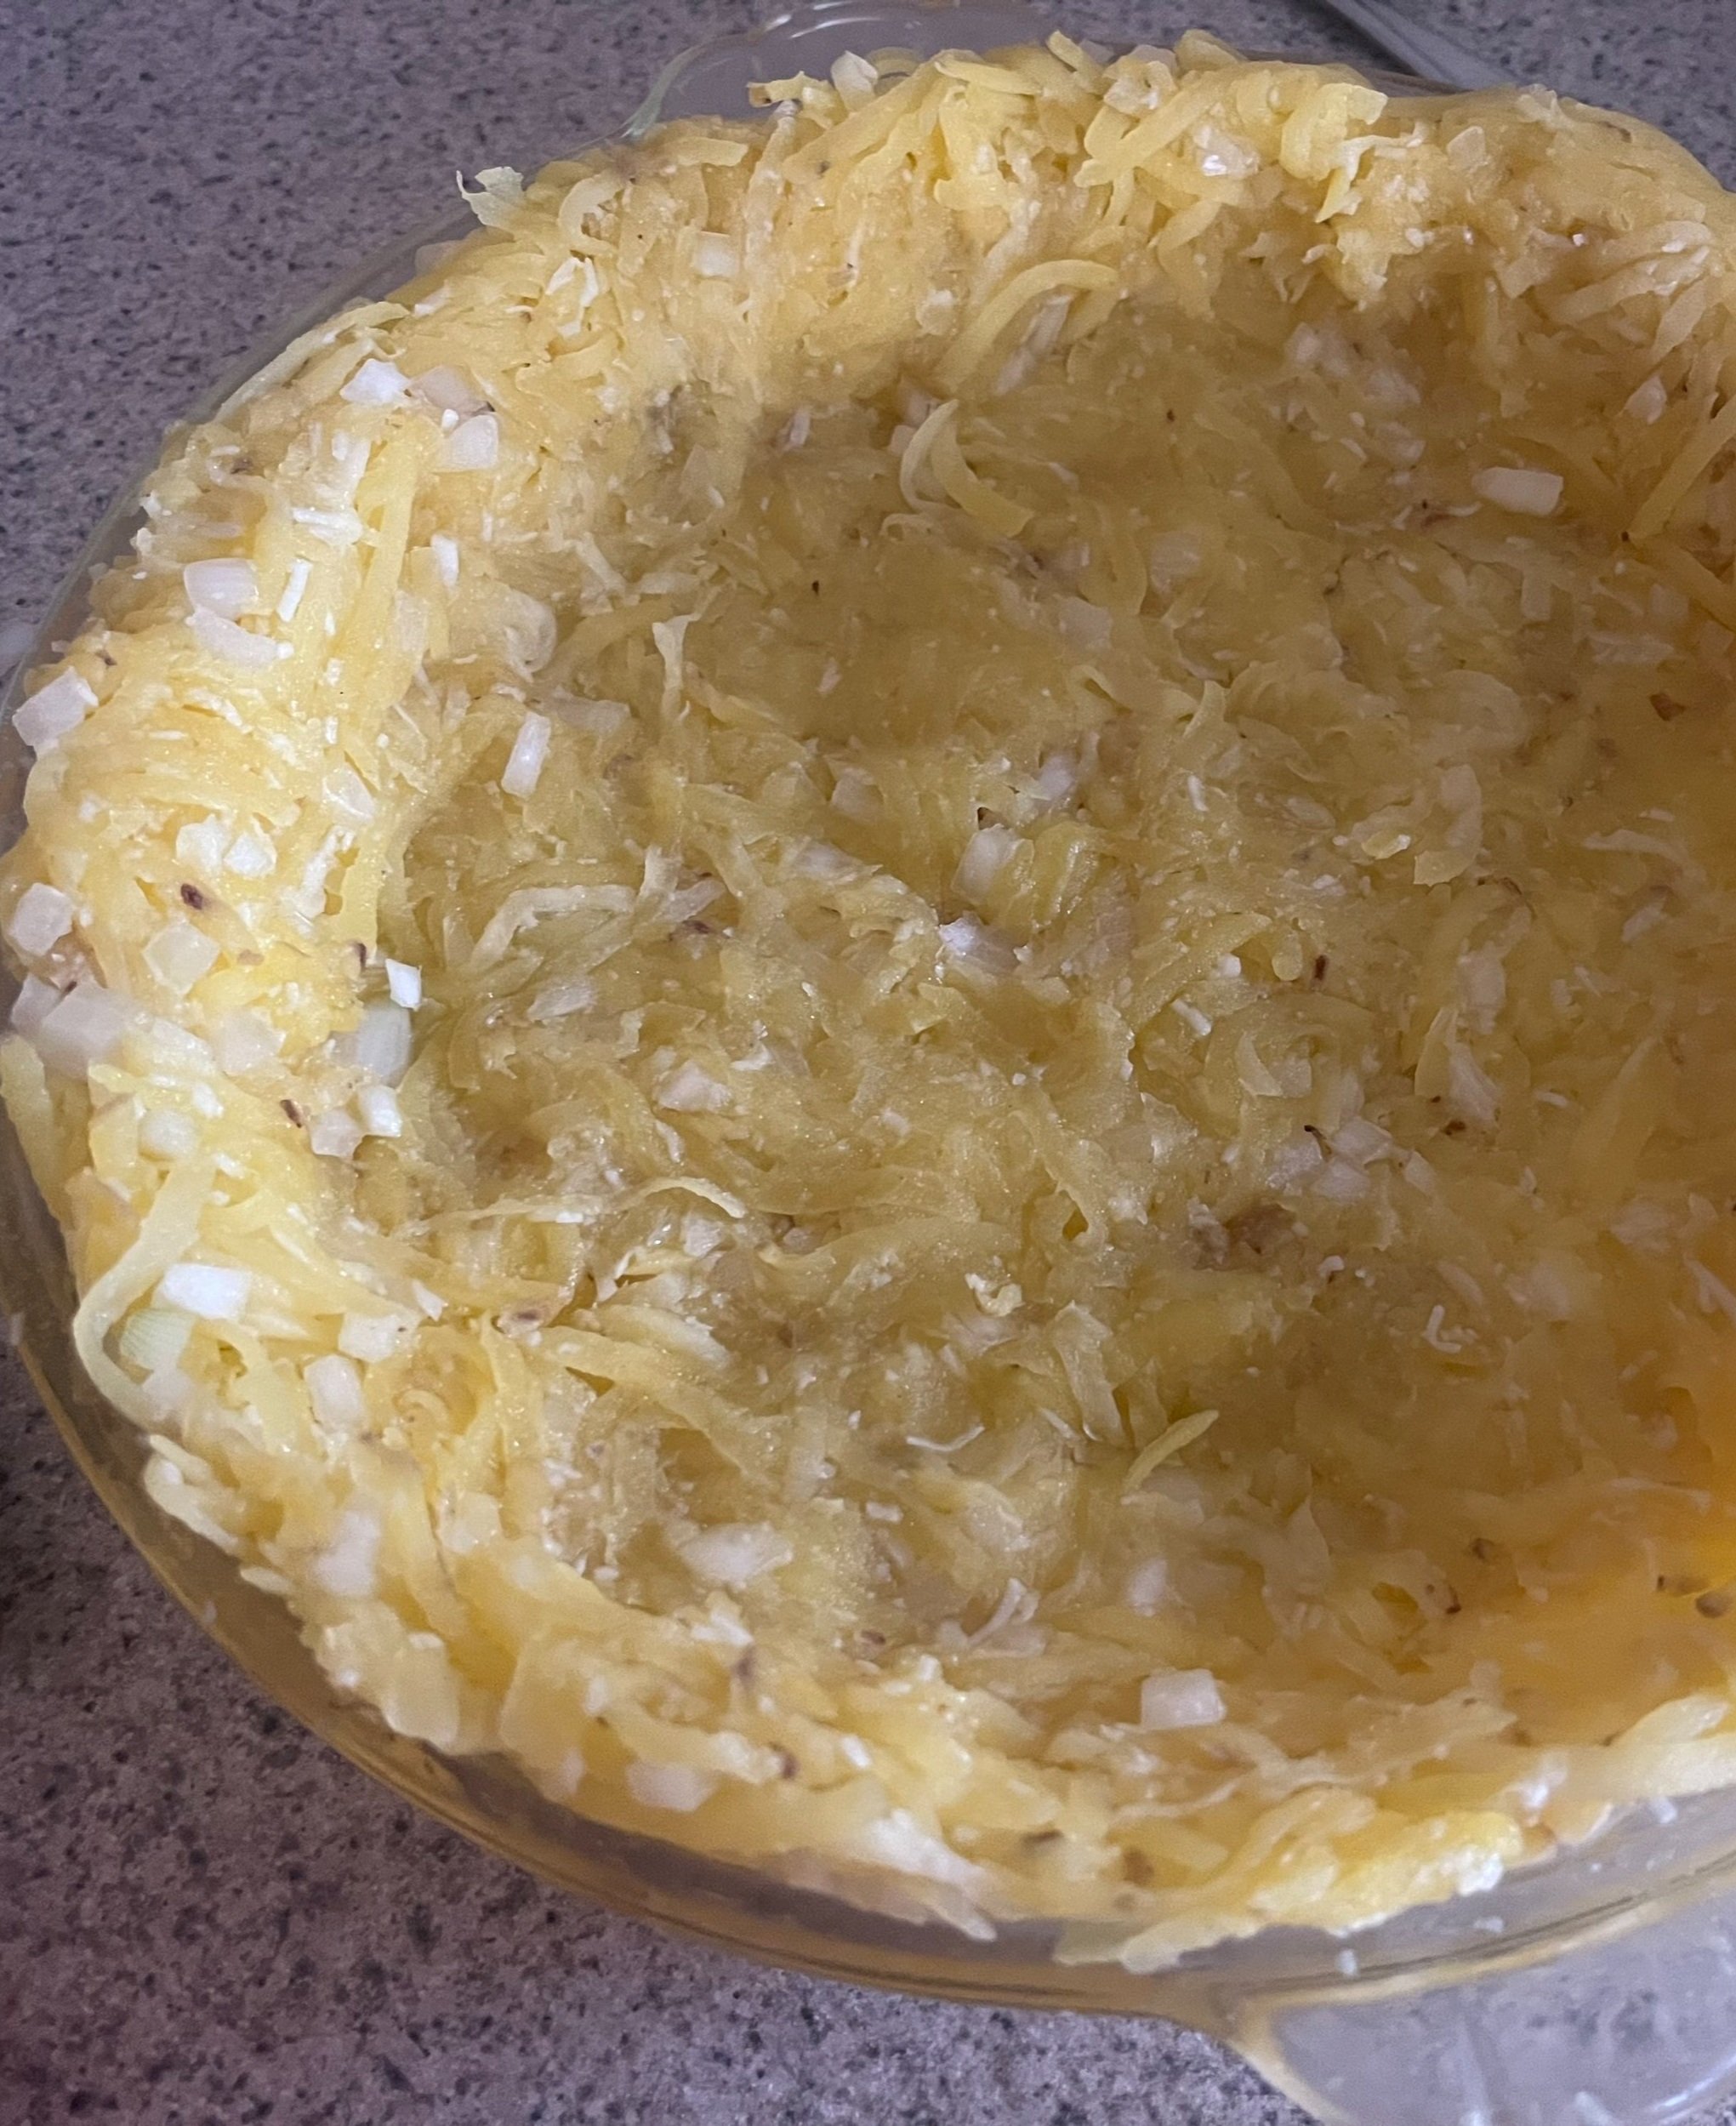
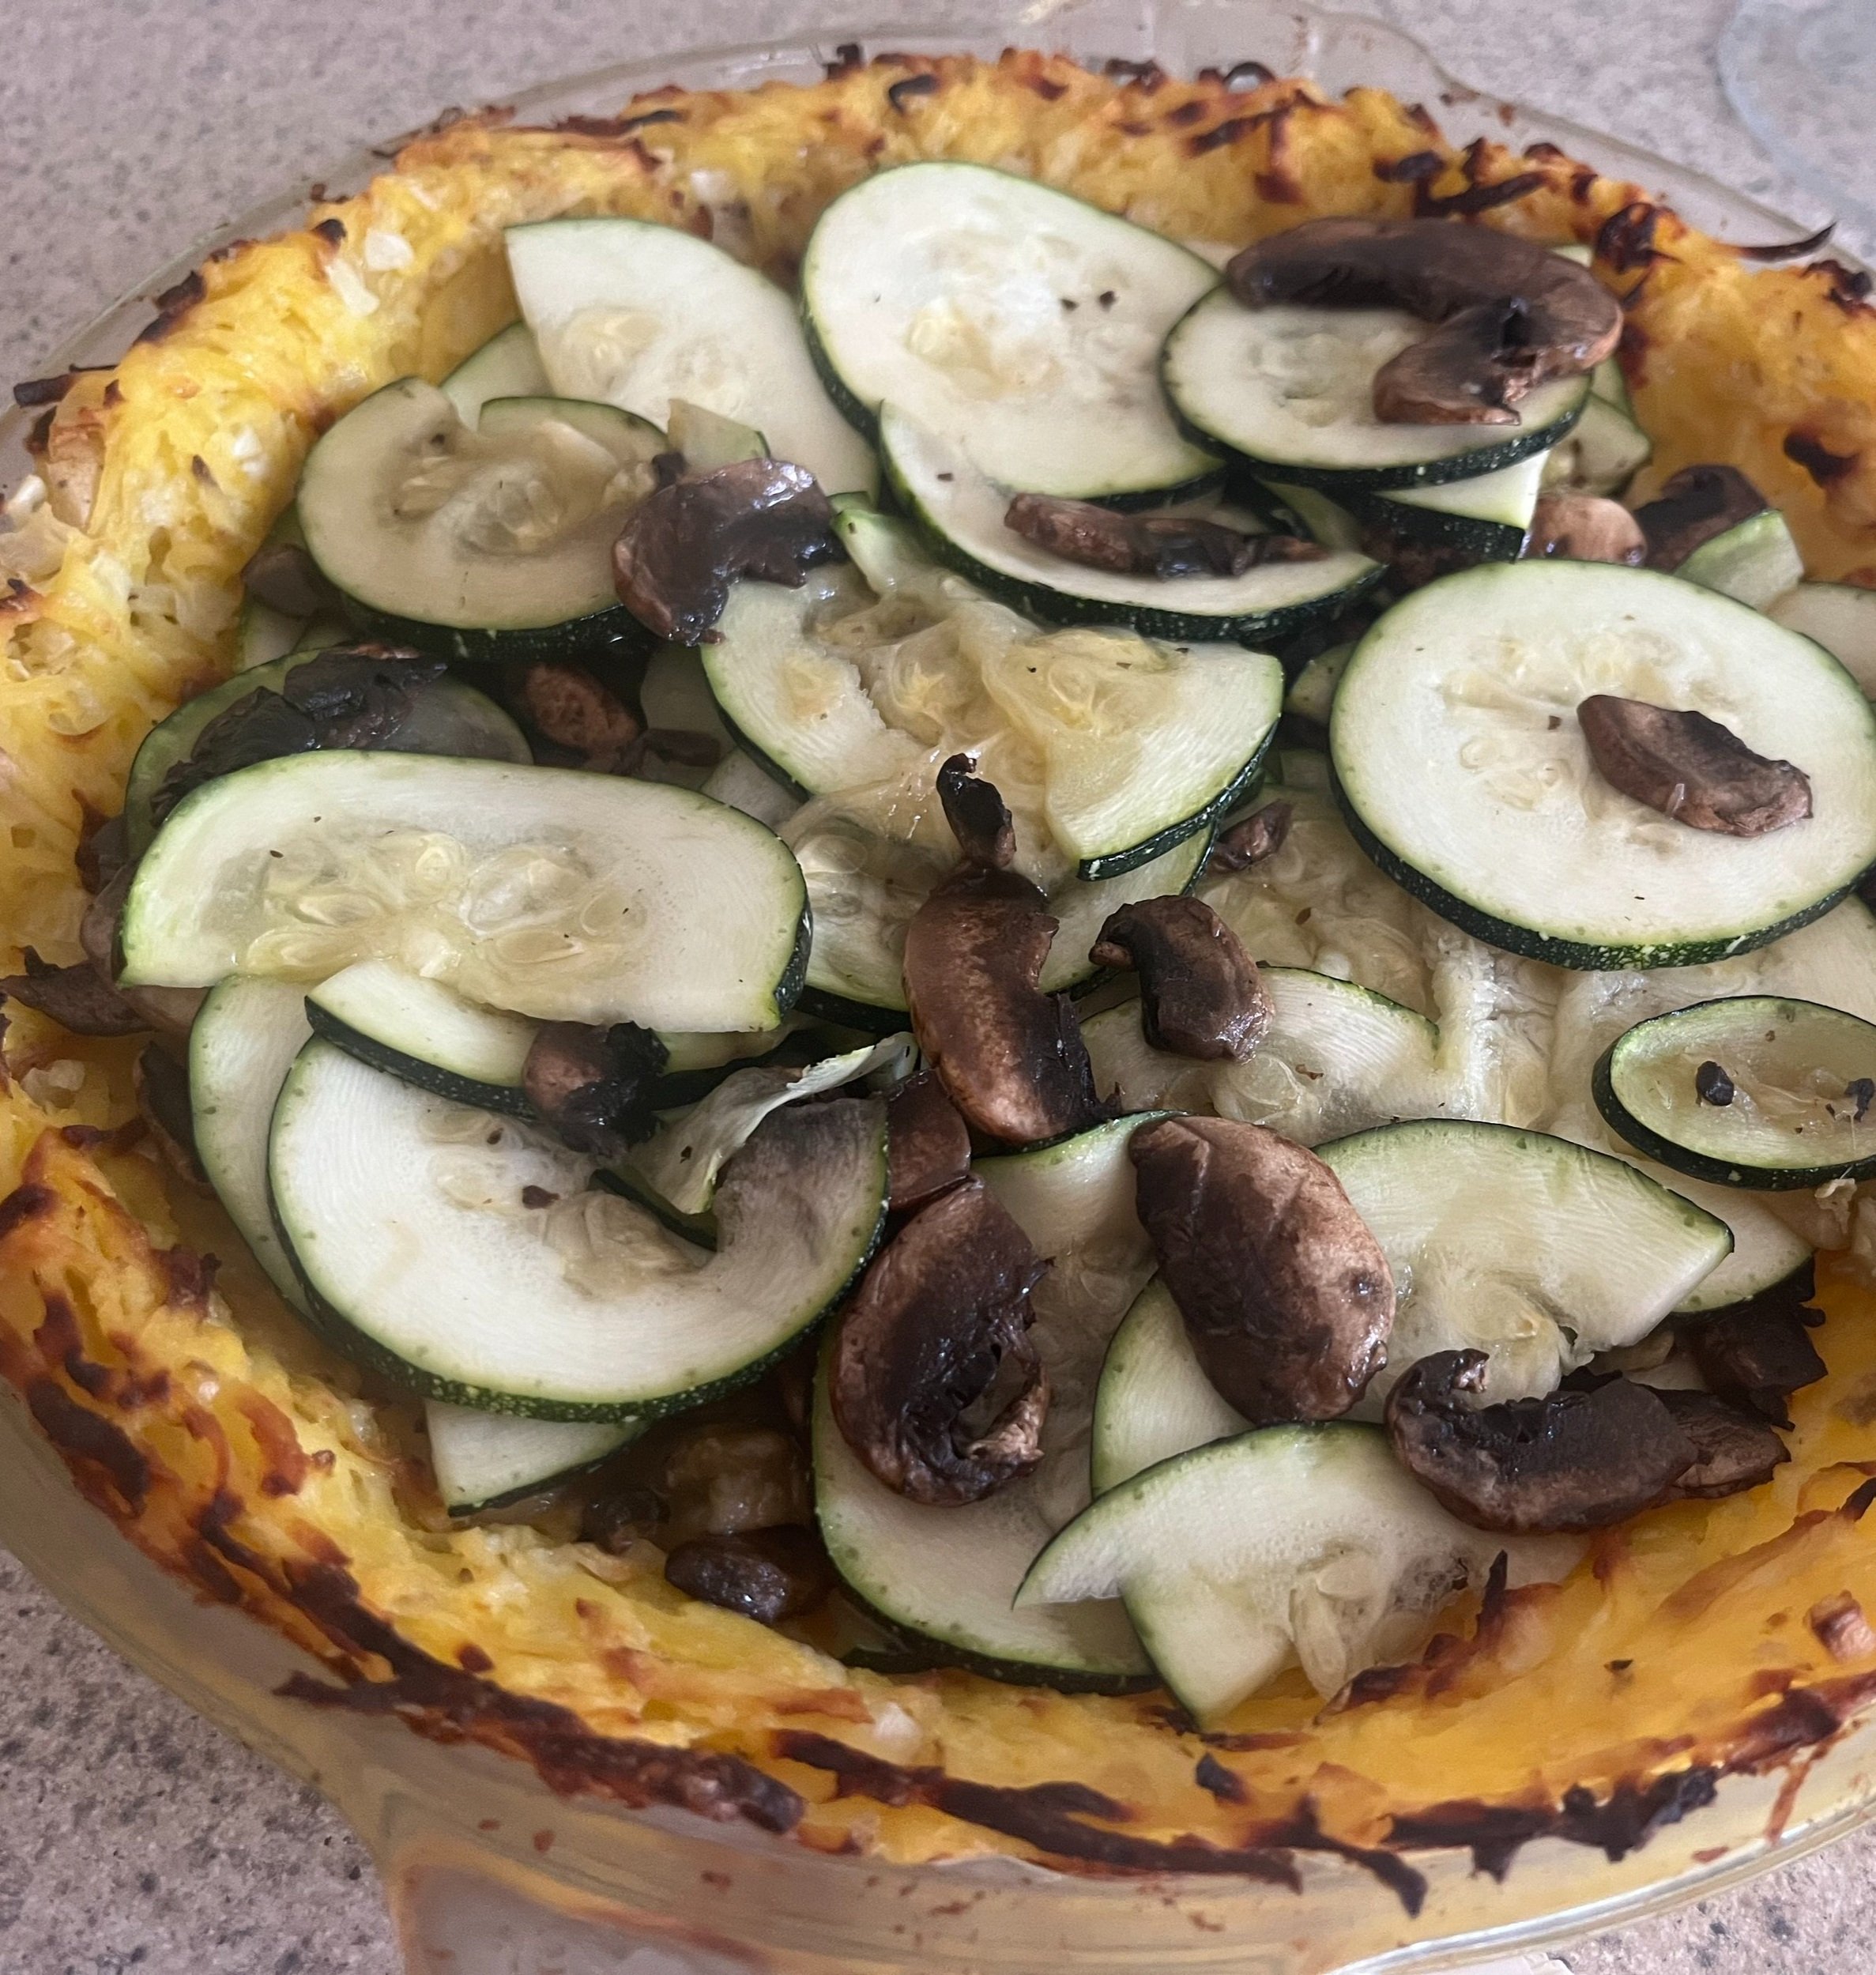
Combine one egg, onion, and Parmesan cheese in a large mixing bowl. Stir in potatoes. Transfer the potato mixture to a 9-inch pie plate or a 10-inch quiche dish. Pat the mixture in the bottom and up the sides of the dish. Bake uncovered in a 400° oven for 35 to 40 minutes or until golden. (I accidentally cooked my crust too long for the photo).
Cool slightly on a wire rack. Reduce oven temperature to 350°. In a large skillet, sauté zucchini and mushrooms in butter until crisp-tender. Cool slightly. Arrange the zucchini mixture atop the crust.
In a small mixing bowl, combine the remaining three eggs, cheese, milk, Cherchies® Lem’N Dill and Garlic Seasonings, oregano, salt, and pepper. Pour the zucchini mixture into the hash brown crust. Bake in the oven at 350° for 25 to 30 minutes until the filling is set. Let stand 10 minutes before serving.
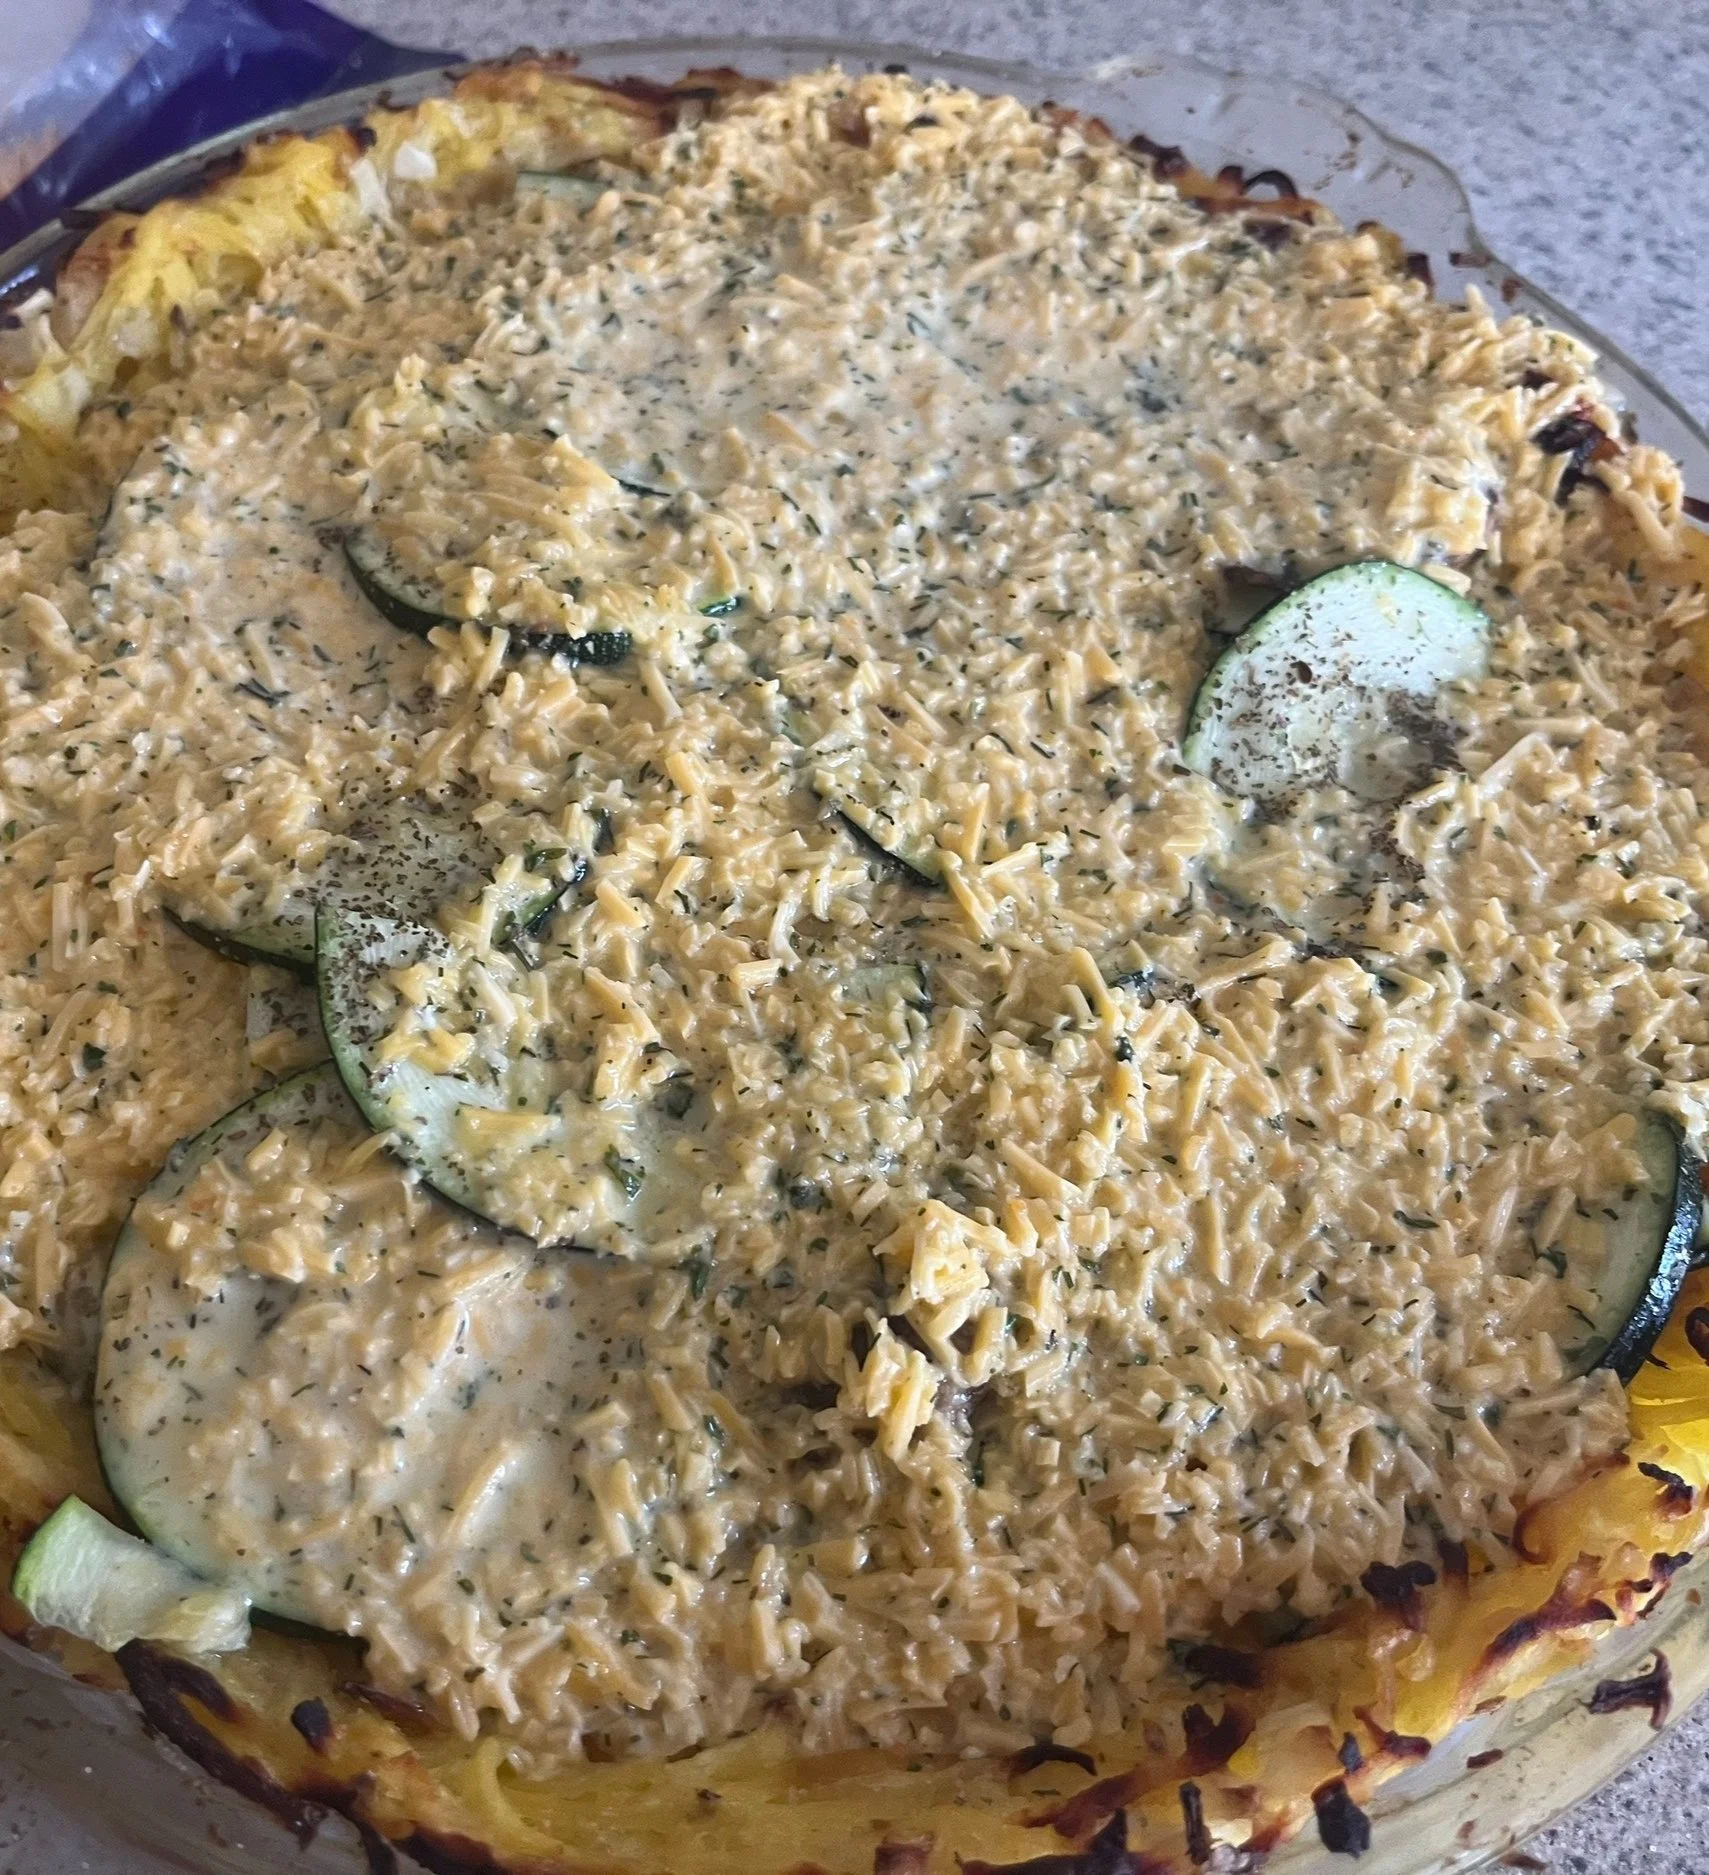
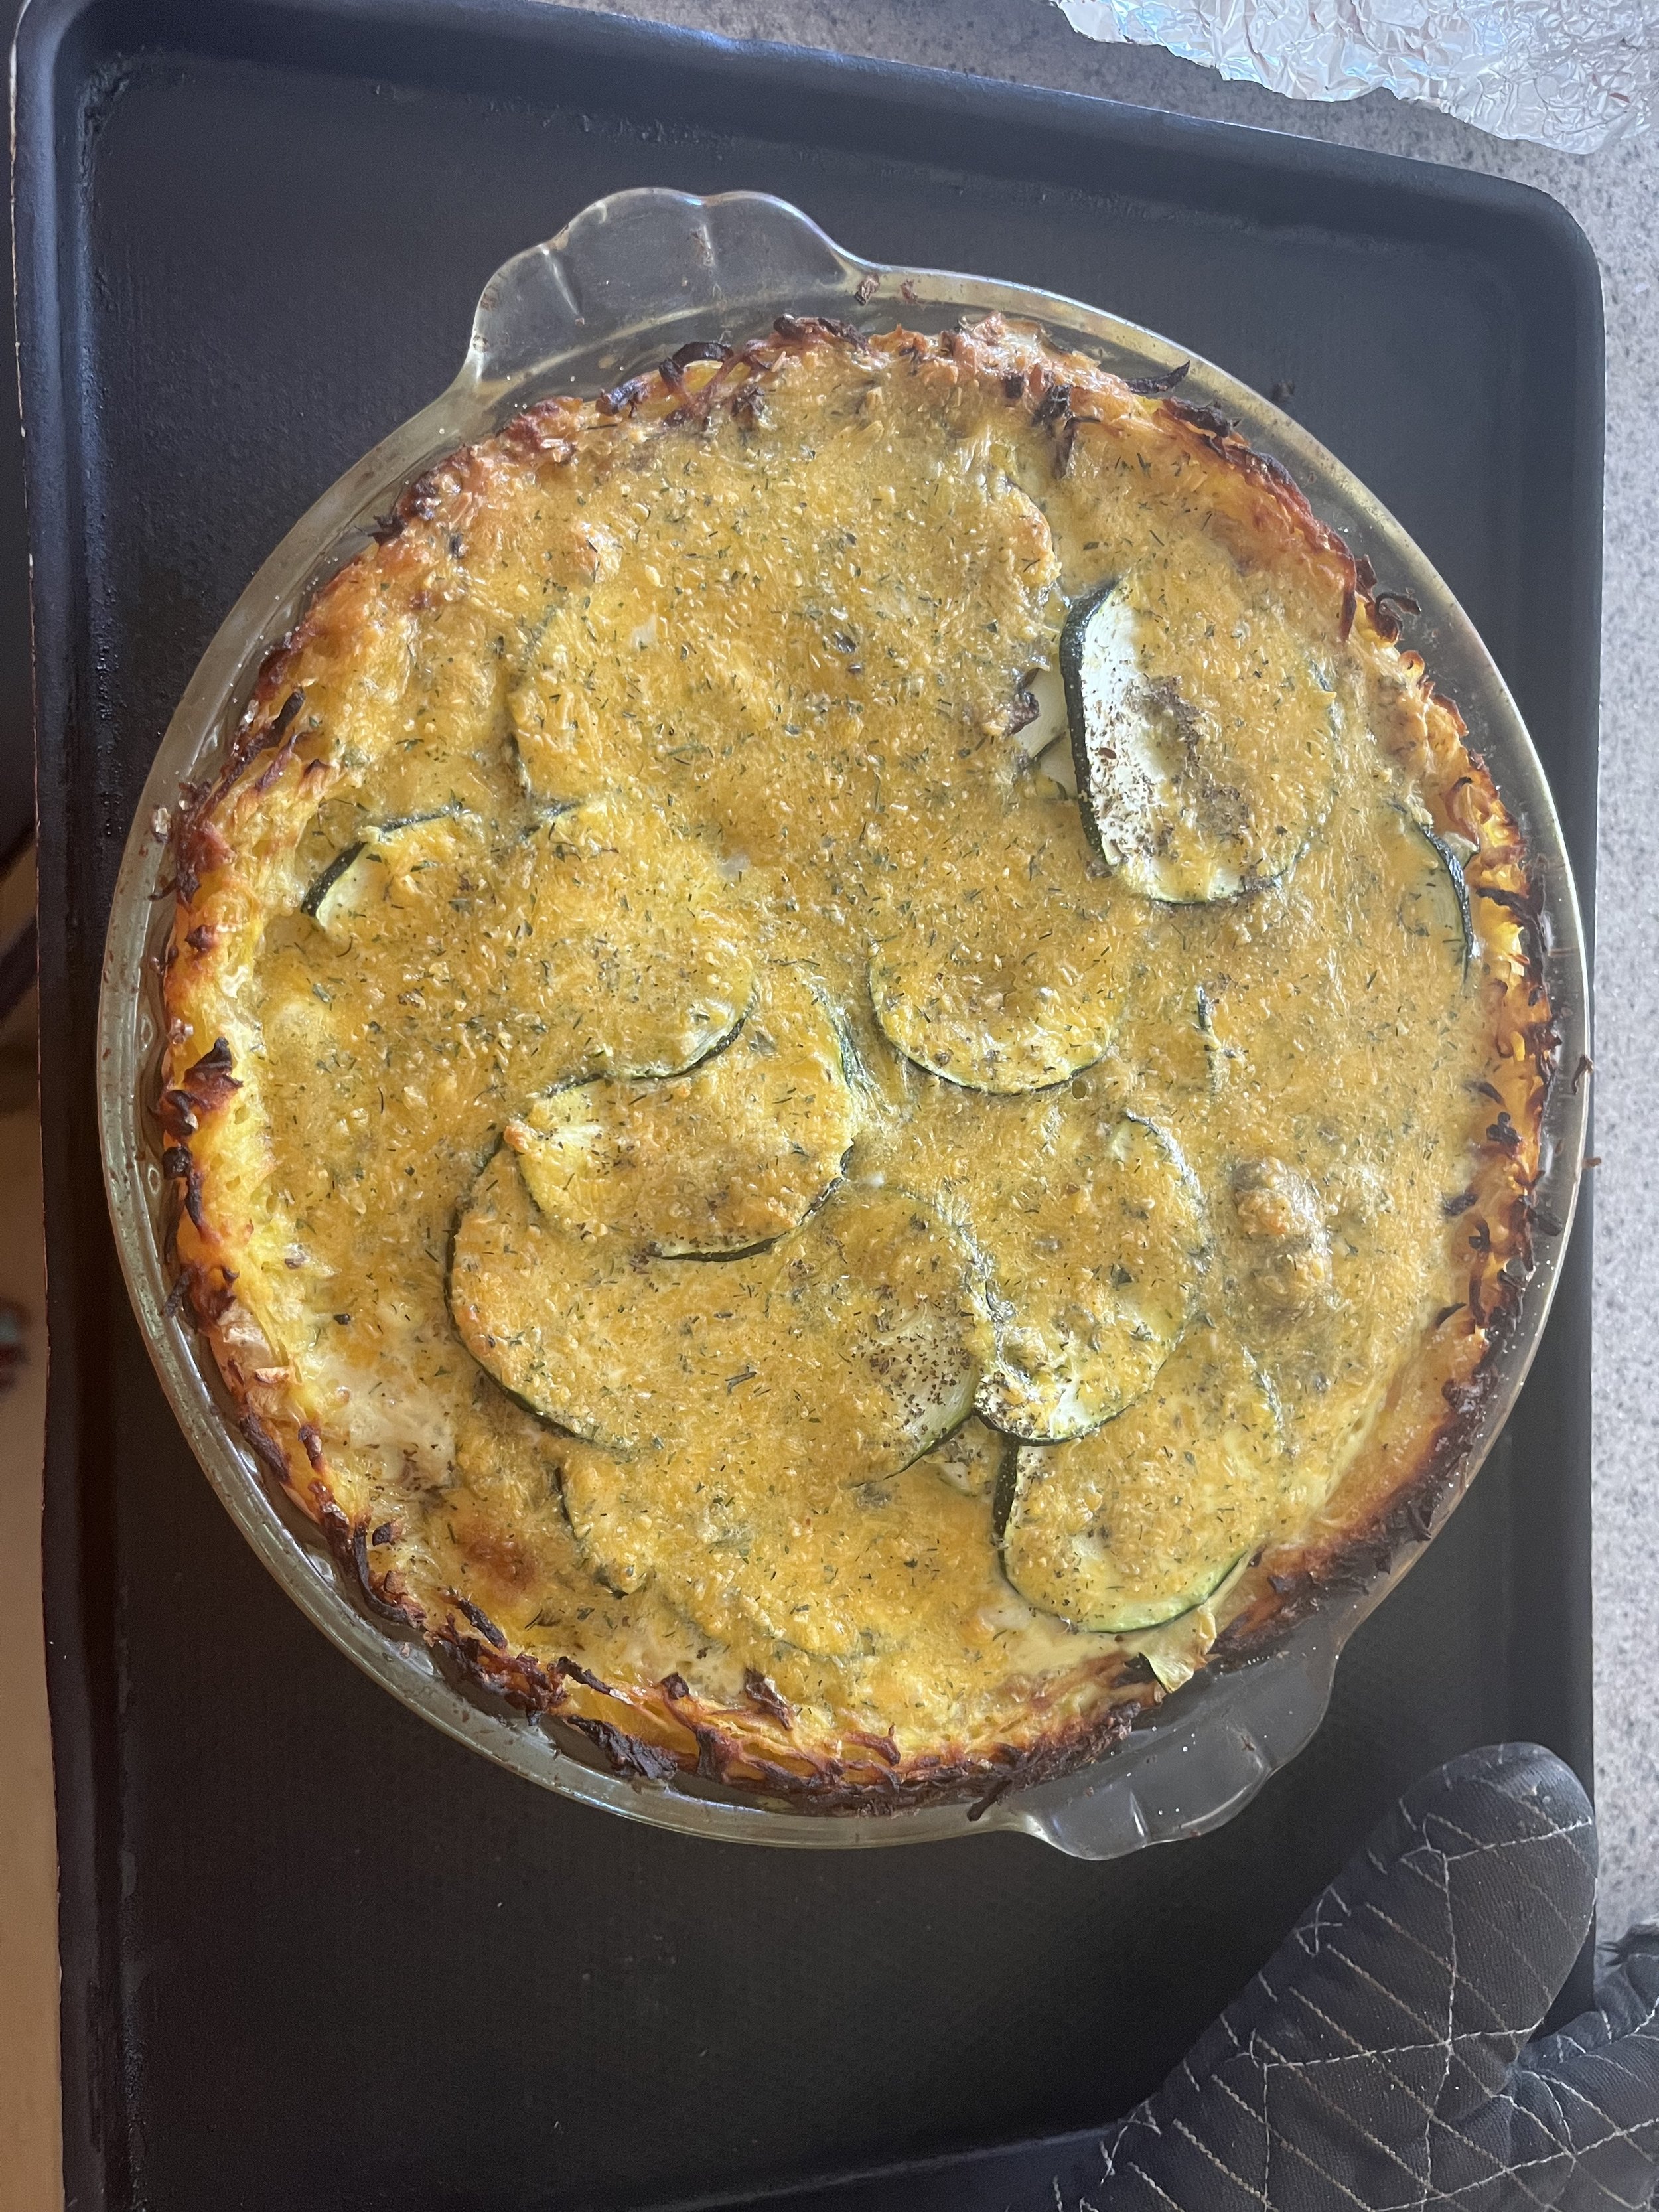
Fresh Zucchini Pie. Enjoy!